Store and Retrieve Data on the Bulletin Chain
The Bulletin Chain is a specialized storage chain in the Polkadot ecosystem that provides decentralized data storage with IPFS-compatible content addressing. You can use it to store static sites, images, media assets, application data, or any other files that benefit from availability and censorship-resistance.
In this tutorial, you'll walk through a common developer scenario: storing an image using the Bulletin Chain's decentralized storage and obtaining its CID (Content Identifier) so it can be referenced from a dApp, NFT metadata, or any IPFS-compatible system. The same steps apply to any file type — documents, JSON configs, HTML pages, and more.
Prerequisites
- A Polkadot account (SS58 format) — see Create an Account if you need one
- A browser wallet extension (Polkadot.js, Talisman, SubWallet, or Fearless)
- An image or file to store (under ~8 MiB per transaction; for larger files, you can chunk your data — see Size Limits)
- Authorization to store data on the Bulletin Chain (covered in the next section)
- For the PAPI method: Node.js v18 or higher
Get Authorization
The Bulletin Chain has no token balances — you need authorization before you can store data. Authorization grants your account a specific number of transactions and bytes that you can use for storage.
For this tutorial, we're going to use the testnet faucet for authorizations.
-
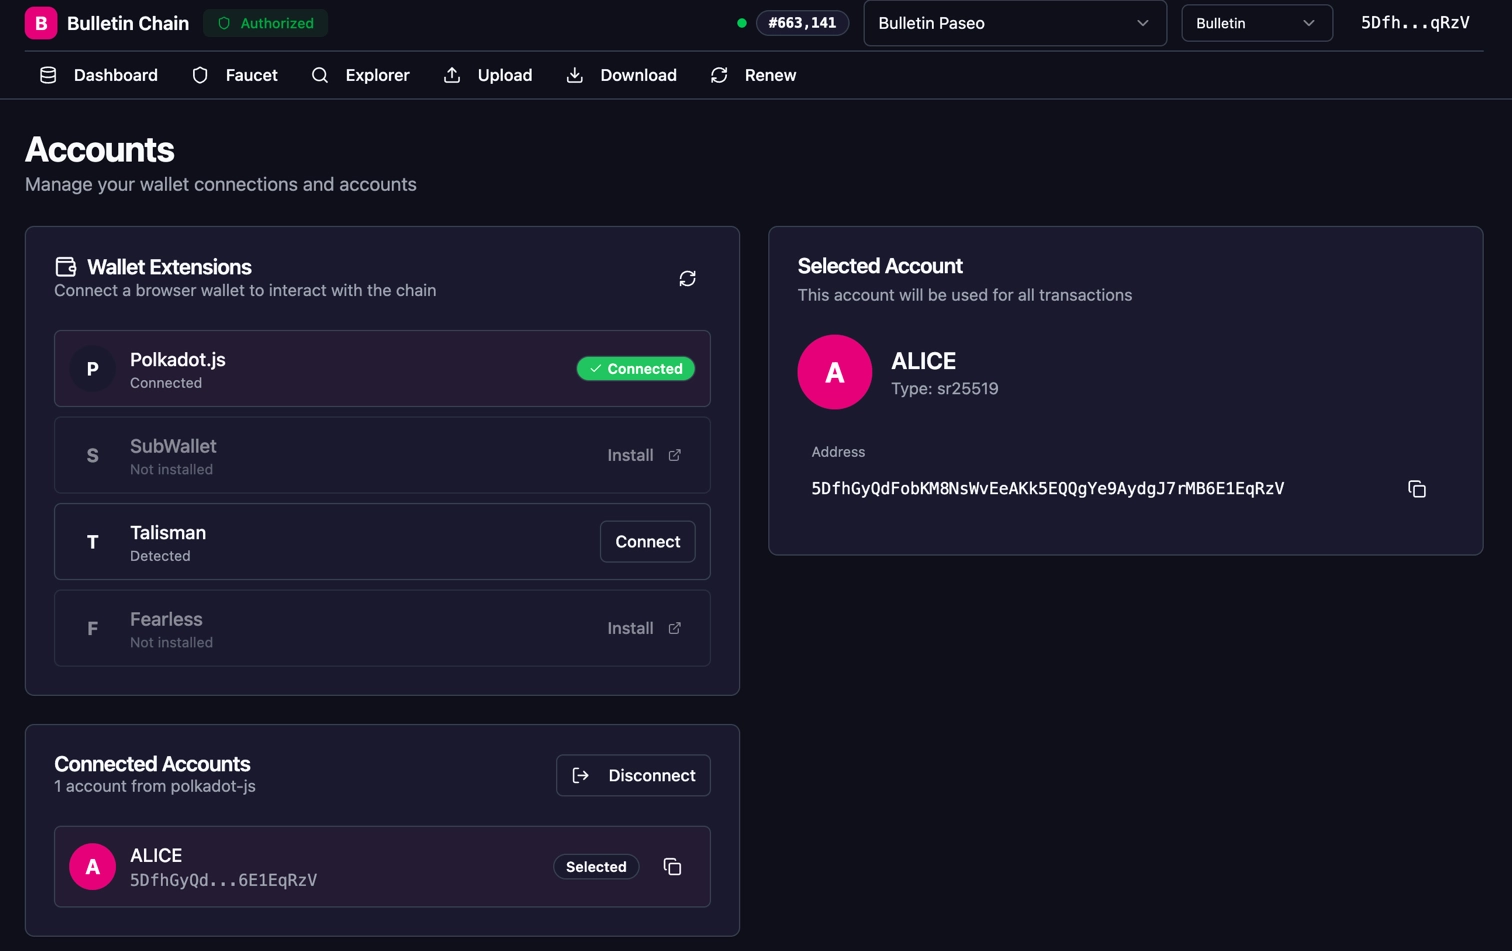
Navigate to the Bulletin Chain Console and click Connect to connect your wallet.
-
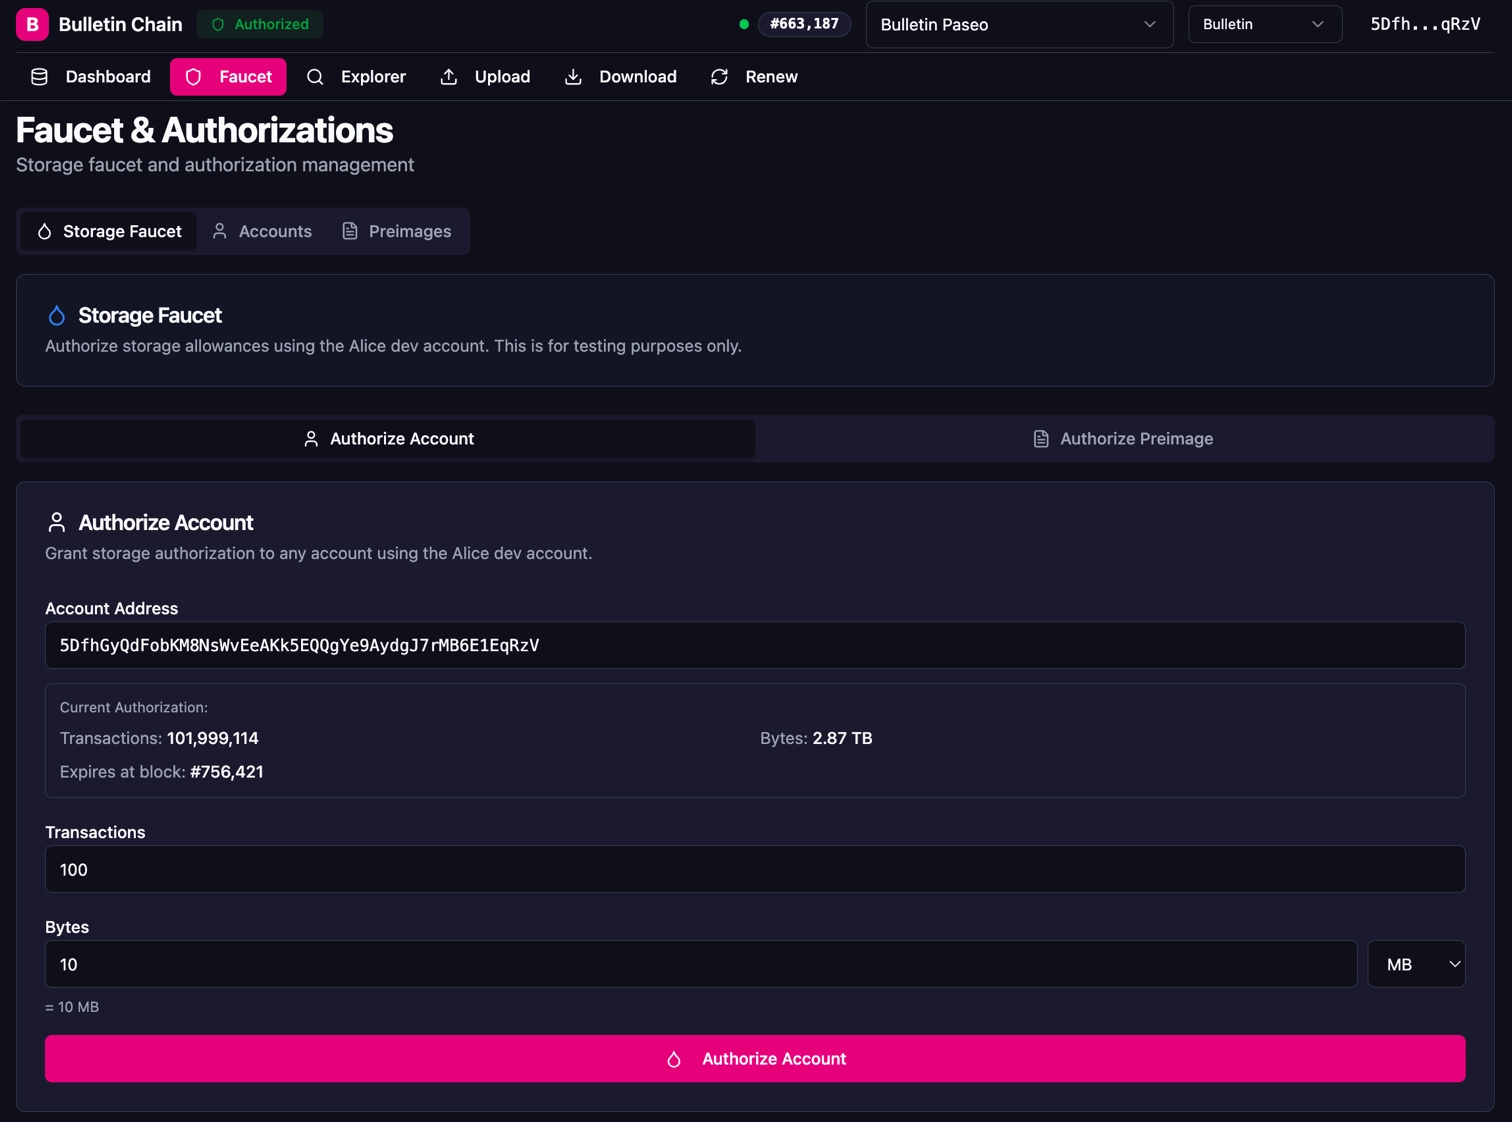
Go to the Faucet page and select the Storage Faucet tab.
-
Under Authorize Account, enter the desired number of Transactions and Bytes for your storage needs, then click Authorize Account.
-
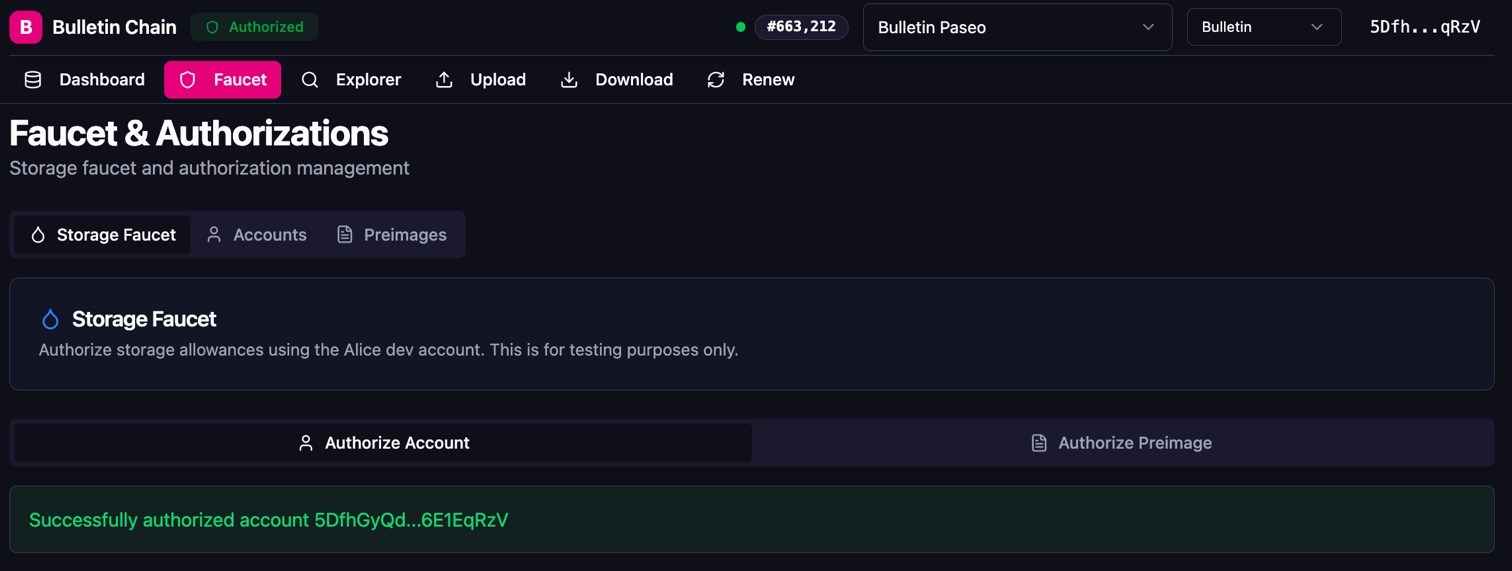
Approve the transaction in your wallet extension. You should see a success confirmation.
-
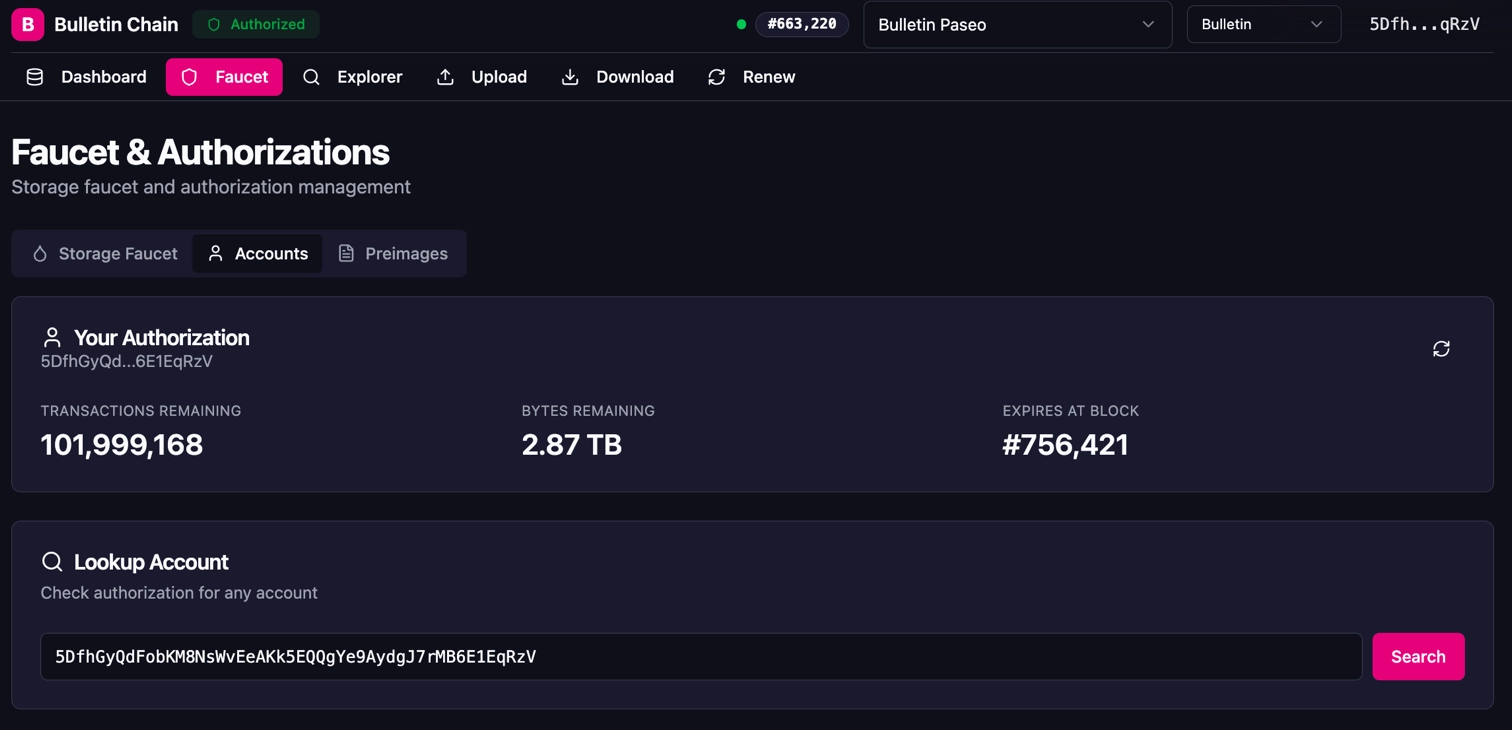
To verify your authorization, switch to the Accounts tab to view your remaining transactions, bytes, and expiration block.
Note
Authorization has an expiration block. Once expired, unused authorization is not refunded — you'll need to request new authorization.
Note
The authorize_account extrinsic requires Root origin (a privileged account). You cannot self-authorize programmatically — on Polkadot TestNet, use the Console UI faucet to authorize your account before using PAPI to store data.
Store Your Image
Now that your account is authorized, you can store your image on-chain. Choose the method that best fits your workflow.
Note
You can also interact with the Bulletin Chain directly through Polkadot.js Apps or dev.papi.how by submitting extrinsics from the transactionStorage pallet.
-
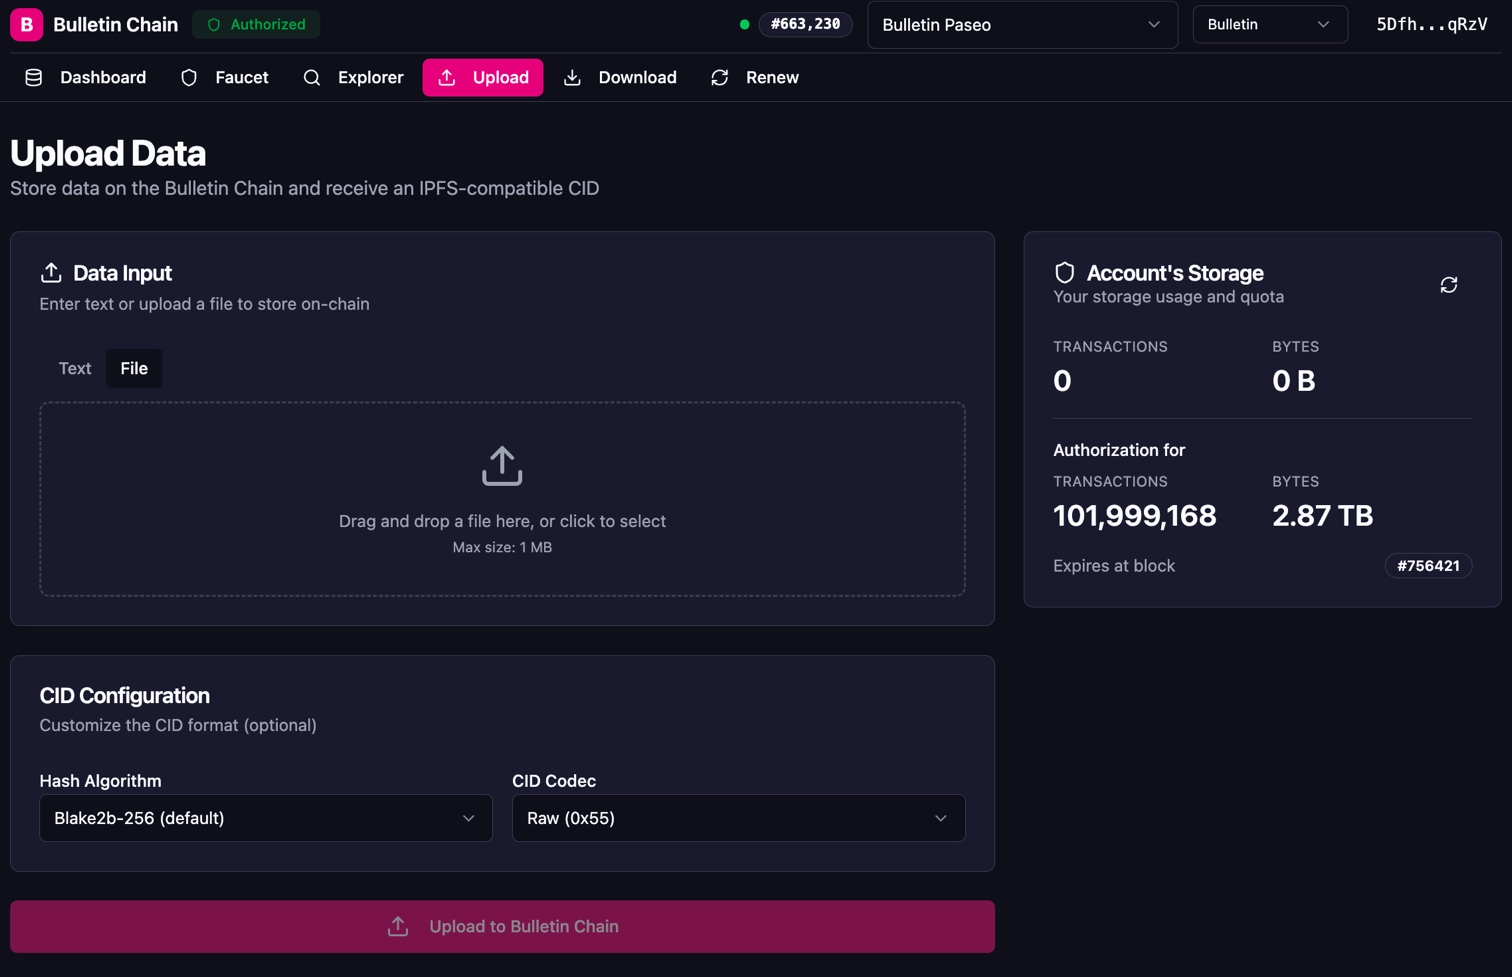
Navigate to the Upload page in the Bulletin Chain Console. You can see your account's storage usage and authorization quota on the right side panel.
-
Select the File tab, then drag and drop your image or click to browse. The UI shows the file name and size.

-
Leave the CID Configuration at the defaults (Blake2b-256 hash, Raw codec) unless you have specific requirements.
-
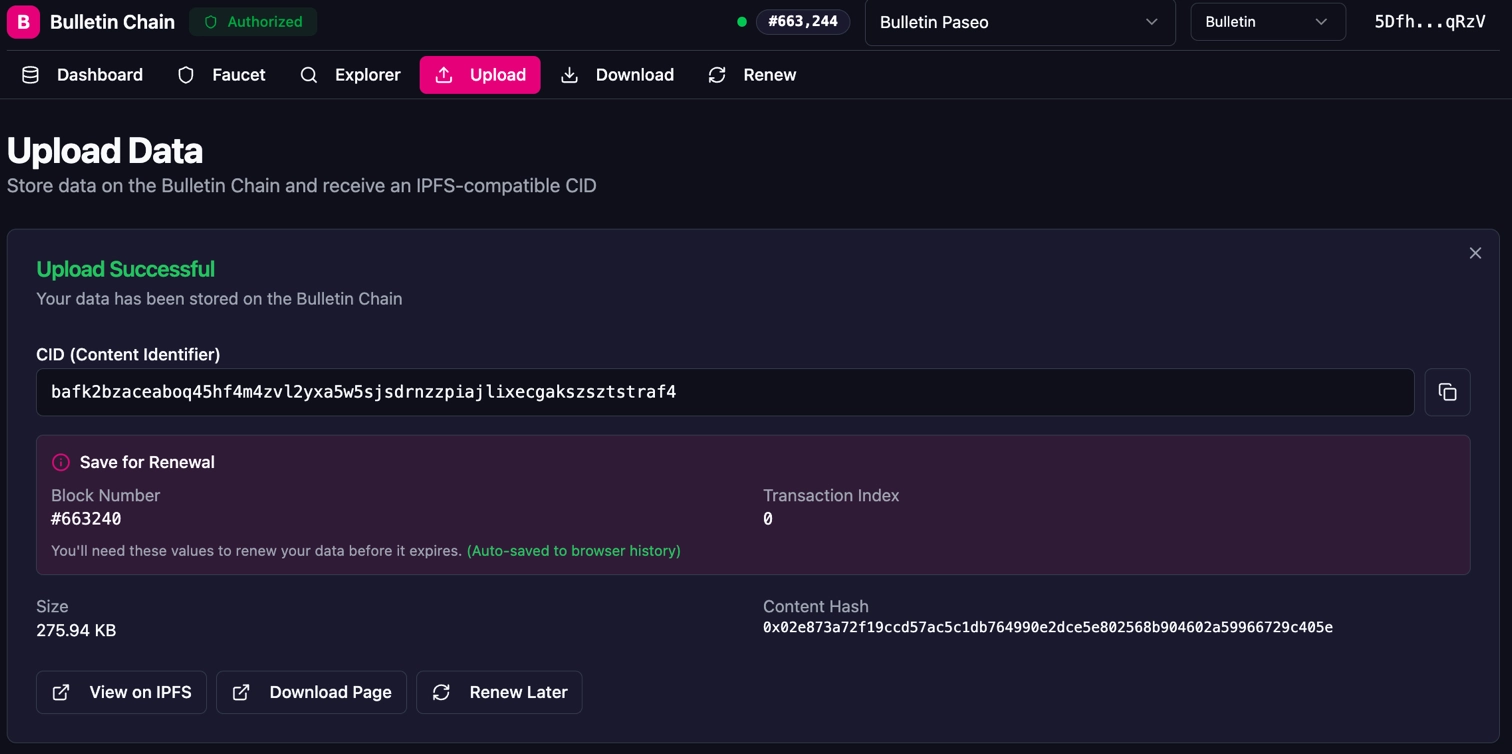
Click Upload to Bulletin Chain and approve the transaction in your wallet extension.
-
On success, the UI displays your CID, Block Number, and Transaction Index.
Warning
Save the Block Number and Transaction Index — you'll need these values to renew your data before it expires. The Console UI auto-saves this to your browser history, but you should record it separately as well.
Use the Polkadot API (PAPI) to store an image programmatically — ideal for integrating into build scripts, CI pipelines, or dApp backends.
Environment Setup
-
Create and initialize a new project:
-
Install the required dependencies:
-
Fetch the Bulletin Chain metadata and generate typed descriptors:
This command connects to the Bulletin Chain RPC endpoint, downloads the chain metadata, and generates typed descriptors that provide full type safety for all pallet interactions.
Store an Image
Create a file named store-data.ts with the following content:
import { createClient } from 'polkadot-api';
import { getWsProvider } from 'polkadot-api/ws';
import { bulletin } from '@polkadot-api/descriptors';
import { sr25519CreateDerive } from '@polkadot-labs/hdkd';
import {
  DEV_PHRASE,
  entropyToMiniSecret,
  mnemonicToEntropy,
} from '@polkadot-labs/hdkd-helpers';
import { getPolkadotSigner } from 'polkadot-api/signer';
import { CID } from 'multiformats/cid';
import { readFile } from 'fs/promises';

// Bulletin Chain Polkadot TestNet RPC endpoint
const BULLETIN_RPC = 'wss://paseo-bulletin-rpc.polkadot.io';

// Path to the image you want to store
const FILE_PATH = 'INSERT_IMAGE_PATH';

async function main() {
  // Create the client connection
  const client = createClient(getWsProvider(BULLETIN_RPC));

  // Get the typed API for the Bulletin Chain
  const api = client.getTypedApi(bulletin);

  console.log('Connected to Bulletin Chain (Polkadot TestNet)');

  // Derive a signer from a mnemonic
  const miniSecret = entropyToMiniSecret(mnemonicToEntropy(DEV_PHRASE));
  const derive = sr25519CreateDerive(miniSecret);
  const hdkdKeyPair = derive('//Alice');
  const signer = getPolkadotSigner(
    hdkdKeyPair.publicKey,
    'Sr25519',
    hdkdKeyPair.sign
  );

  // Read the image to store
  const fileData = await readFile(FILE_PATH);
  console.log(`Read file: ${FILE_PATH} (${fileData.length} bytes)`);

  // Submit the store transaction
  // Note: the signing account must have an active authorization (see Get Authorization section)
  console.log('Submitting store transaction...');
  const result = await api.tx.TransactionStorage.store({
    data: new Uint8Array(fileData),
  }).signAndSubmit(signer);

  console.log(`Transaction included in block: ${result.block.hash}`);
  console.log(`Transaction index: ${result.block.index}`);

  // Check events for the Stored event containing the CID
  for (const event of result.events) {
    if (event.type === 'TransactionStorage' && event.value.type === 'Stored') {
      // Decode the raw CID bytes into a standard IPFS CID string
      const cid = CID.decode(event.value.value.cid);

      console.log('\nImage stored successfully!');
      console.log(`Index: ${event.value.value.index}`);
      console.log(`CID: ${cid.toString()}`);
      console.log(`\nRetrieve via IPFS gateway:`);
      console.log(`https://paseo-ipfs.polkadot.io/ipfs/${cid.toString()}`);
    }
  }

  // Disconnect the client
  client.destroy();
}

main().catch(console.error);
Note
Replace INSERT_IMAGE_PATH with the path to your image (e.g., ./logo.png). Ensure the file is under ~8 MiB. For the signer, replace the dev phrase with your own mnemonic for a Polkadot TestNet-authorized account.
Run the script:
You should see output similar to:
Verify Your Stored Image
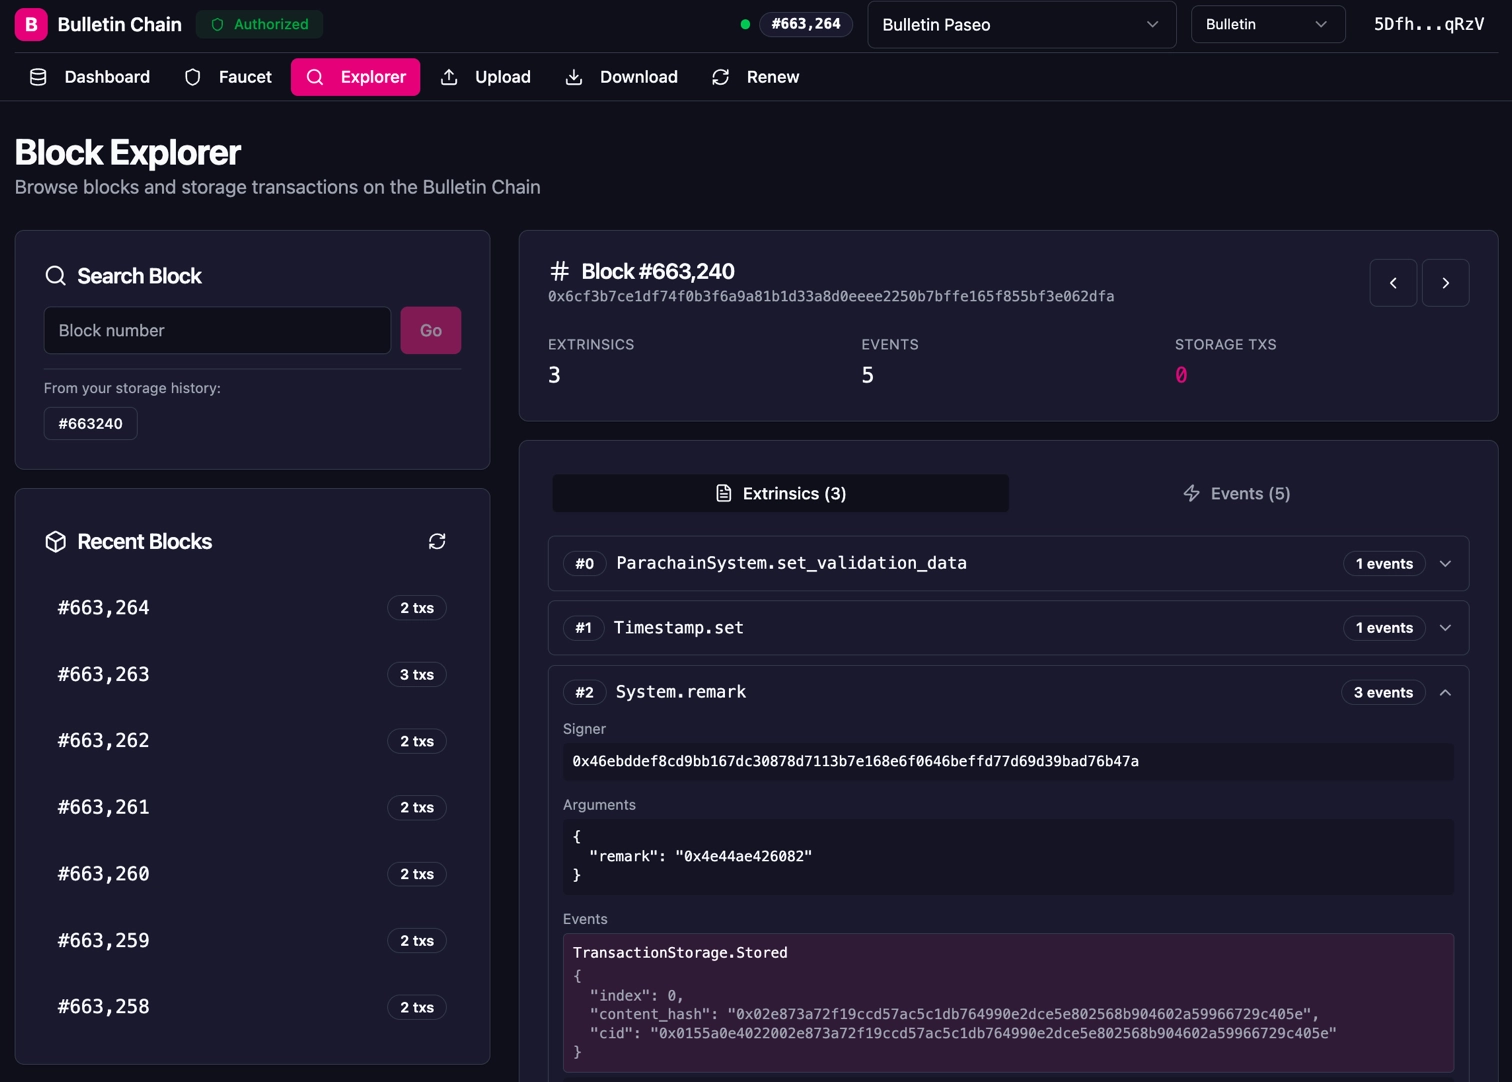
After storing your image, you can verify it was successfully recorded using the Explorer in the Console UI. Navigate to the block number from the Stored event to see the TransactionStorage.Stored event with the content hash and CID.
Retrieve Your Data
The Bulletin Chain follows a "write-to-chain, read-from-network" architecture — you retrieve data from collator nodes using the CID. For a full overview of retrieval methods, see the reference page.
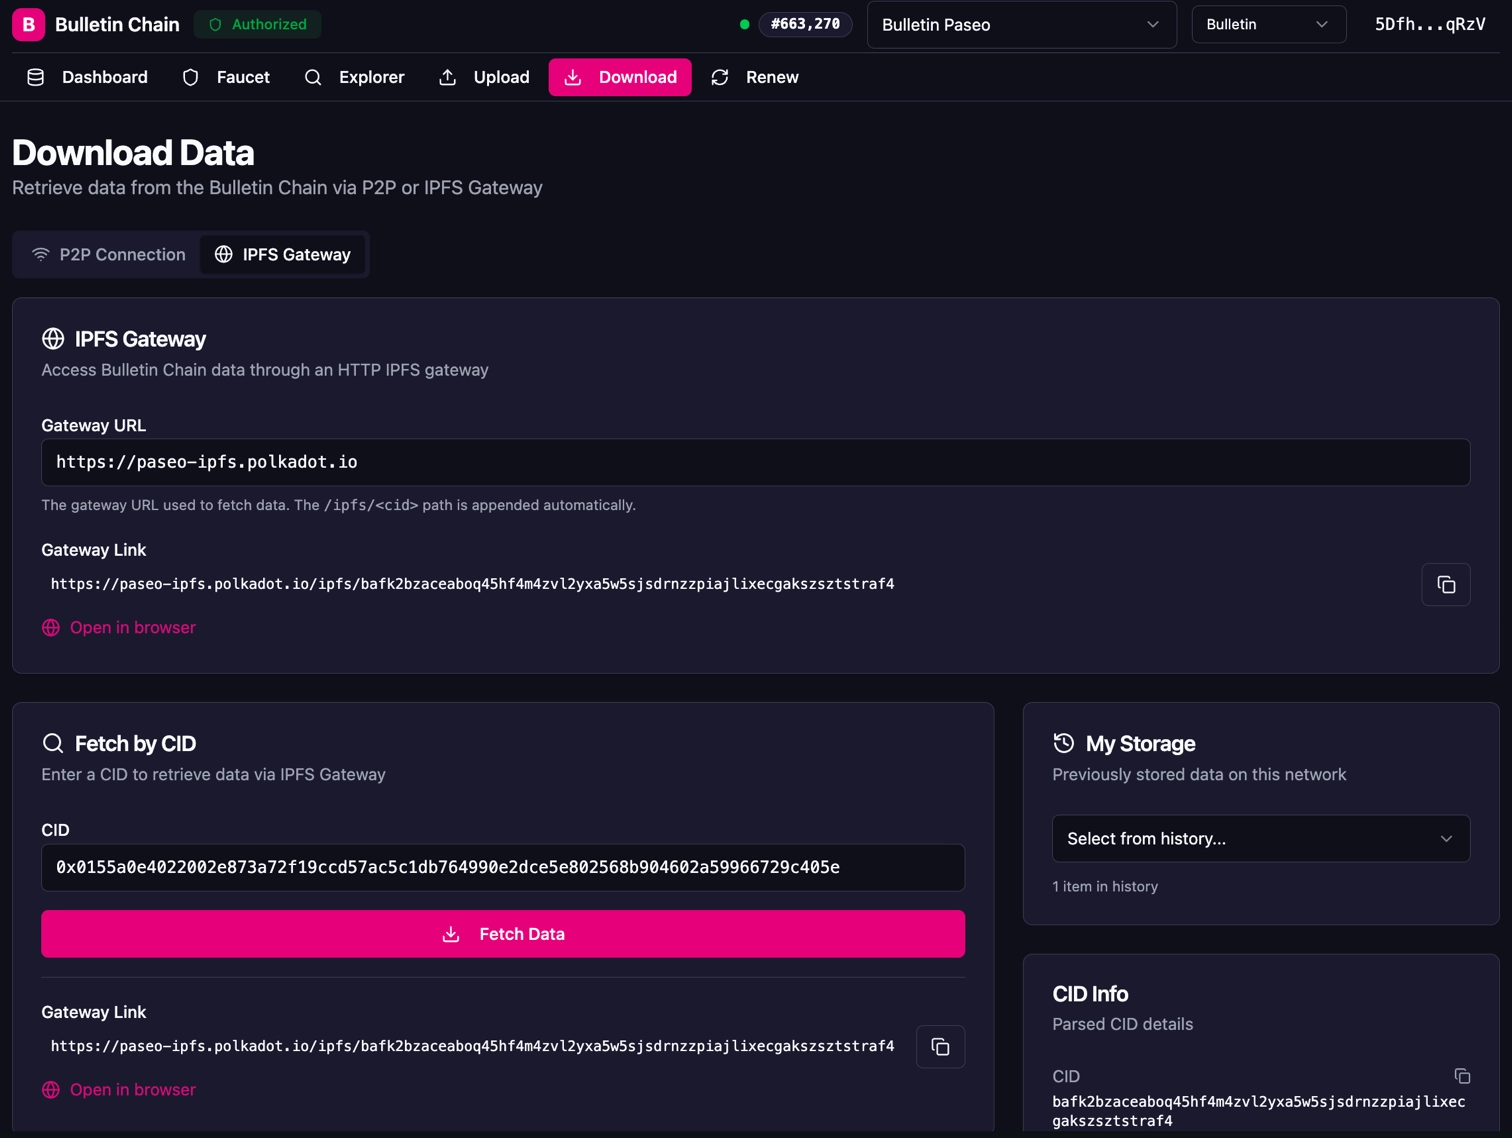
- Navigate to the Download page in the Bulletin Chain Console.
-
Choose a retrieval method:
- P2P Connection: Connects directly to Bulletin Chain collator nodes (decentralized, recommended).
- IPFS Gateway: Uses the Bulletin Chain's IPFS gateway at
https://paseo-ipfs.polkadot.io.
-
Enter your CID in the "Fetch by CID" field — you can use either the
bafk2bzace...format or the hex-encoded0x0155a0e4...format. -
Click Fetch Data to retrieve your content. The UI also generates a direct Gateway Link you can open in your browser.
You can retrieve data programmatically using the Bulletin Chain's IPFS gateway:
const cid = 'INSERT_CID';
const response = await fetch(`https://paseo-ipfs.polkadot.io/ipfs/${cid}`);
const data = await response.arrayBuffer();
console.log(`Retrieved ${data.byteLength} bytes`);
Note
Replace INSERT_CID with the CID string you received when storing your data (e.g., bafk2bzacea6wlxy...).
For production applications, the recommended decentralized approach is to connect directly to Bulletin Chain collator nodes using Helia (a lean IPFS implementation) and retrieve data via the CID over libp2p.
This method requires knowing the public multiaddresses of Bulletin Chain collator nodes. See the Bulletin Chain repository for Helia configuration examples and available collator endpoints.
Tip
Smoldot light client support for retrieval via the bitswap_block RPC is coming soon. This will enable fully trustless, decentralized data retrieval without connecting to a full node.
Note
Stored data is only available within the retention period (~2 weeks on Polkadot TestNet). After that, the data is pruned from the chain and is no longer retrievable unless it has been renewed.
Renew Your Data
Stored data is retained for a limited period (~2 weeks on Polkadot TestNet). If you need your image to remain available beyond the retention period, renew it before it expires.
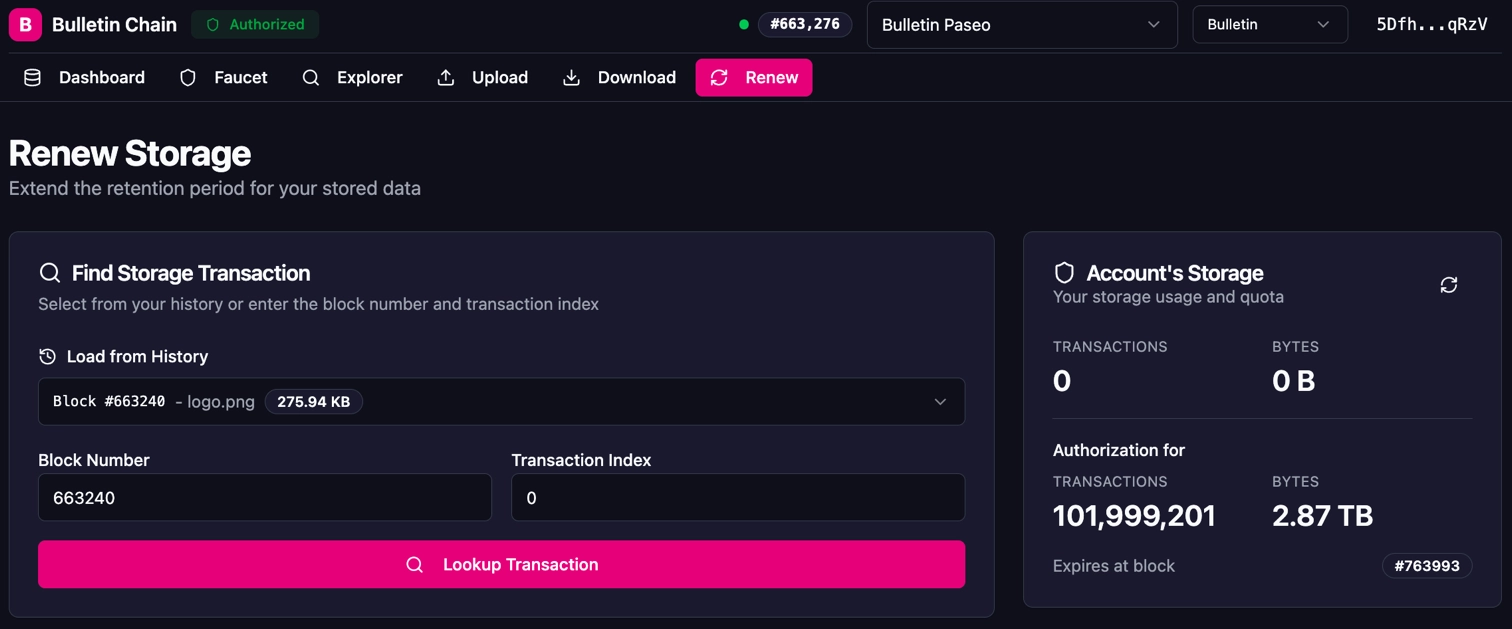
- Navigate to the Renew page in the Bulletin Chain Console.
-
Select your stored transaction from the Load from History dropdown, or manually enter the Block Number and Transaction Index.
-
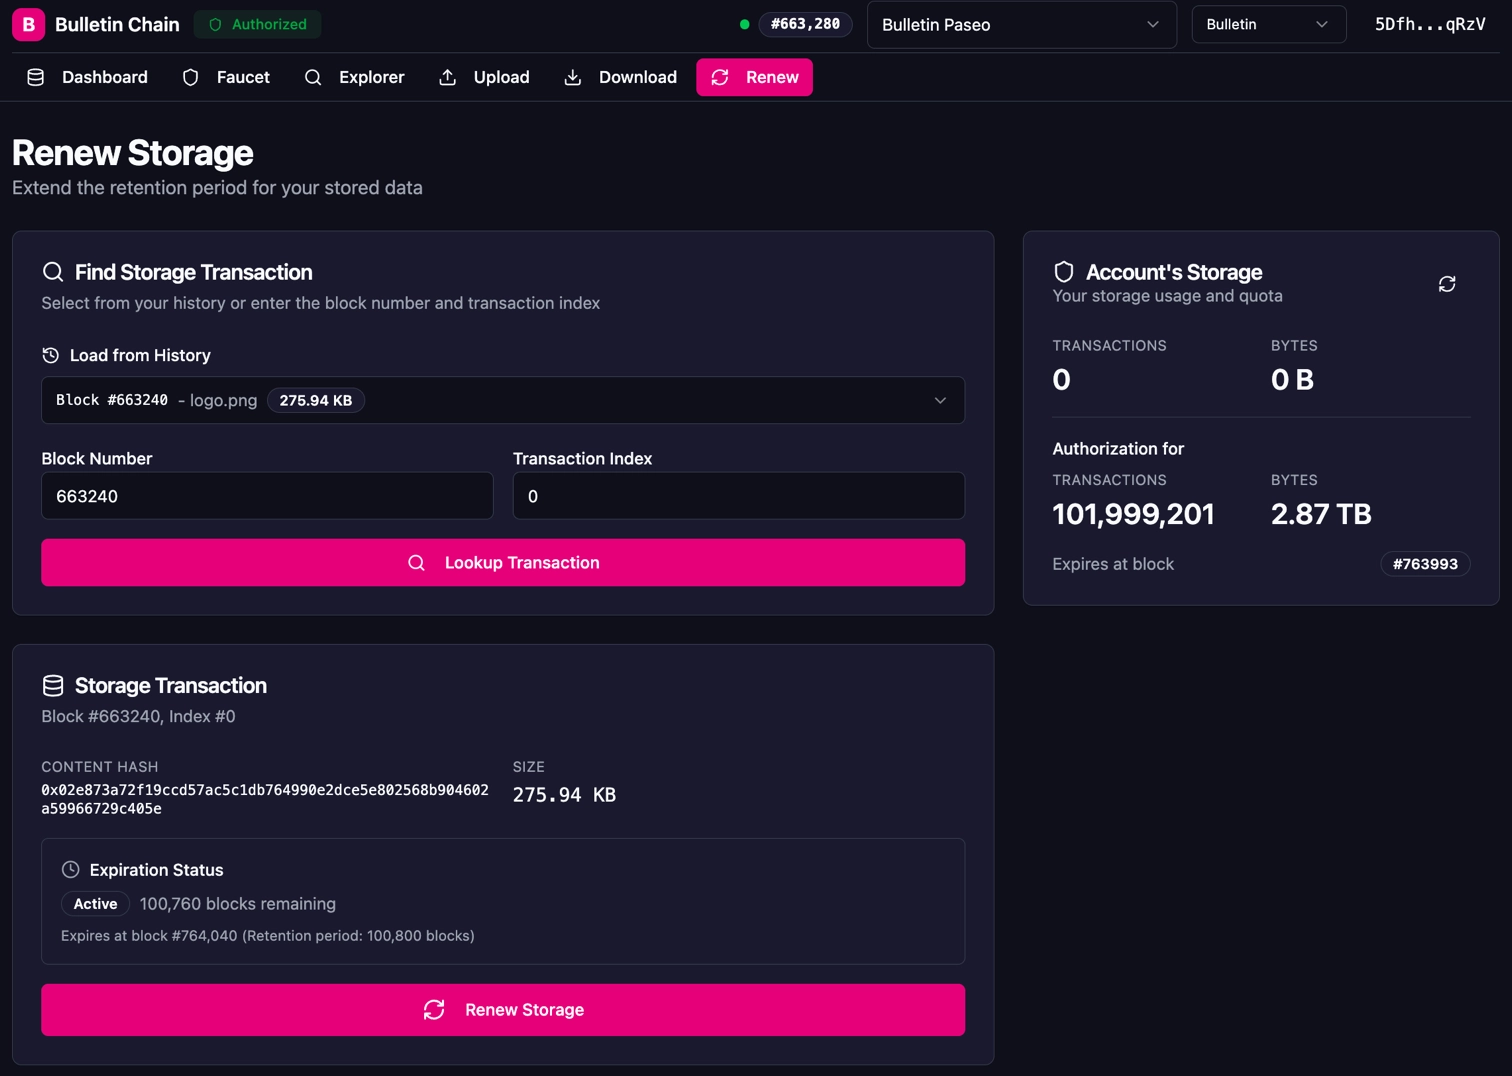
Click Lookup Transaction to view the transaction details, including the content hash, size, and expiration status.
-
Click Renew Storage and approve the transaction in your wallet extension.
console.log('Renewing stored data...');
const result = await api.tx.TransactionStorage.renew({
  block: INSERT_BLOCK_NUMBER,
  index: INSERT_INDEX,
}).signAndSubmit(signer);
console.log(`Renewal included in block: ${result.block.hash}`);
You should see output similar to:
Renewal resets the retention timer, keeping your image available for another full retention period.
Warning
Each renewal generates a new block number and index. You must track the latest (block, index) pair from the Renewed event for any subsequent renewals. Using the original values after a renewal will fail.
Note
In the future, you'll be able to reference all data by CID instead of needing to track block number and index pairs.
Where to Go Next
-
Reference Data Storage Reference
Explore the full technical reference for the Bulletin Chain, including all extrinsics, storage items, and events.
| Created: April 6, 2026