Deploy Your App
Introduction
This page covers how to build and deploy a Polkadot Product using the playground CLI. By the end, your app bundle will be uploaded to the Bulletin Chain, registered under a .dot name, and discoverable in the Polkadot playground.
Prerequisites
Before deploying, ensure you have:
- Complete Install Desktop and Pair and Get TestNet Tokens; your account needs PAS funds and a Bulletin Chain authorization. If you have not obtained a Bulletin Chain authorization yet, request one from the Bulletin Chain authorization page
- A Polkadot Product project running locally. See Set Up Your Project
Build Your App Bundle
Run playground build to compile your project into a deployable bundle.
The CLI auto-detects your project type and runs the appropriate build. The output is a set of static files (HTML, JS, CSS, assets) that will be uploaded in the next step.
Tip
If you have already built the project, you can skip this step. playground deploy will prompt you to reuse the existing build.
Deploy Your App
Run playground deploy to start the interactive deploy flow. The CLI walks you through a series of prompts, then shows a confirmation summary before uploading.
The CLI presents the following prompts in order:
-
Review app detail page: A reminder that your
README.mdbecomes your app's detail page on the playground. Make sure it's up to date, then press Enter to continue (or Esc to exit and edit it first). -
Redeploy contracts if changed: Smart contracts hold your app's on-chain logic and data, and deploy separately from your website. Choose no if you only changed the website. Choose yes if you changed contract code in this project. The CLI then redeploys and reinstalls the contracts and rebuilds the site to match.
did you change your smart contracts? › no · I only changed the website yes · I changed contract code too -
Choose to rebuild before deployment: Compiles your latest code into the files that get uploaded. Choose yes to rebuild now, or no to redeploy the build that's already in your build folder.
build before deploy? › yes · rebuild with my latest code no · redeploy the existing build -
Choose who signs the upload: Publishing writes to the blockchain, which needs a signature. The dev signer uses a shared test account: instant, no phone needed. The phone signer signs with your own logged-in account, with a few taps on your phone.
who signs the upload? › dev signer · fast, no phone needed your phone signer · signs with your own account -
Choose a default build directory: The folder holding your built site (the files that get uploaded). The default
distfits most projects. This example uses.nextfor a Next.js app.build directory default: dist › .next█
-
Choose a domain name: Pick the
.dotaddress people will use to reach your app, e.g.my-app.dot. Name availability depends on the length of the base name (the part before any optional two-digit suffix):Base name length Requirement 9 characters or longer Open to everyone — deploys with no personhood check 6 to 8 characters Requires Proof of Personhood on this network 5 characters or fewer Reserved domain › myproject57█
-
Publish to the playground: Choose yes to list your app in the public Polkadot Playground so others can find and open it. Choose no to still deploy it to your
.dotaddress, but keep it unlisted.publish to the playground? › yes · list it in the public playground no · deploy to my .dot address only -
Review confirmation summary: The CLI shows a summary of your choices before uploading. Review it, then press Enter to deploy (or Esc to cancel). With the dev signer, no phone taps are needed and
phone approvalsreadsnone.playground deploy · myproject57.dot · paseo next v2 v0.34.7 ────────────────────────────────────────────────────────────────────────
deploying myproject57.dot
signer Dev signer (no phone taps for upload) build skip (use existing) build dir .next contracts skip publish DotNS only
phone approvals none
enter to deploy · esc to cancelPress Enter to confirm. The CLI then runs the upload and on-chain registration steps. If you chose the phone signer, each step triggers an approval prompt in the Polkadot mobile app — open the app and approve when prompted. With the dev signer selected here, the upload and DotNS registration run automatically with no phone prompts, and the deploy finalizes:
  playground deploy  ·  myproject57.dot  ·  paseo next v2        v0.34.7
  ────────────────────────────────────────────────────────────────────────

  frontend

  · build         skipped
  ✓ upload + dotns

  ✓ deploy complete

  url           https://myproject57.dot.li
  domain        myproject57.dot
  app cid       bafybeihvru3e6ojhopxj7xxwtafrpyvsha6kylzklryon5k67u4clr26re
  ipfs cid      bafybeigr2liqwftbmily4sdxvo7mq4atgboqsrpdadypmsbpkn7c25cwja
Open Your App
Once the deploy completes, the CLI prints the URLs for your app. Regardless of whether you published it to the playground, your app is live at its .dot address and reachable through the .dot.li gateway:
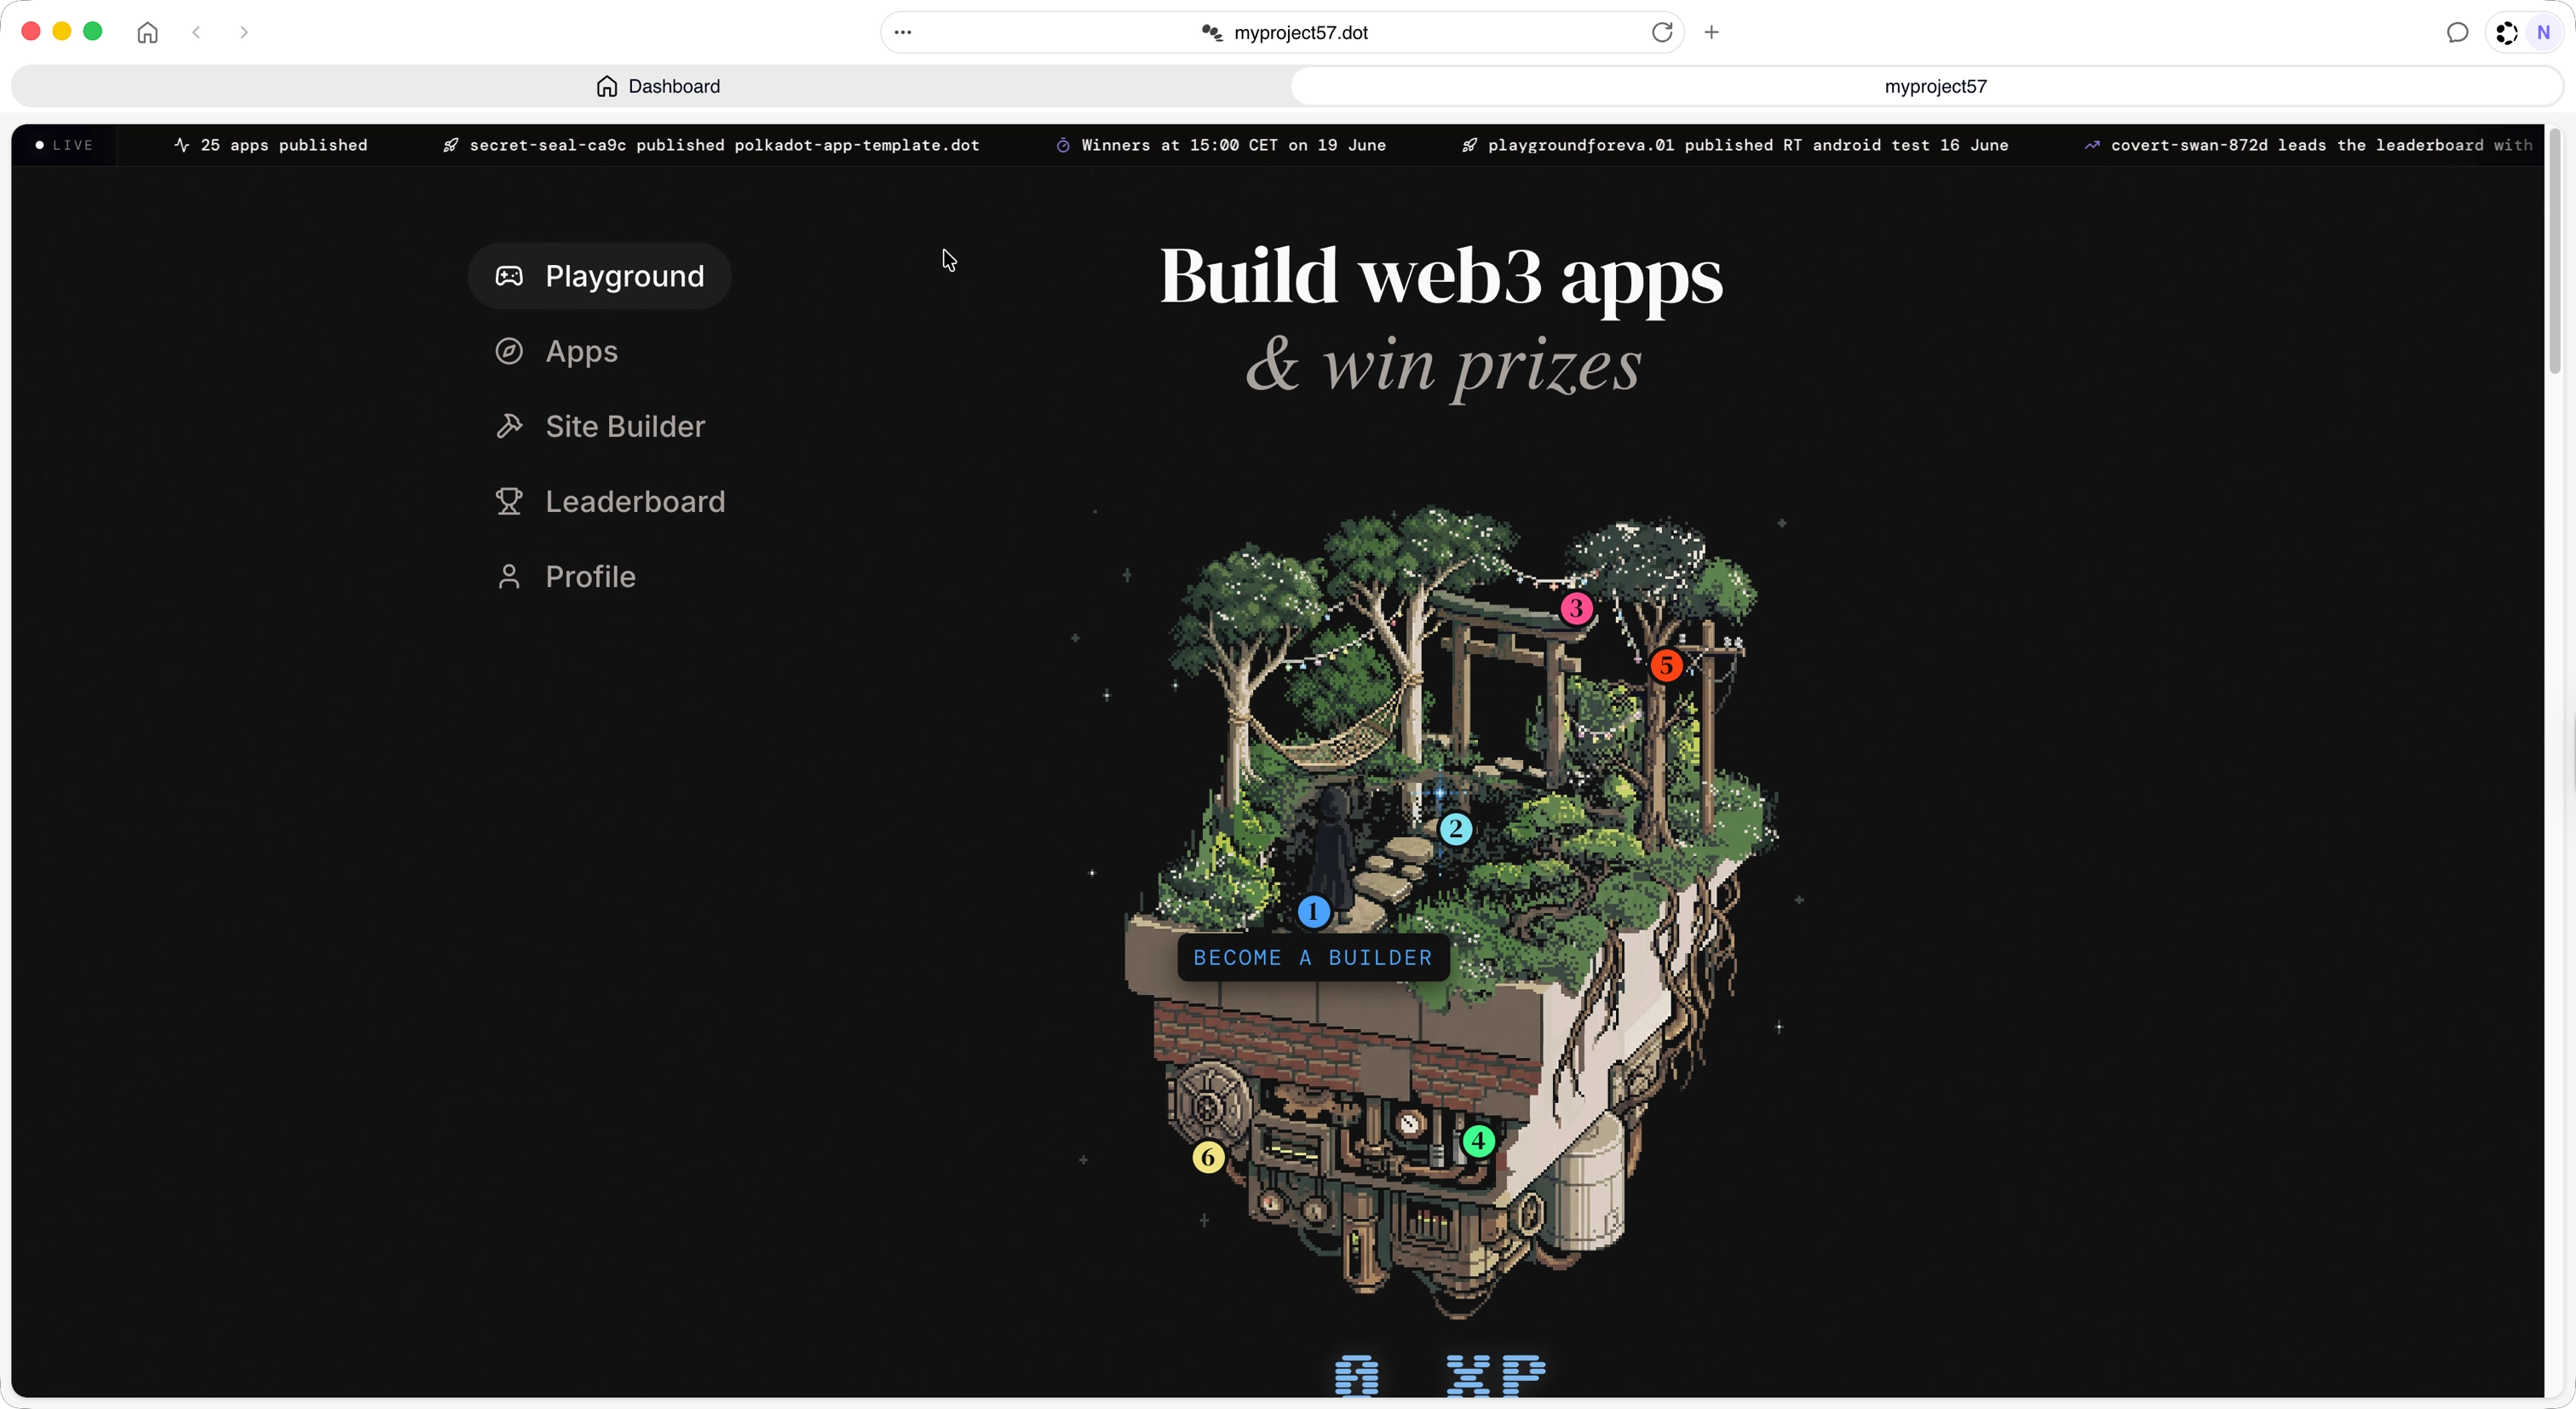
You can also navigate directly by entering your .dot name in the Polkadot Desktop browser address bar:
Either way, the app loads directly from the Bulletin Chain — no central server involved.
If you chose yes at the publish to the playground? prompt, your app is also listed in the public playground directory. Open playground.dot in Polkadot Desktop browser and your app appears under your .dot name, so others can find and open it. If you chose no (DotNS only, as in this example), the app is still fully deployed and reachable at the URLs above — it just won't be listed in the directory.
Tip
If your app does not appear immediately, wait a few seconds and refresh. On-chain state propagation can take a short time after the deploy transaction finalizes.
| Created: June 16, 2026