Generate and publish a Polkadot Product in the browser with RevX App Builder. RevX gives you a browser-based IDE, scaffolds a Product from a natural-language prompt, and publishes it to a .dot name after you sign the final step with the Polkadot App.
This route does not require a local development environment. By the end, you will have configured an AI provider in App Builder, generated a Polkadot Product from a prompt, inspected the generated code, and published it to .dot.
Prerequisites
Before starting, make sure you have:
- The Polkadot App installed on your phone with an account created; it signs the final publish step.
- An API key for an AI provider supported by App Builder, such as OpenAI or Anthropic.
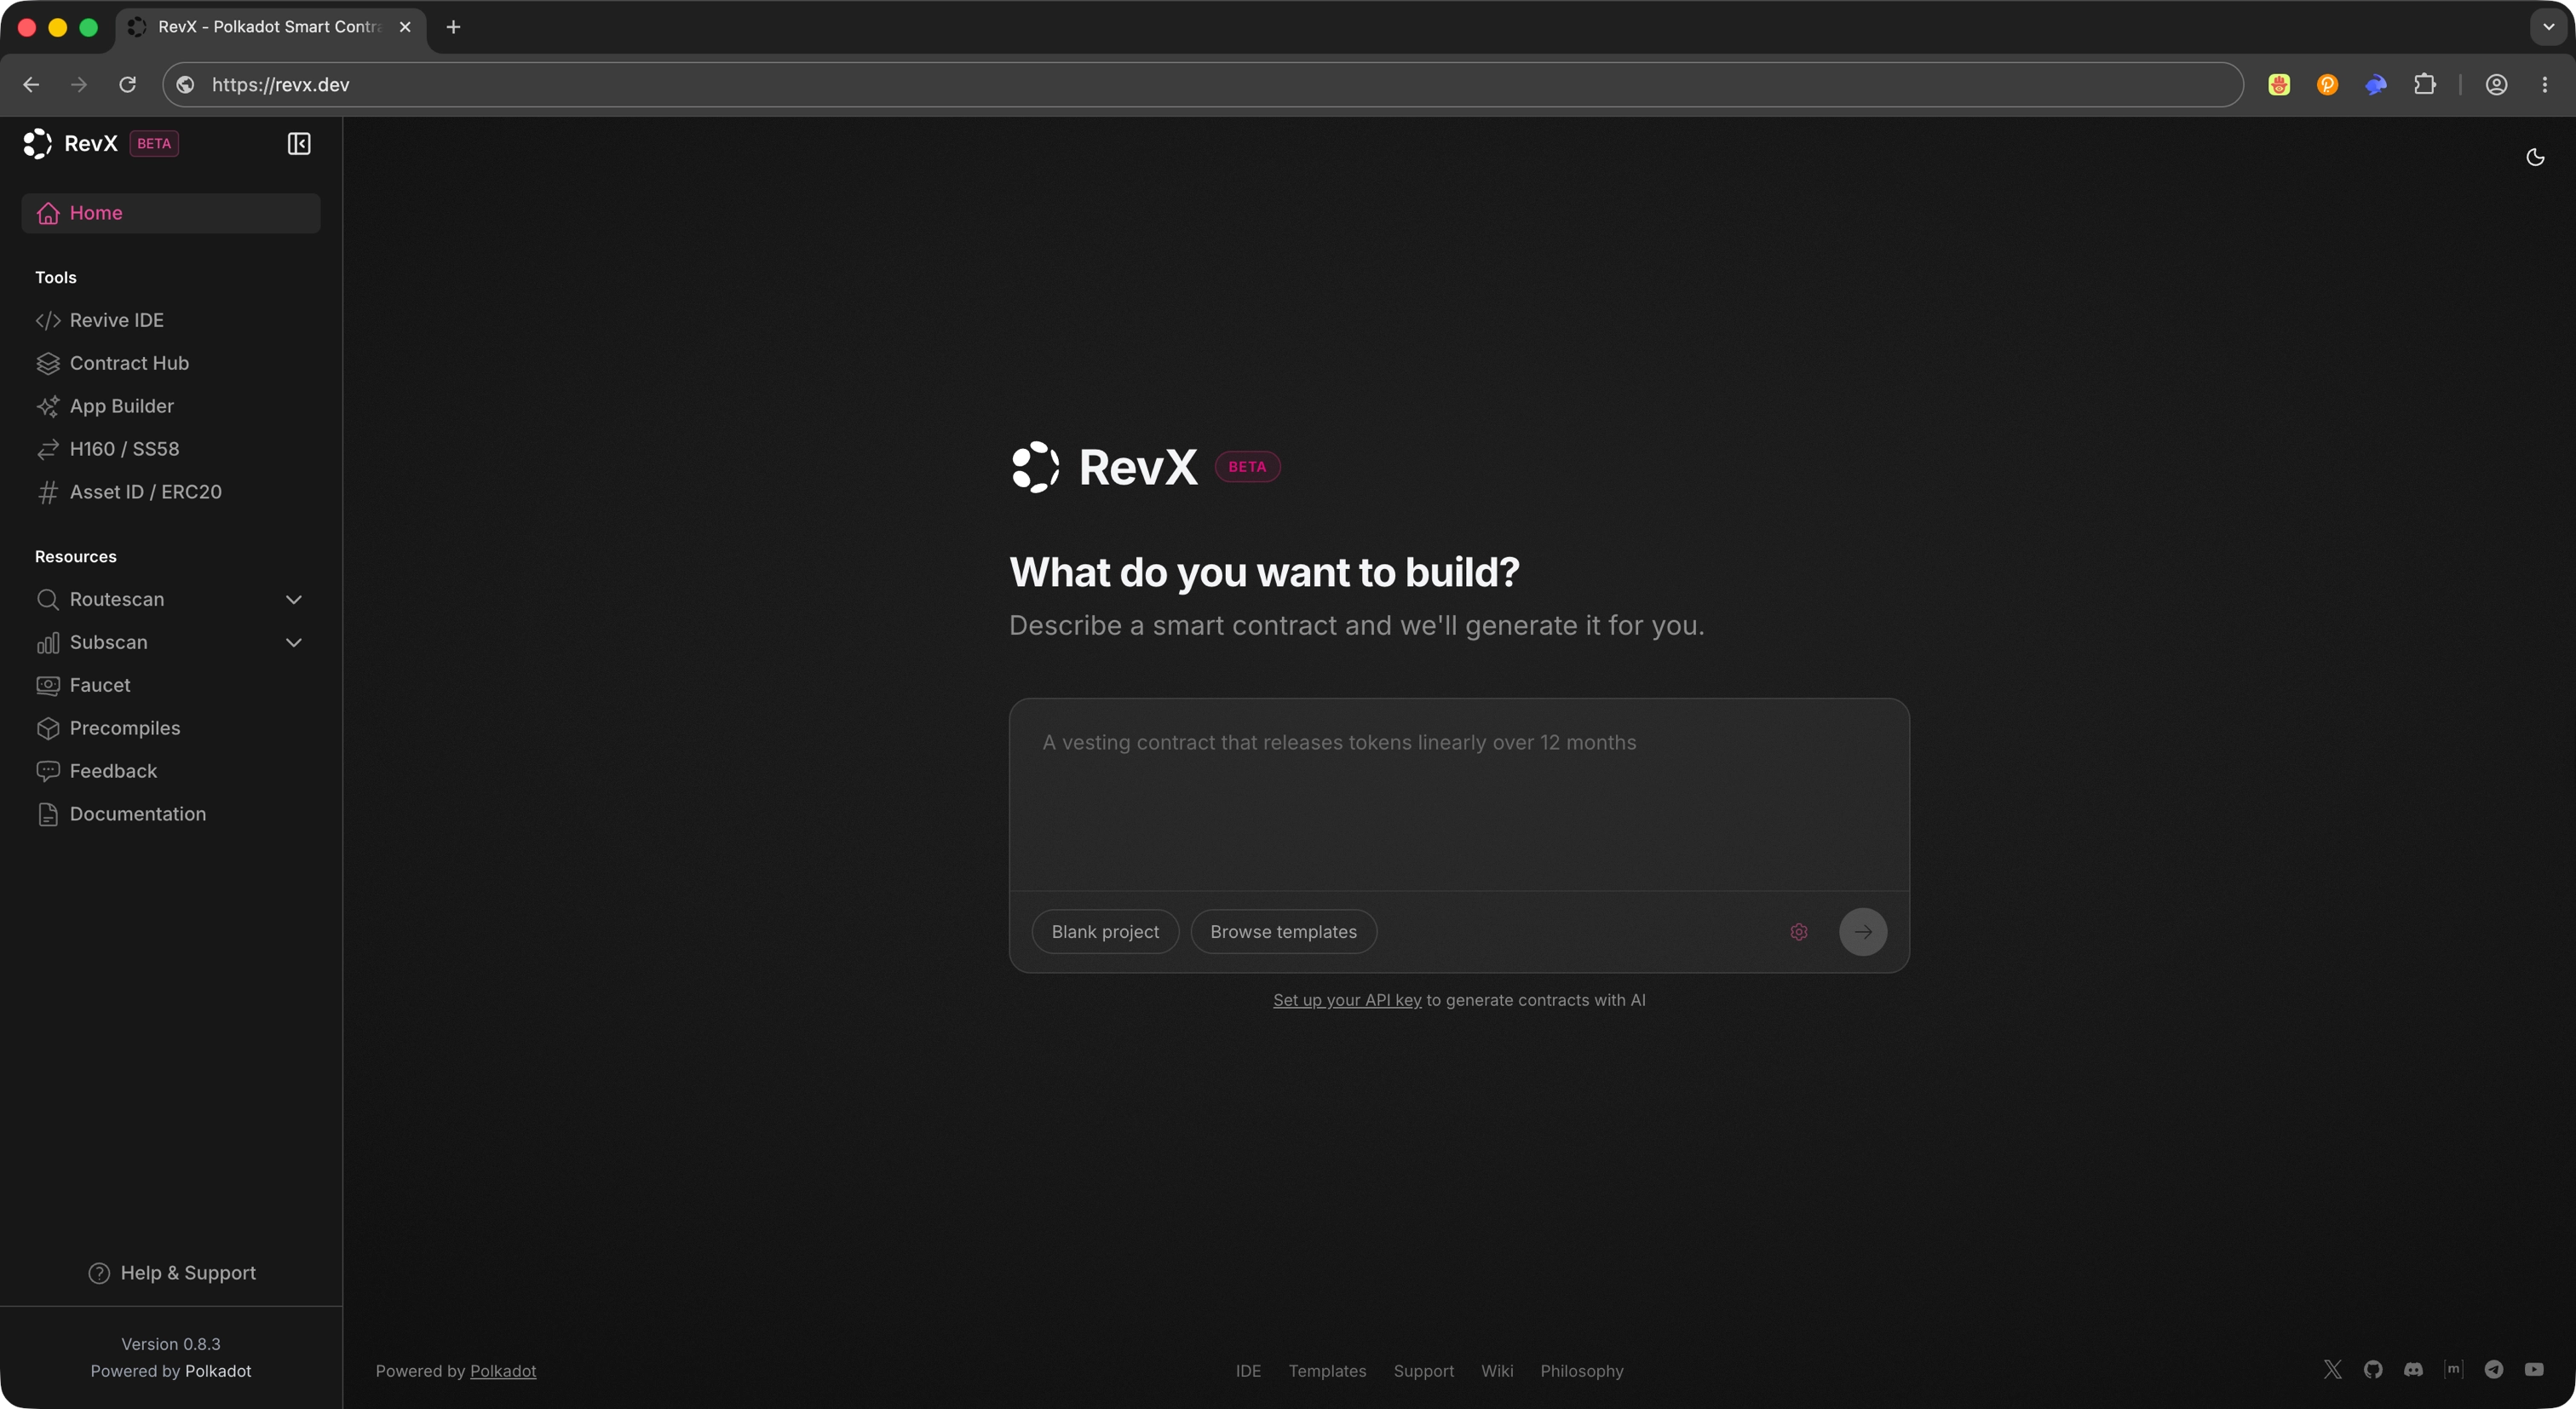
Open RevX
Open RevX in your browser. RevX is a browser-based IDE; you will use the App Builder track to scaffold a Polkadot Product end to end.
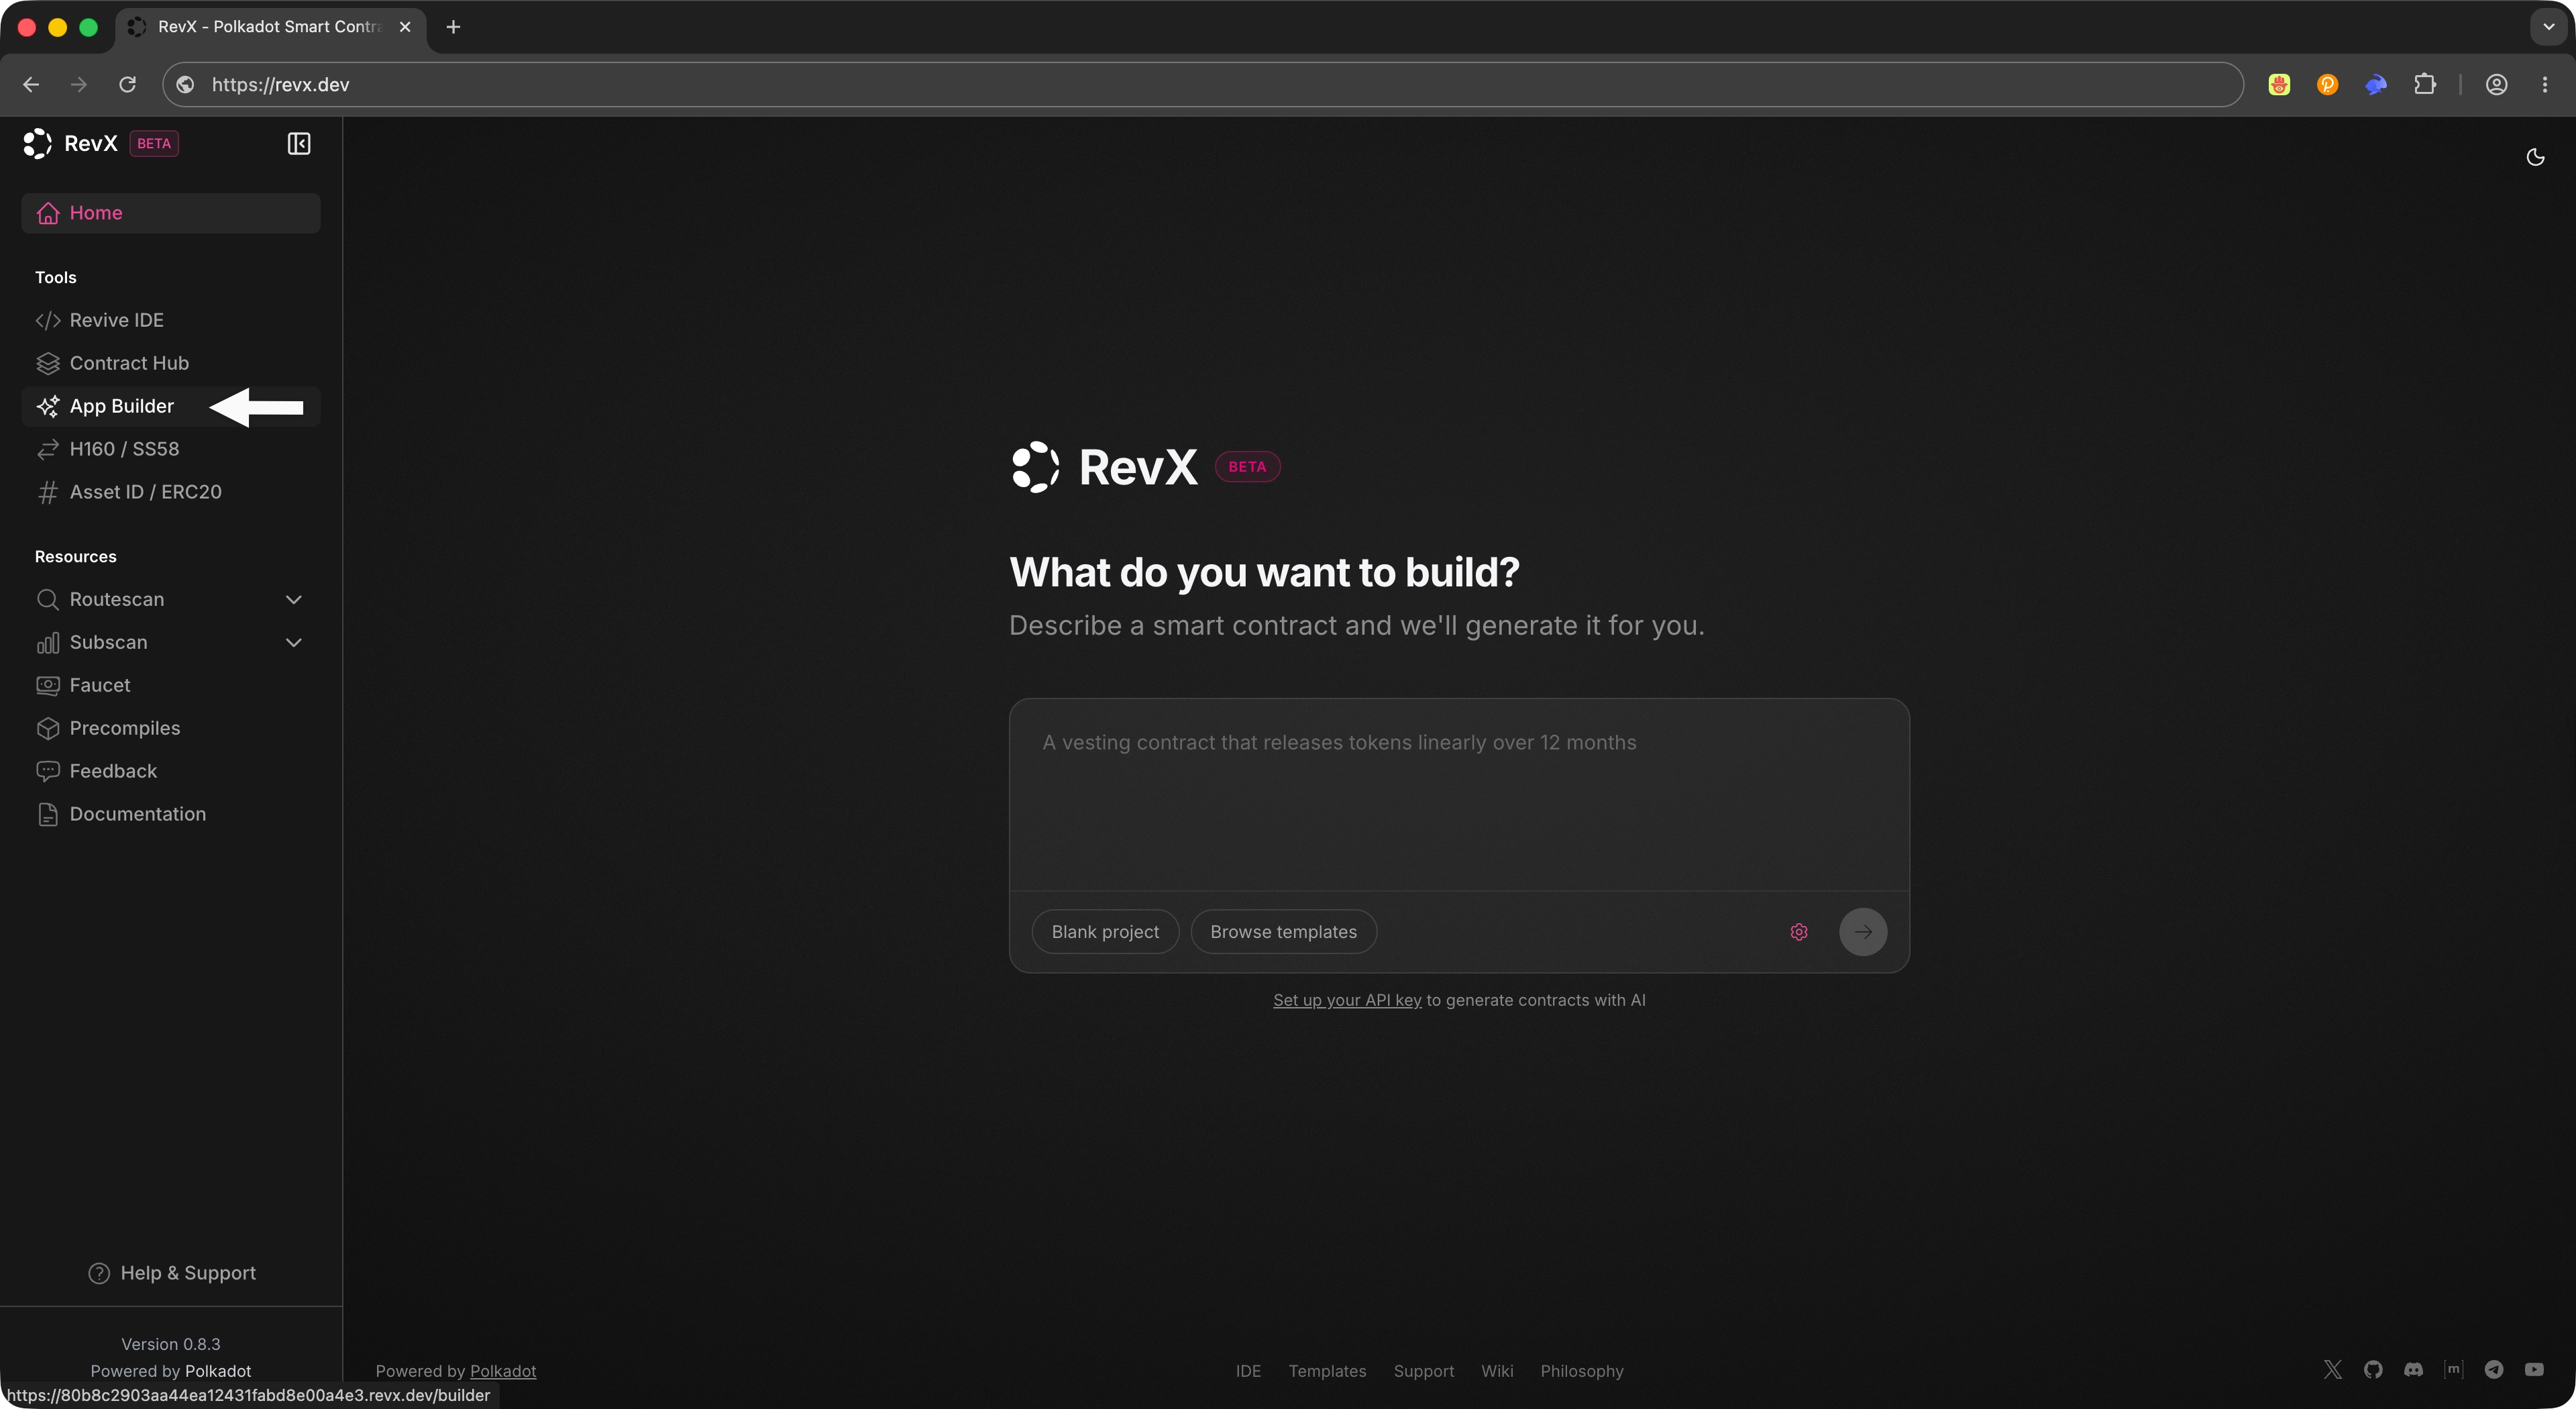
Open App Builder
From the sidebar, select App Builder. App Builder is RevX's track for generating Polkadot Products using AI-assisted workflows.
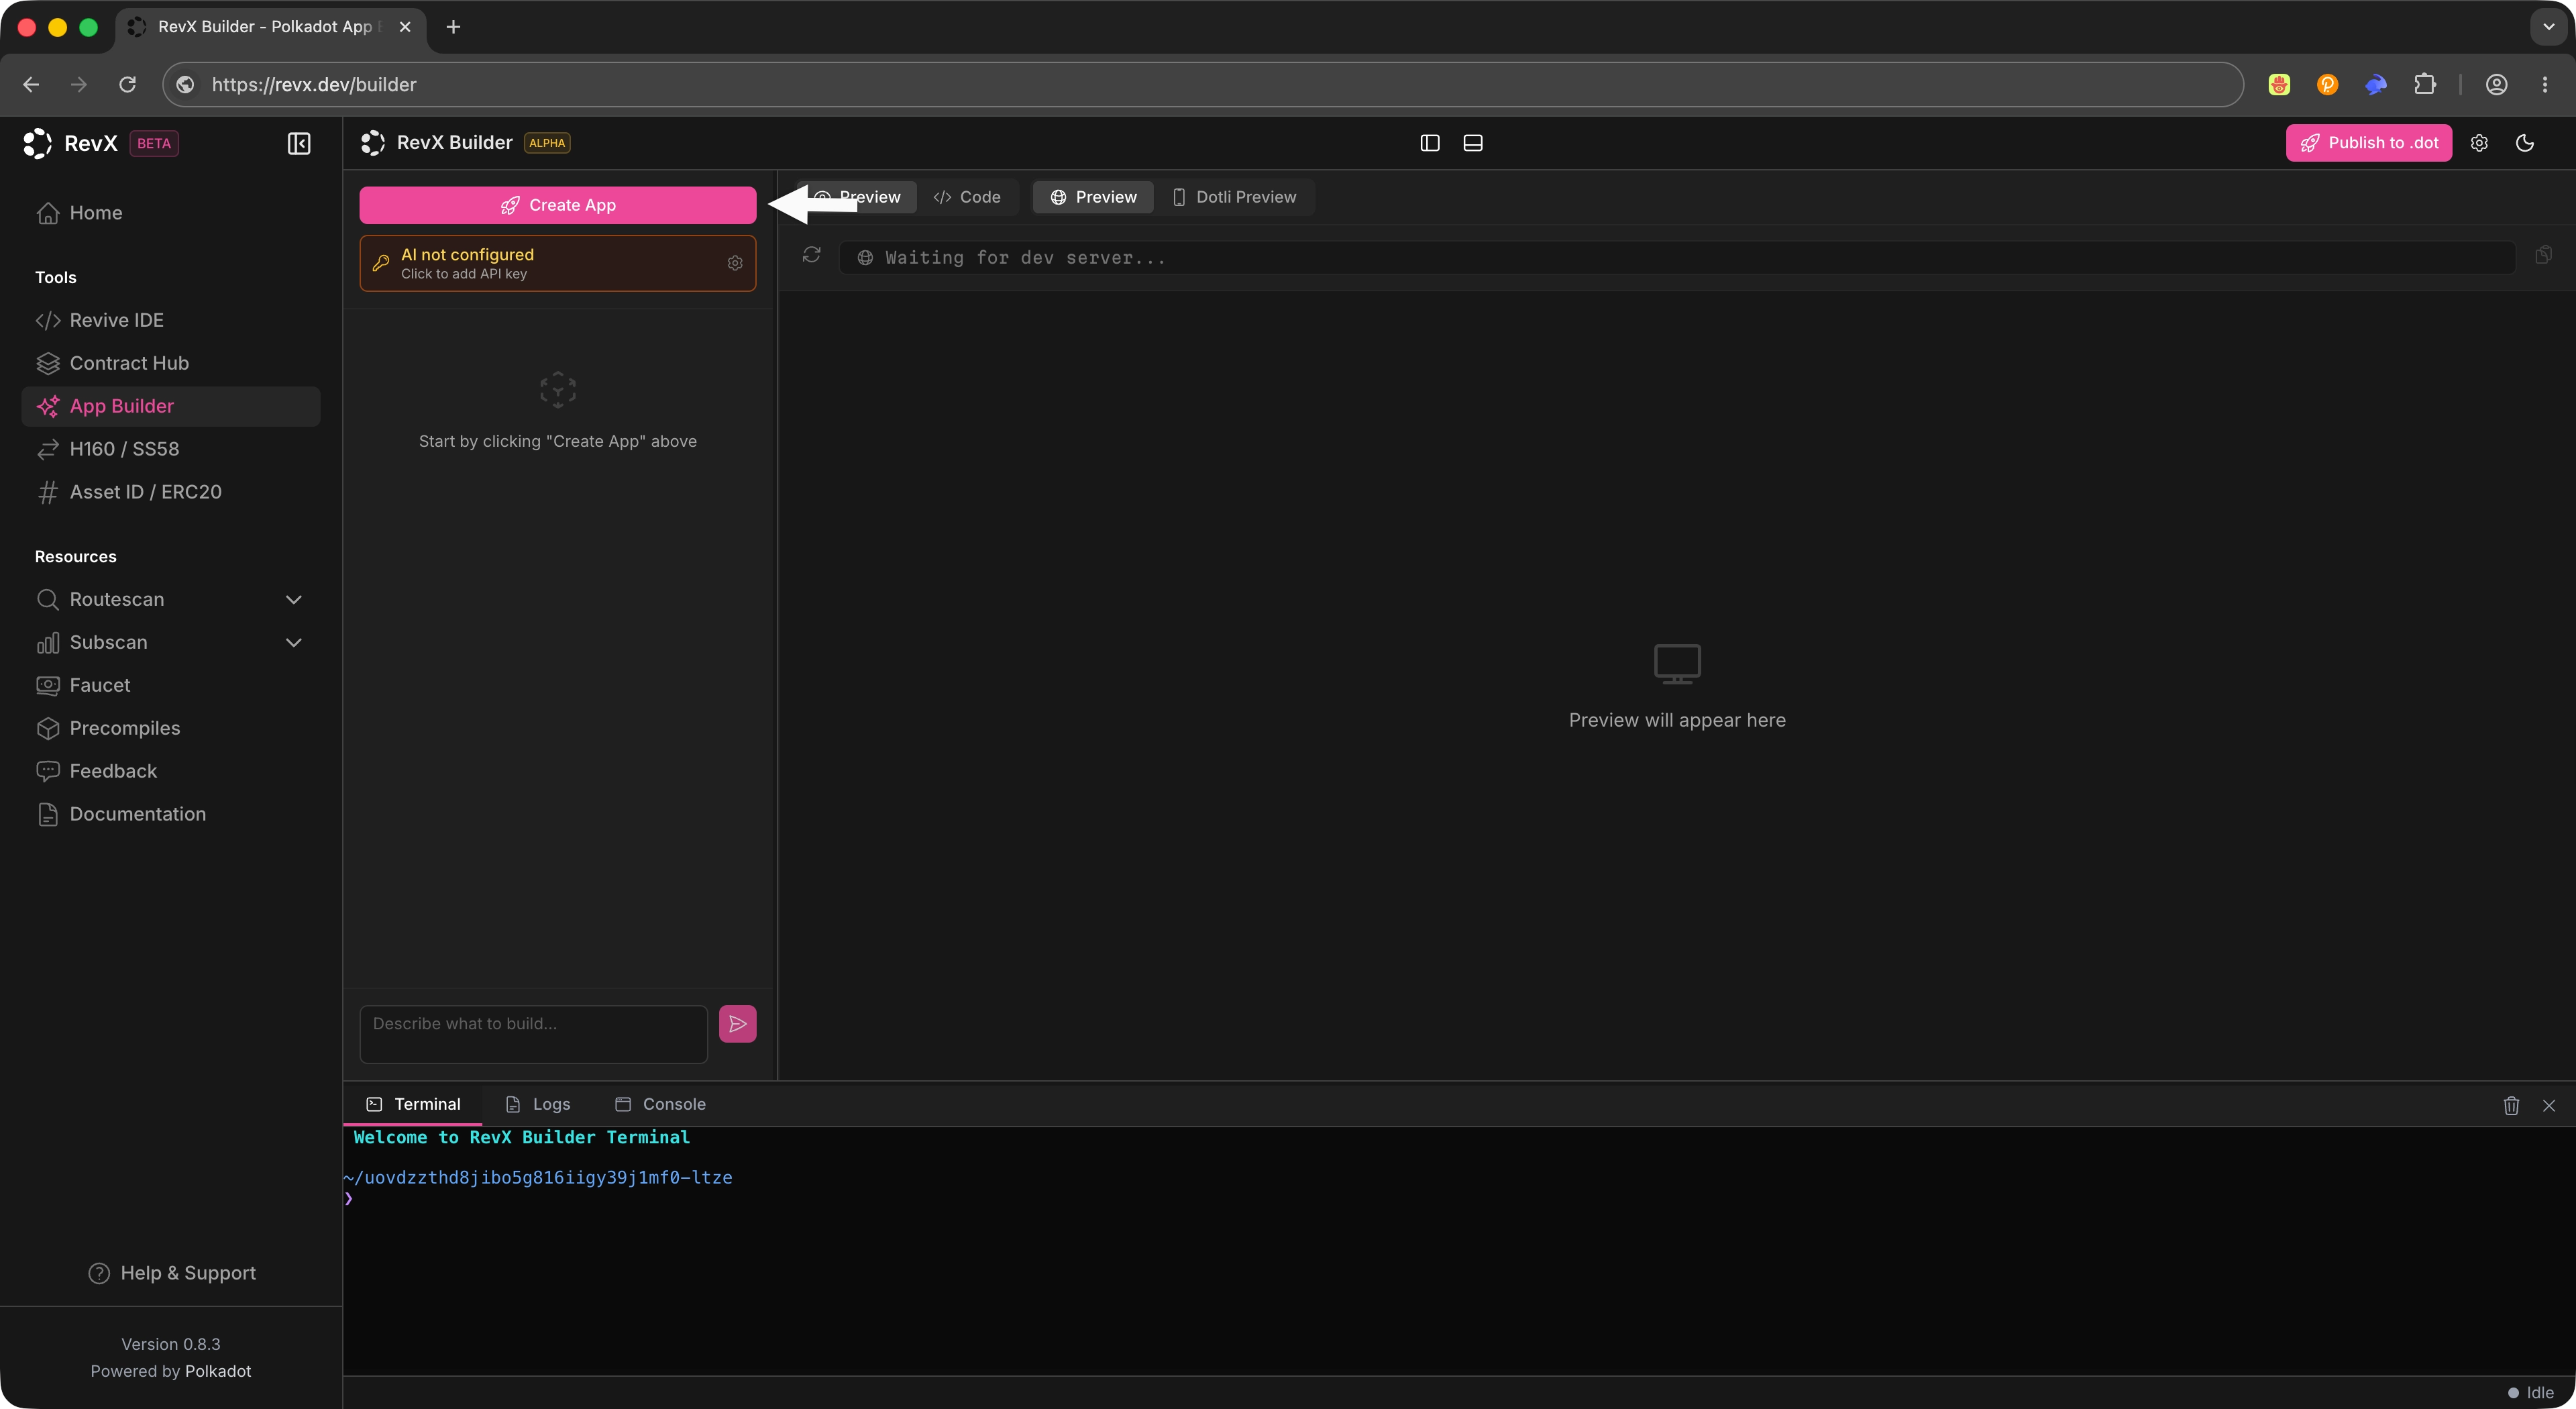
Create a New App
Click Create App to start a new project. RevX automatically installs the required dependencies and initializes the project environment so you can move straight into configuration and prompting.
After clicking Create App, you will see a loading screen while the IDE initializes the project environment.
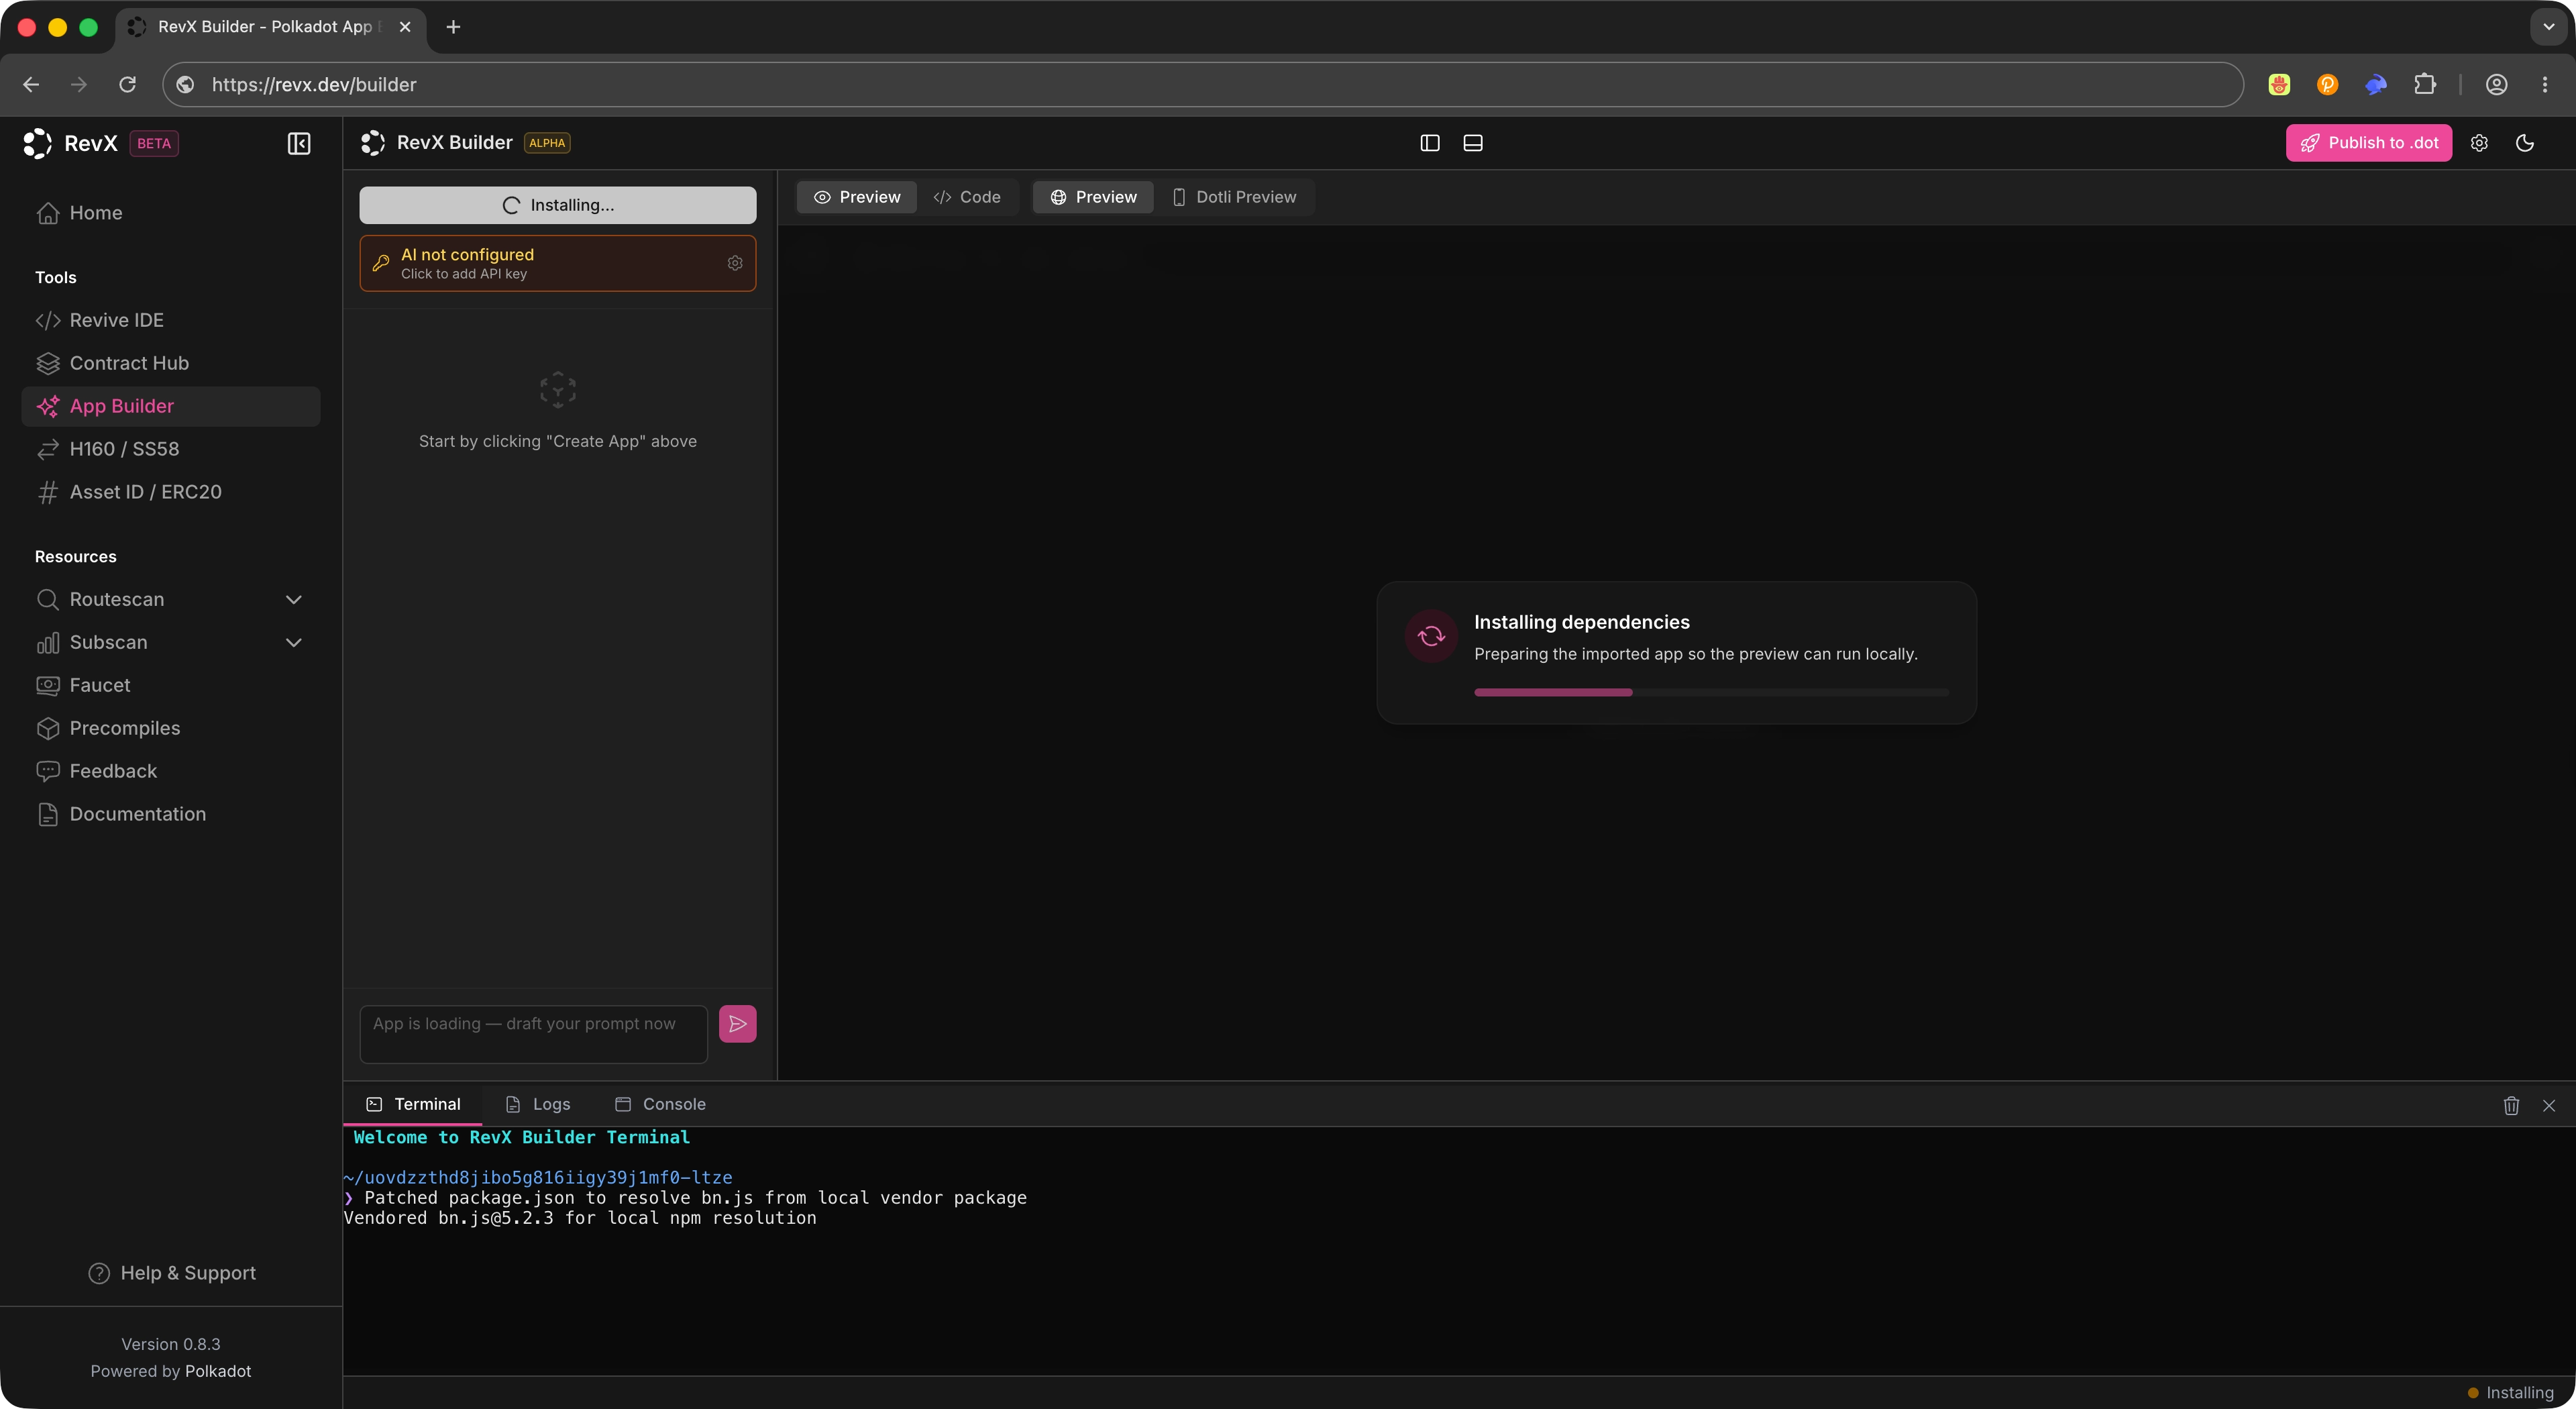
Note
Initial setup may take a moment while dependencies install. Wait for the environment to finish initializing before configuring the builder.
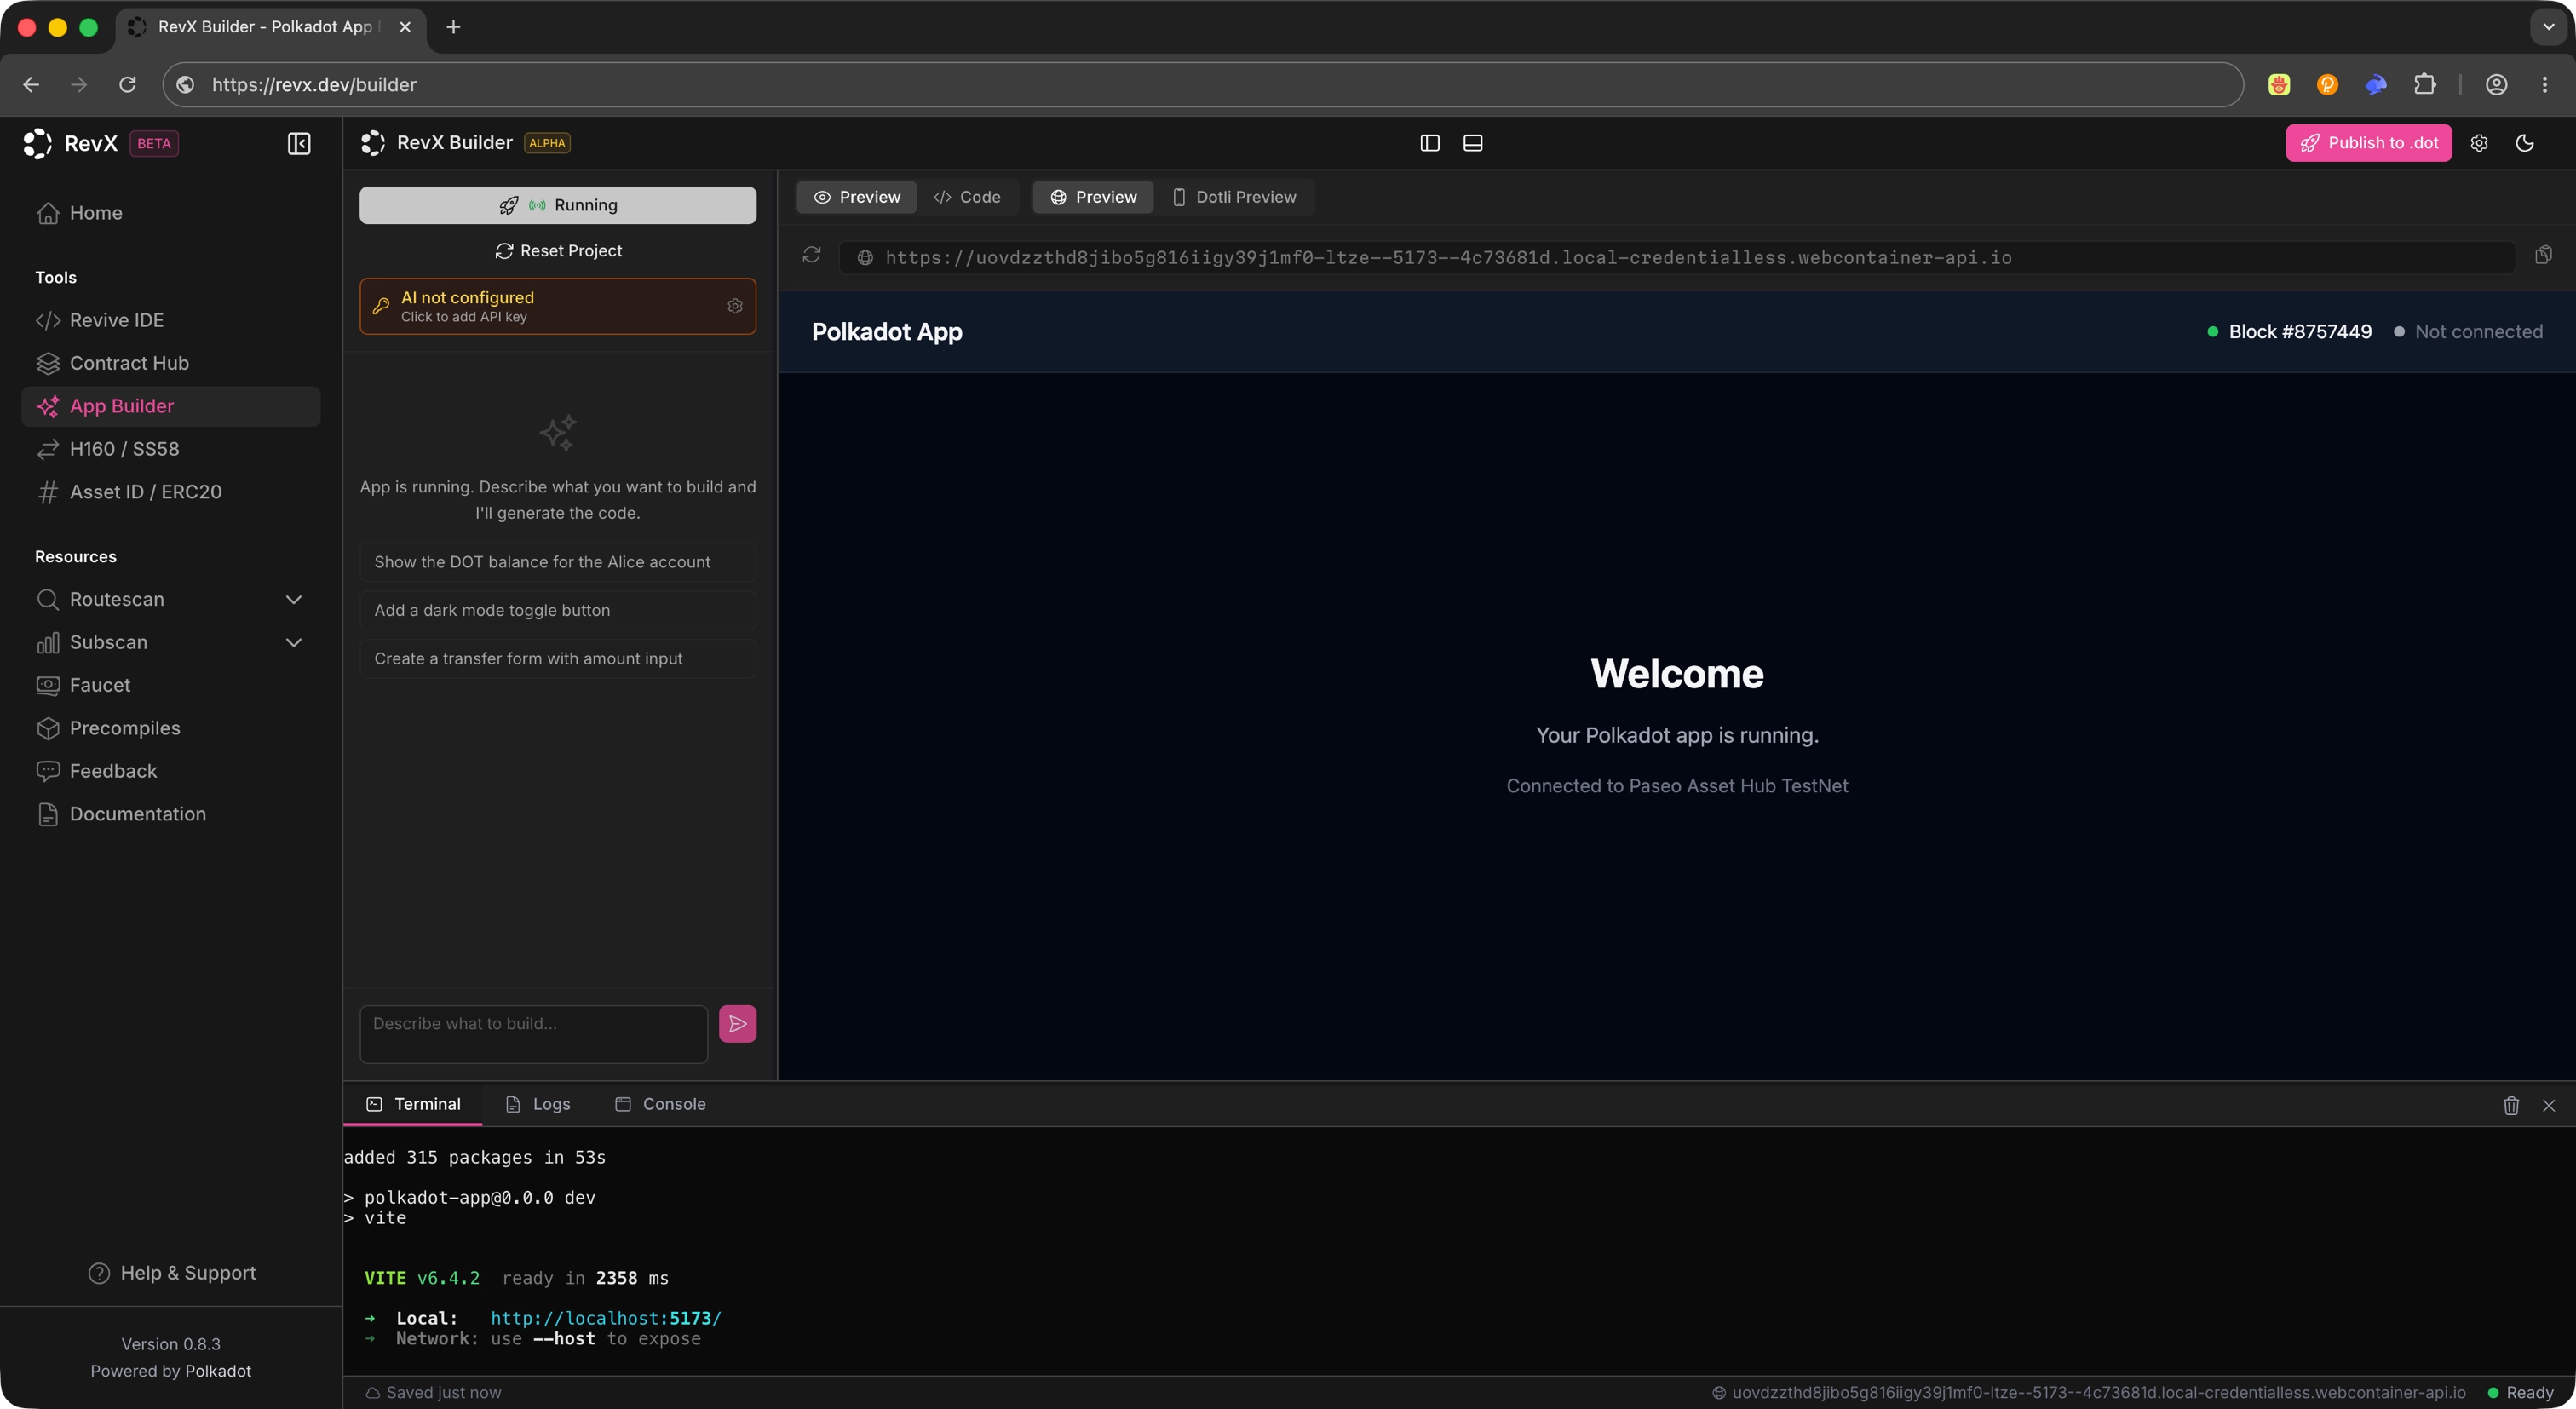
Once the environment is initialized, you will see a minimal app scaffolded in the editor and running in the terminal.
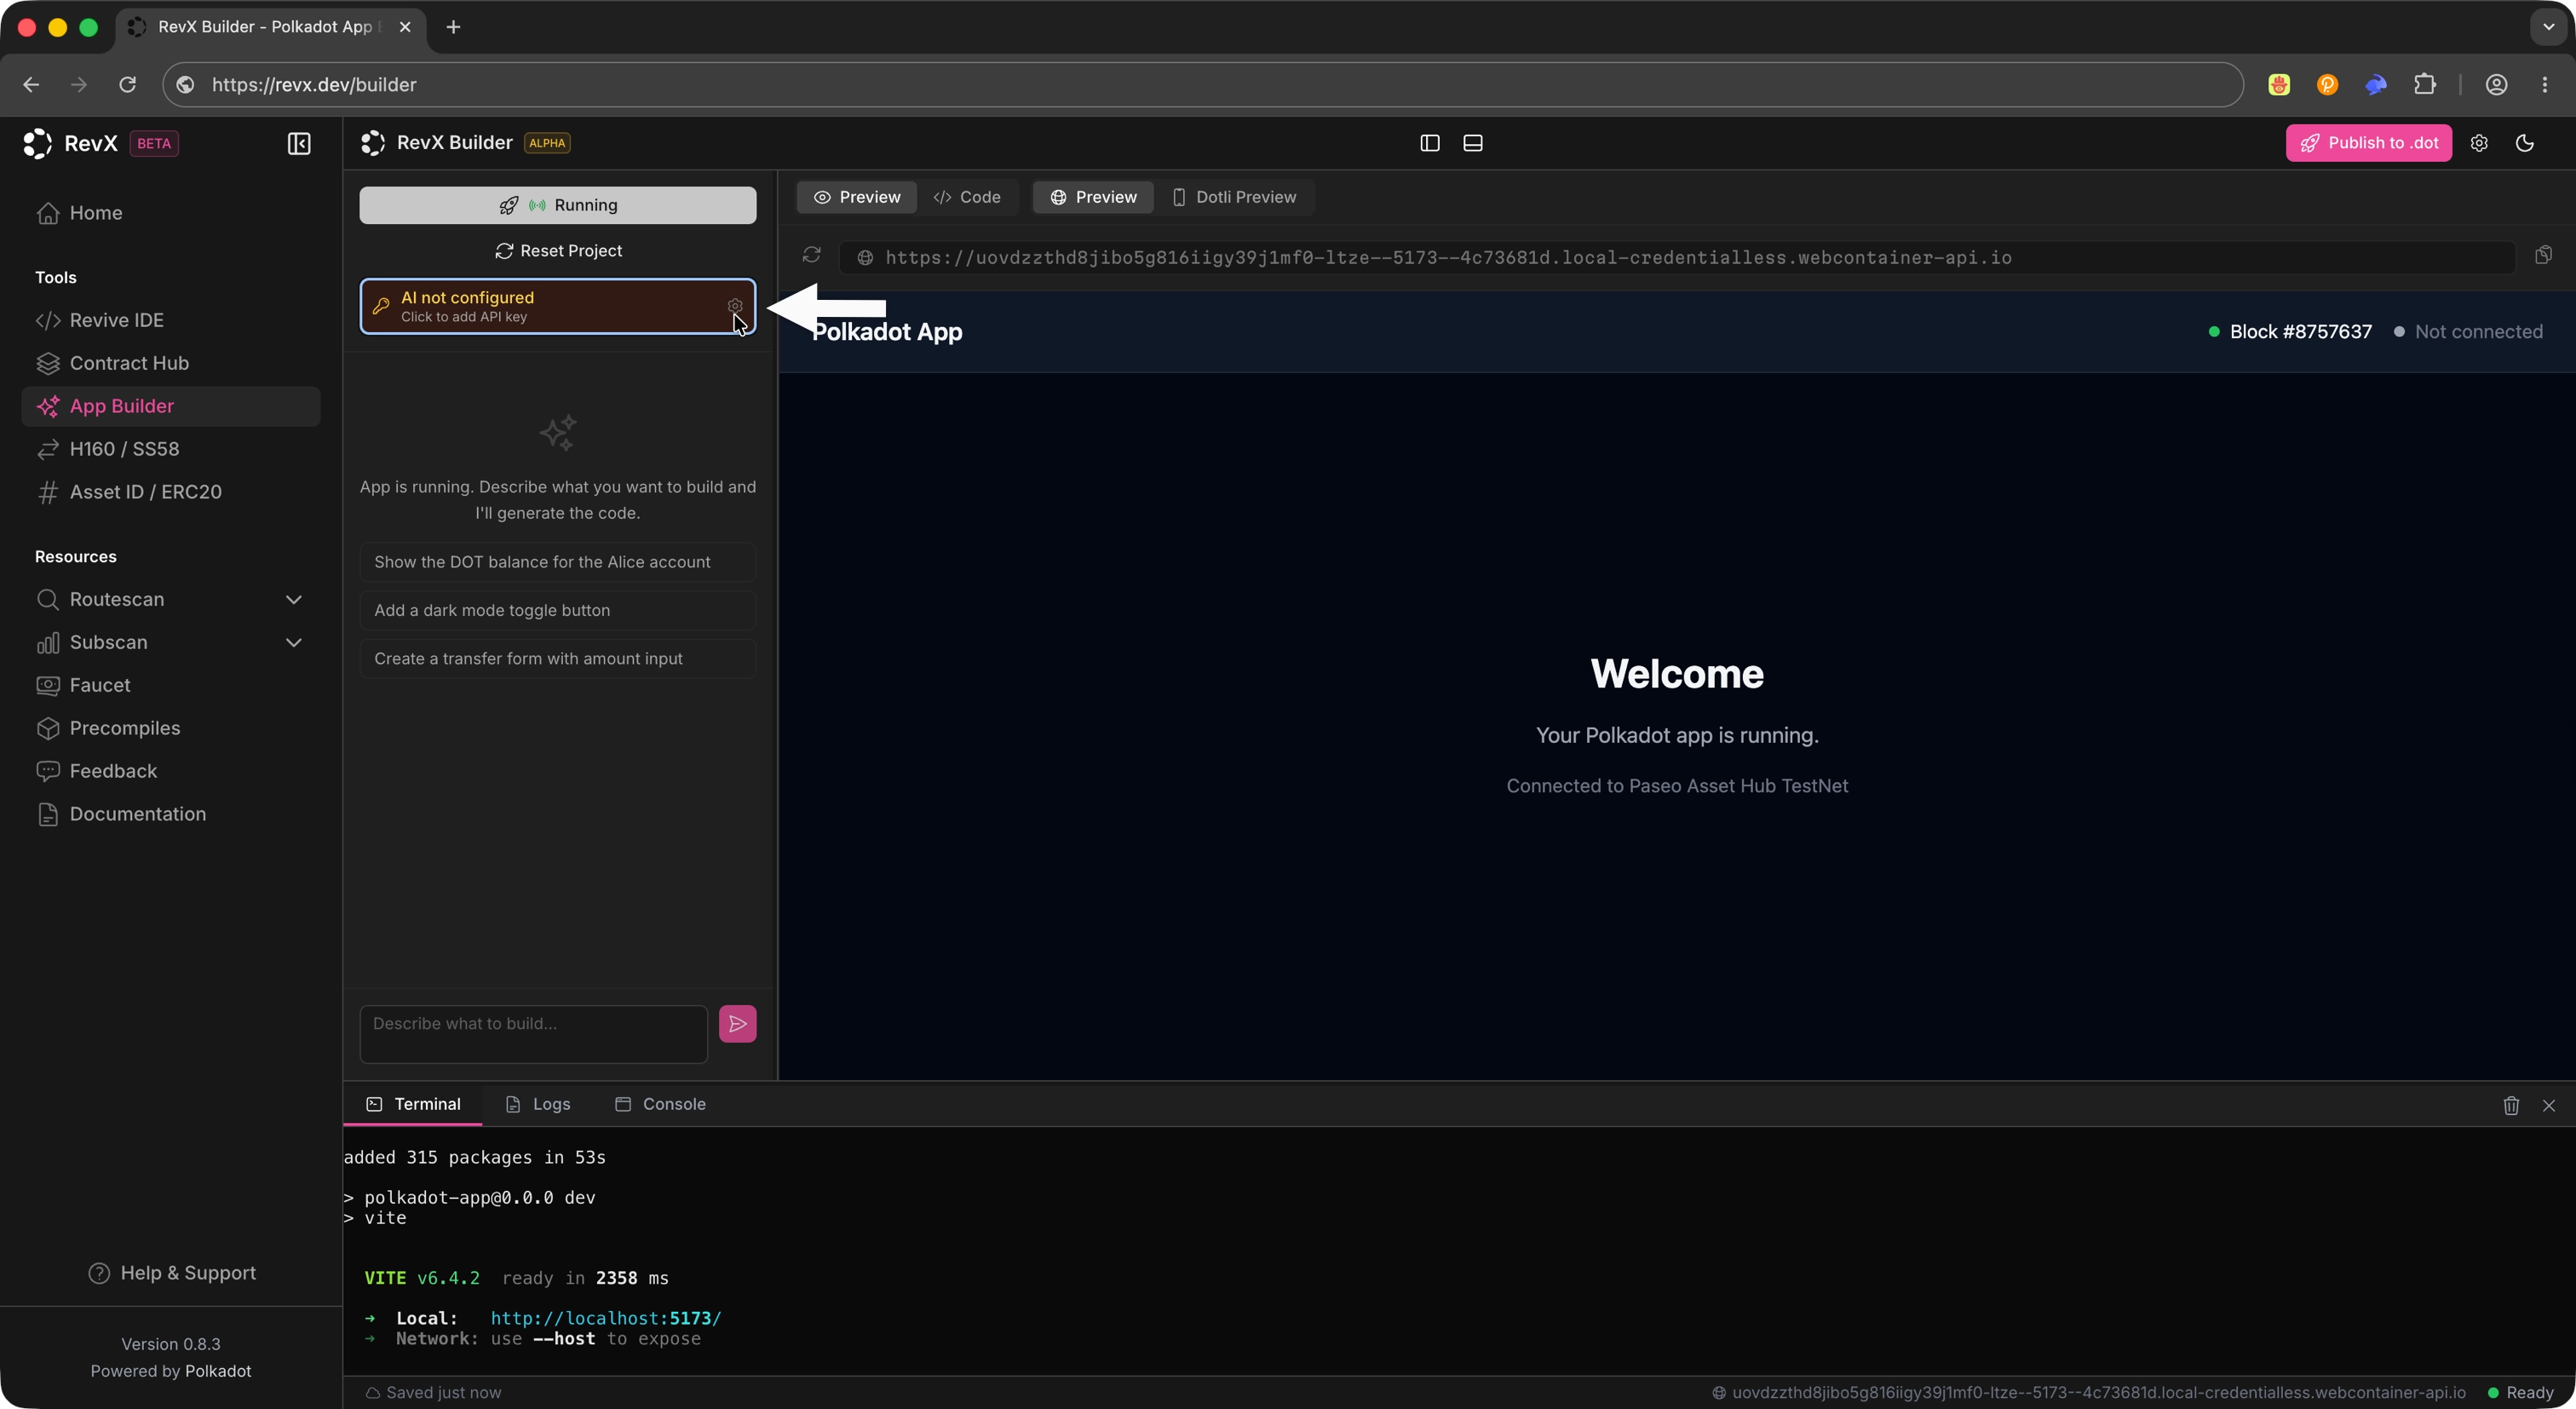
Configure the Builder
From the App Builder view, click the Settings icon to open the AI configuration panel.
Configure the following:
- AI provider: The backend service that powers code generation.
- API key: The credential for your AI provider.
- Model: The specific model to use from the selected provider.
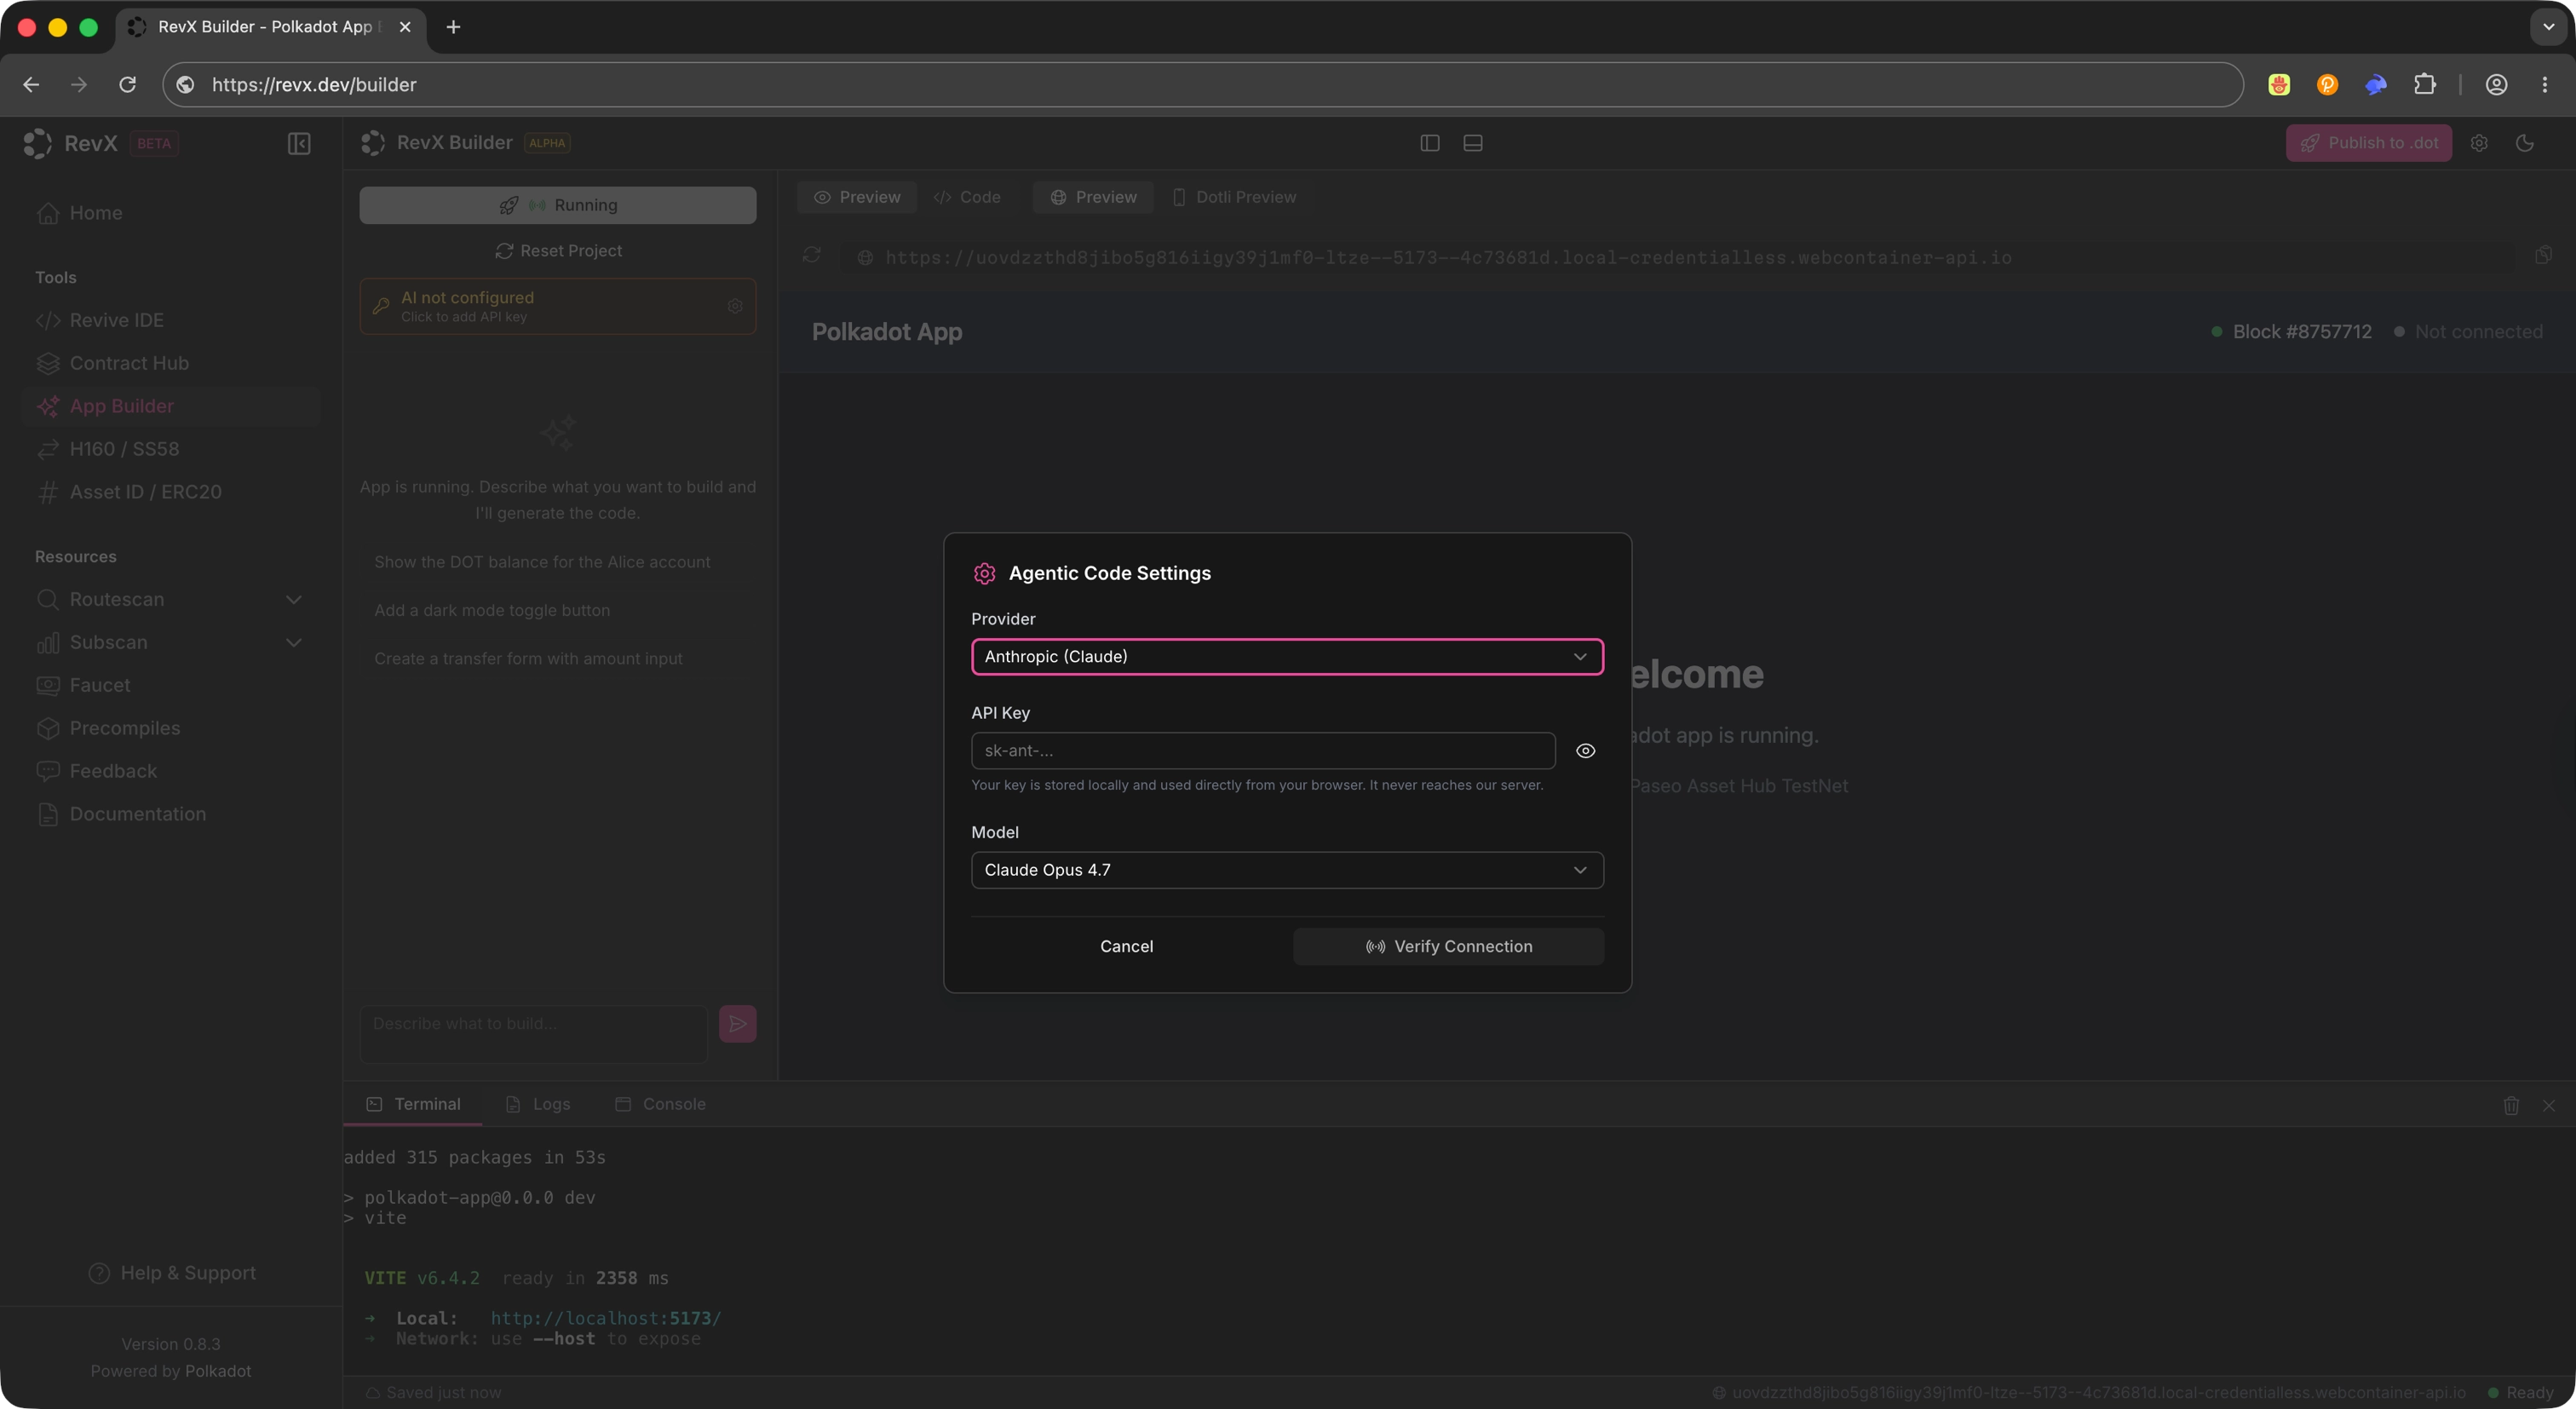
These settings let the IDE generate applications using the selected AI backend. You can change them at any time if you want to switch providers or models.
Generate an App
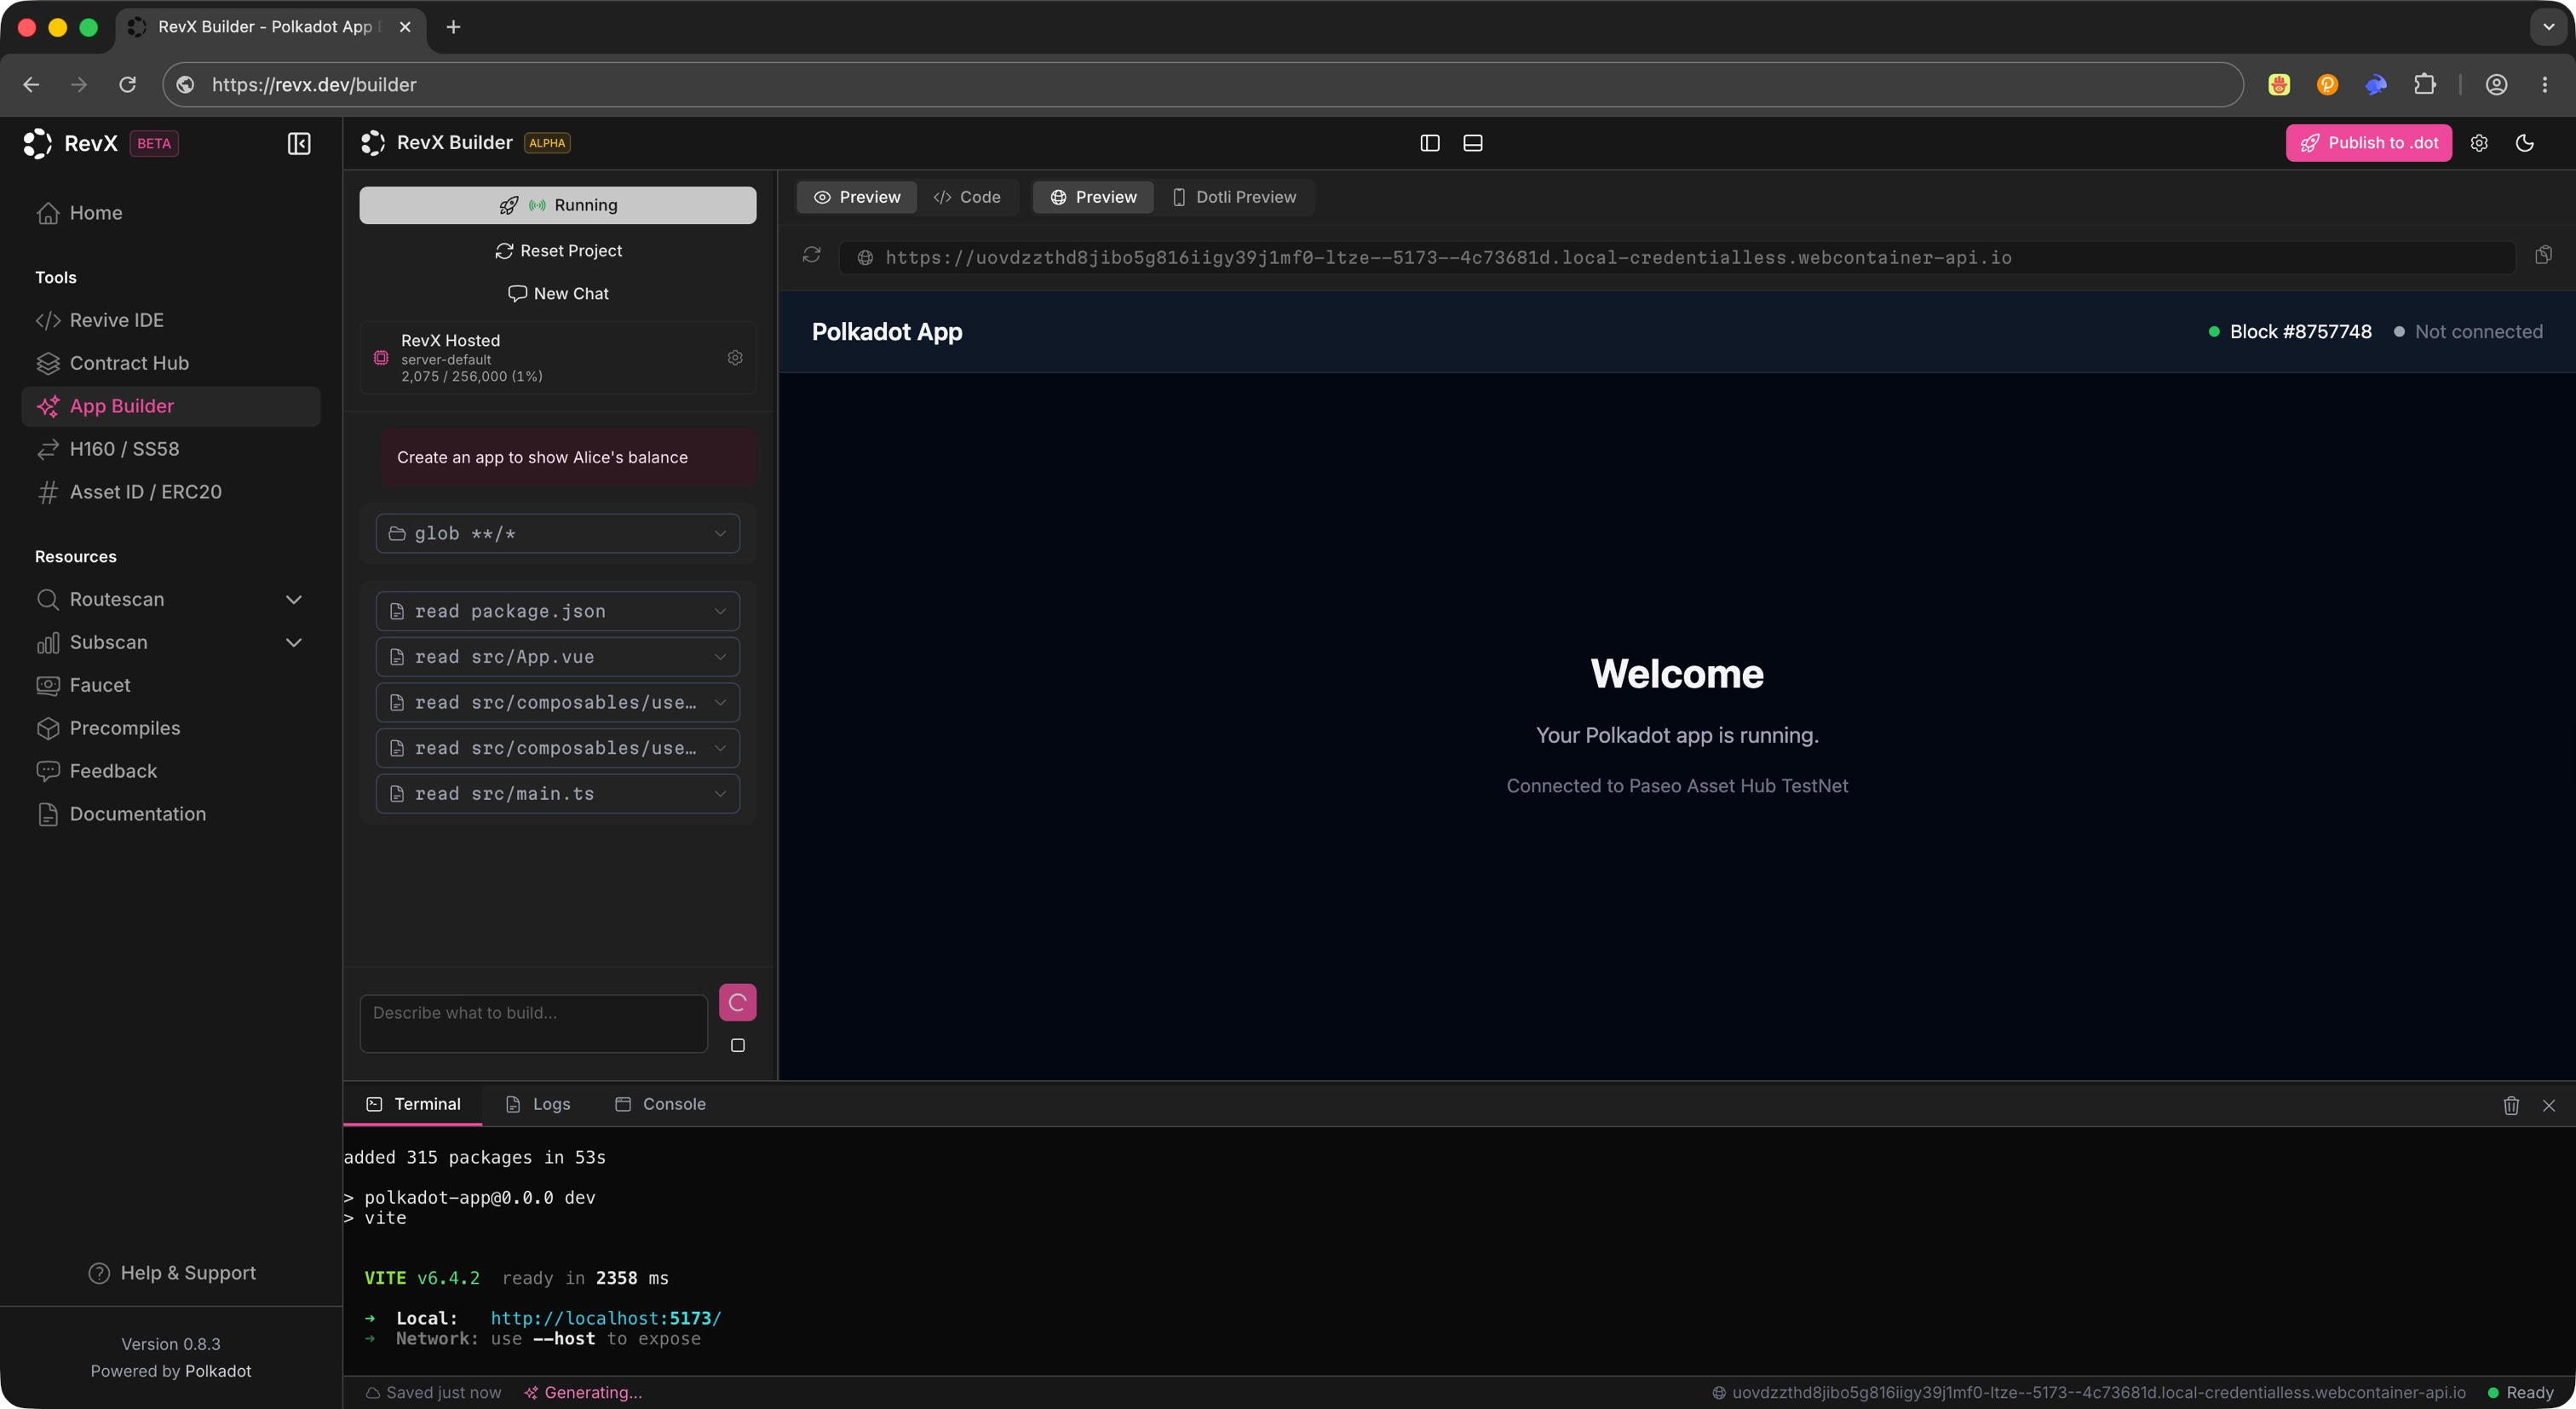
Use the chat interface to describe the app you want to build. RevX generates the application structure and code automatically based on your prompt.
Example prompt
Build a Product that shows the balance of Alice (a standard Substrate dev account)
After you submit the prompt, the IDE produces the project files and scaffolds the app for you to review.
Tip
Keep prompts concrete and scoped. Short, specific prompts tend to produce app structures that are easier to review and iterate on.
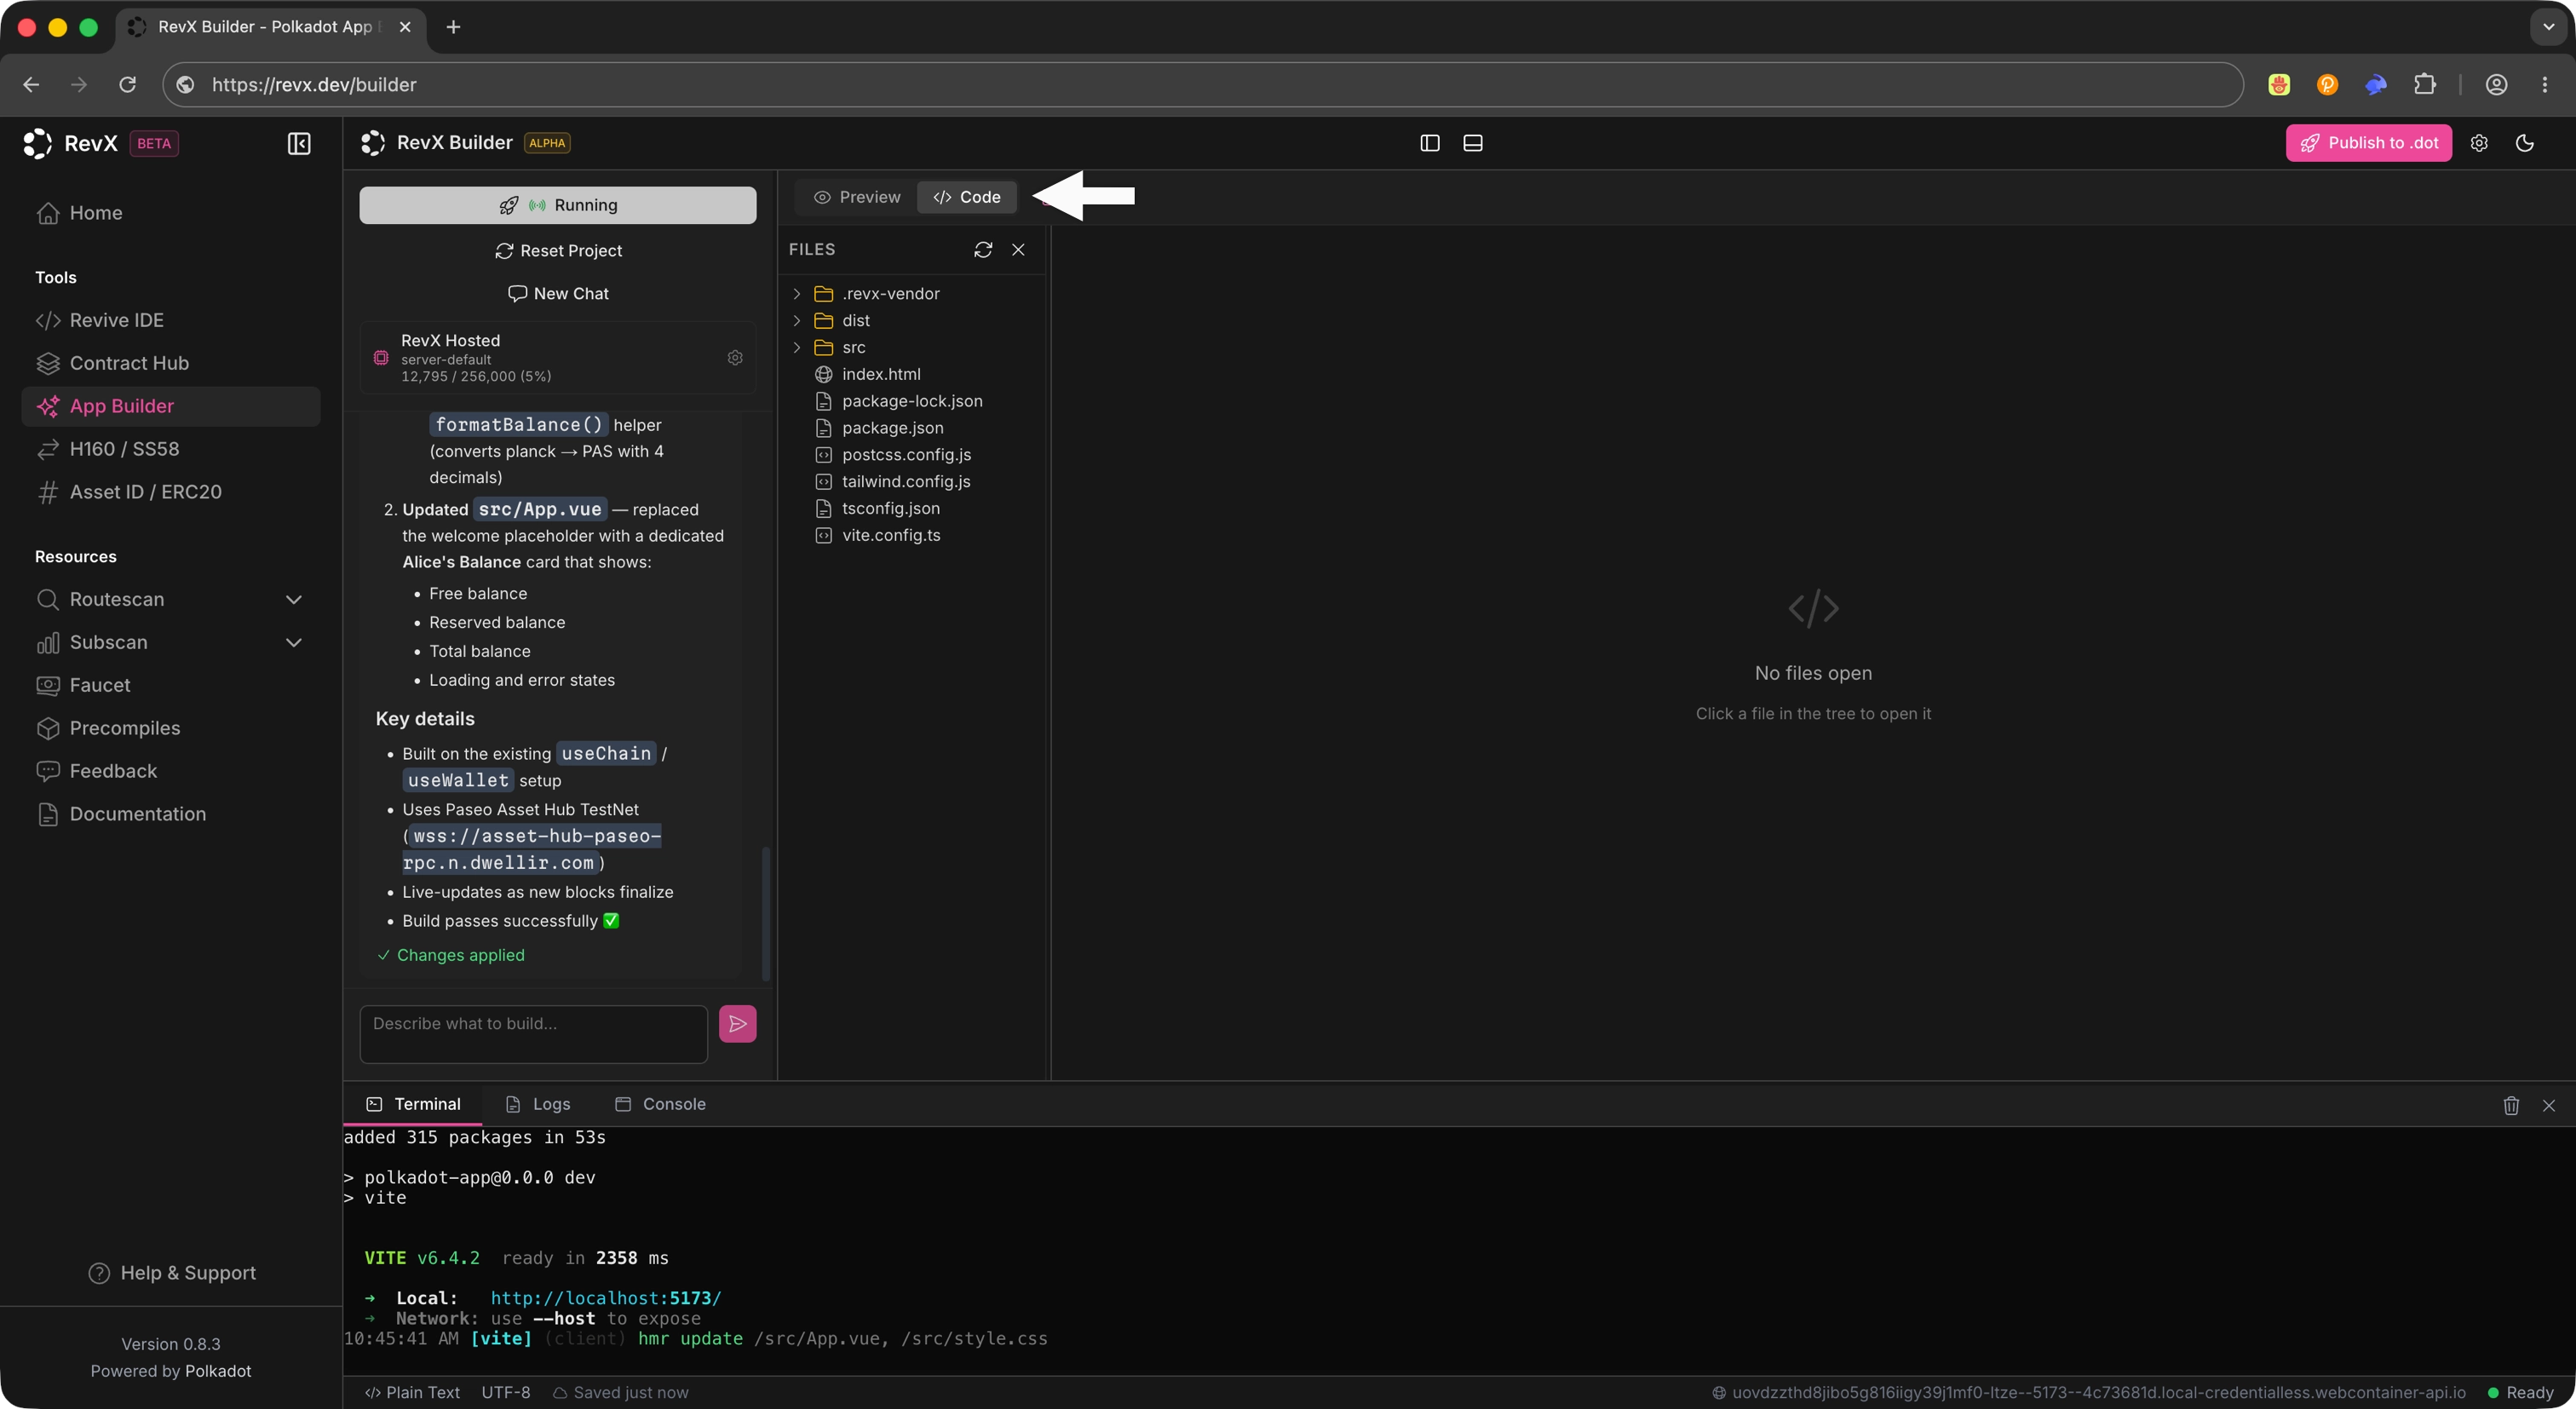
Inspect the Generated Code
Once generation completes, open the generated files in the editor to review what was produced. You can continue iterating on the application from within RevX: refine the prompt, edit code directly, or layer additional changes through the chat interface.
Publish to .dot
When your app is ready, click Publish to .dot to deploy the application to the Polkadot ecosystem. The publish action takes the app you generated in RevX and makes it available under a .dot name.
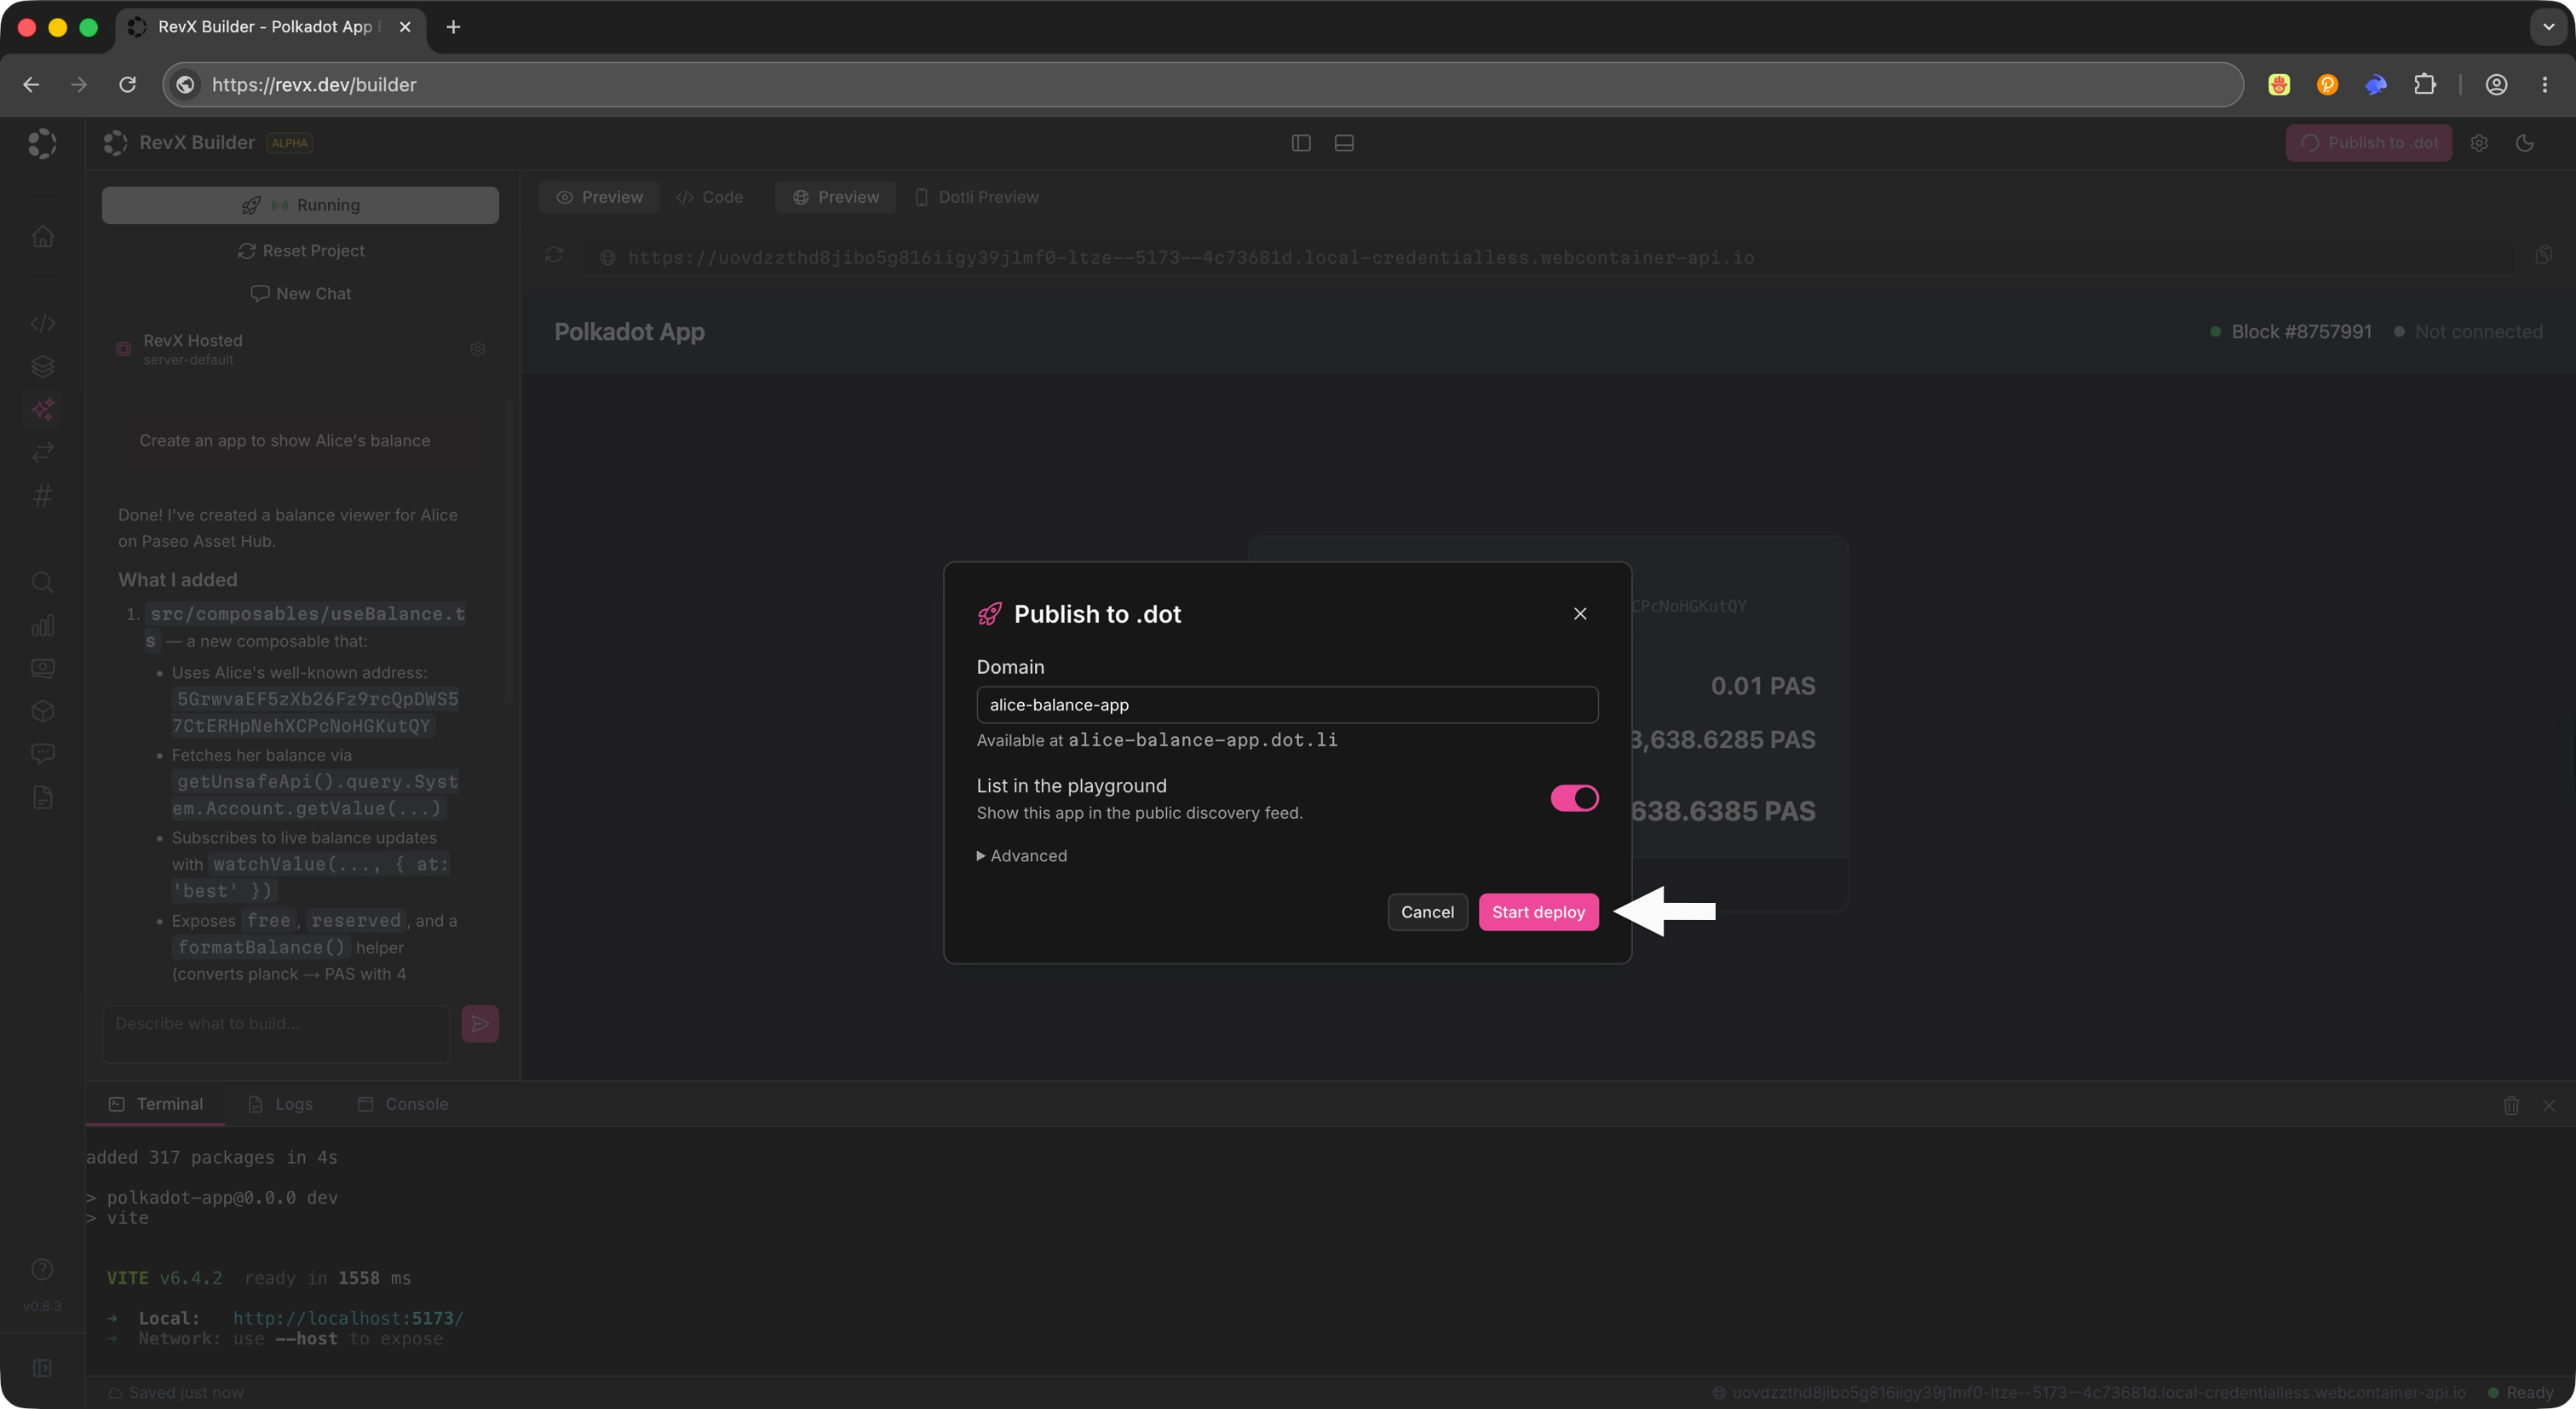
After clicking Start Deploy, you will be asked to sign the transaction with your Polkadot App.
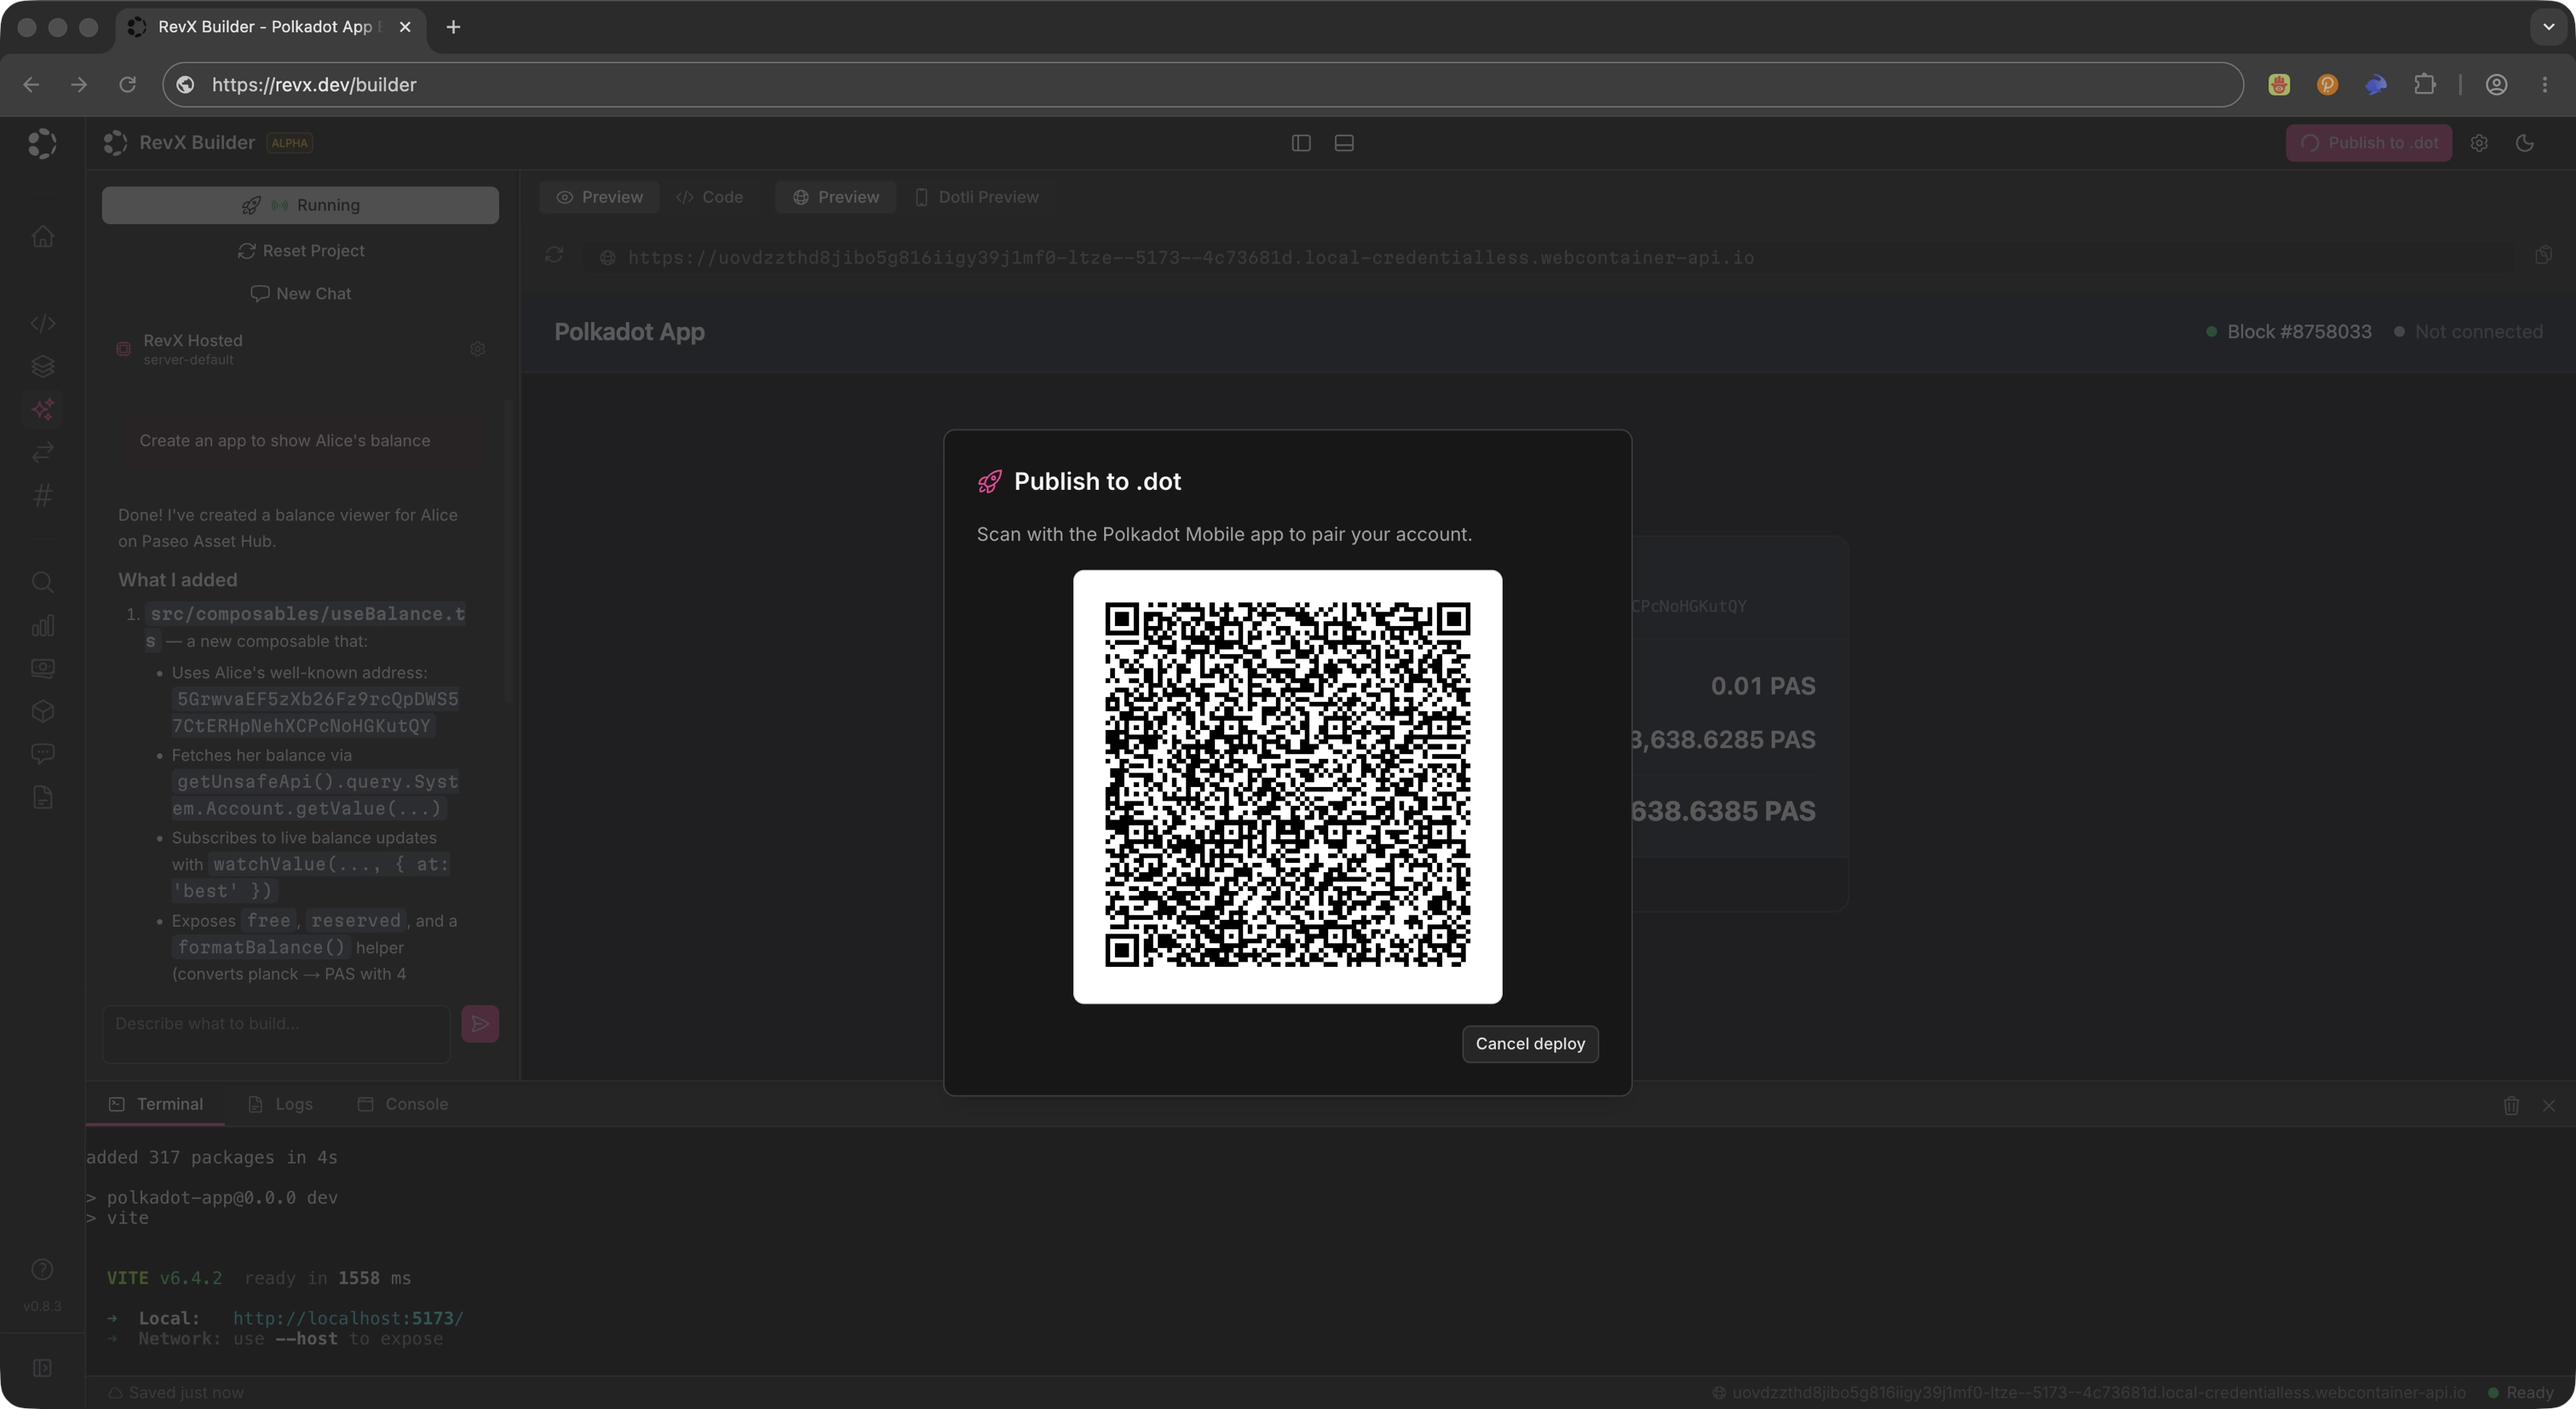
After signing the transaction, you will see the deployment progress in the terminal. Your Product is now live under its .dot name. Open it in Polkadot Desktop, or on Polkadot Web at https://<name>.dot.li in any browser.
Where to Go Next
-
Guide Build Guides
Set up the local dev loop, then add capabilities to your Product: signing, on-chain reads, decentralized storage, off-chain pub/sub, and local persistence.
Deploy a Polkadot Product from your terminal with playground-cli. The pg command pairs with your Polkadot App, builds your Product, uploads the bundle, and publishes it to a .dot name.
This is the command-line route for getting a Polkadot Product deployed end to end from your workstation. The CLI is the command-line counterpart to Polkadot Desktop: Desktop runs published Products by their .dot names; pg takes a project on disk and turns it into one.
Prerequisites
Before starting, make sure you have:
- The Polkadot App installed on your phone with an account created; it pairs with
pgand signs the publish step. - A terminal with
curlavailable and permission to install CLI tools in your user shell environment. - A Polkadot Product project on disk with a package-manager build command.
CLI version
This route targets playground-cli 0.27.1. The CLI is in active development and breaking changes between versions are expected. To follow along, install this version, or check this page's last update against the latest release.
Install the CLI
-
Run the installer:
-
Open a new shell, or
sourceyour RC file, and verify the install:
Command aliases
The installer registers two interchangeable commands: playground (canonical) and pg (short alias). This guide uses pg throughout.
Initialize
pg init installs toolchain dependencies and pairs the CLI with your signer. It is safe to re-run; existing installs and sessions are detected and skipped.
Tip
Toolchain install runs in parallel with the login step, so you can scan the QR code while dependencies download.
Signer modes
- Mobile signer (
--signer phone, default): Pairs with the Polkadot App via QR code. Required forpg initand recommended for any deploy you intend to keep. - Dev-only signer (
--signer dev): No phone needed; uses shared development keys (for example,--suri //Alice). The deployed.dotProduct will be owned by the shared dev account, not by you.
Build
pg build auto-detects and runs your project build.
Deploy
pg deploy runs the full pipeline: build the frontend, upload artifacts to the Polkadot Bulletin Chain, and register a .dot domain via DotNS. Before building, it always runs your package manager's install step to keep dependencies in sync.
# Interactive - pg prompts for signer, domain, and build directory
pg deploy

# Dev signer - no phone needed (the deployed Product is owned by the shared dev account)
pg deploy --signer dev --domain my-app
Note
pg deploy includes a memory watchdog that aborts the deploy if the process exceeds 4 GB RSS. If you hit this limit, set DOT_MEMORY_TRACE=1 alongside DOT_DEPLOY_VERBOSE=1 to capture per-second RSS and heap samples.
More CLI commands
-
pg mod: Clones a moddable app from the Playground registry so you can customize and redeploy it as your own Product. Only apps that opted into--moddableat deploy time are listed. Pass a domain label, such asmy-appormy-app.dot, to clone directly, or omit it to open an interactive picker showing every moddable app. -
pg logout: Signs out of the paired account and clears session files under~/.polkadot-apps/. A no-op if you are not signed in. -
pg update: Updatespgto the latest version from the GitHub releases page.
You have deployed a Polkadot Product. To keep building it with your own editor and toolchain, head to the Build guides; they open with project setup so Polkadot Desktop can load your Product from localhost while you iterate with live reload.
Where to Go Next
-
Guide Build Guides
Set up the local dev loop, then add capabilities to your Product: signing, on-chain reads, decentralized storage, off-chain pub/sub, and local persistence.
| Created: June 16, 2026