Install Polkadot Desktop and Pair
Introduction
You should already have the Polkadot App on your phone from the Apps overview; it holds your key and approves signing. This page covers installing Polkadot Desktop, where your Product runs, and pairing the two with a QR scan, then forwards you to TestNet funding. About 10 minutes.
Two pieces of the Polkadot Triangle need to be talking to each other: Polkadot Desktop, where your Product runs, and the Polkadot App on your phone, where signing happens.

Polkadot Desktop never holds your private key. Your identity lives on the Polkadot People Chain, your private key lives in the Polkadot App, and Polkadot Desktop only ever holds a derived session public key — enough to identify you and construct per-Product accounts, but not enough to sign anything on its own.
Prerequisites
Before getting started, ensure you have:
- The Polkadot App installed on your phone with an account created (your developer identity and signing device for Polkadot Products)
- A workstation running macOS, Windows, or Linux
- A device (iOS or Android) with a working camera
- Network connectivity on both devices
Install Polkadot Desktop
-
Download the development build of Polkadot Desktop.
-
Install the application using your platform's standard installer.
-
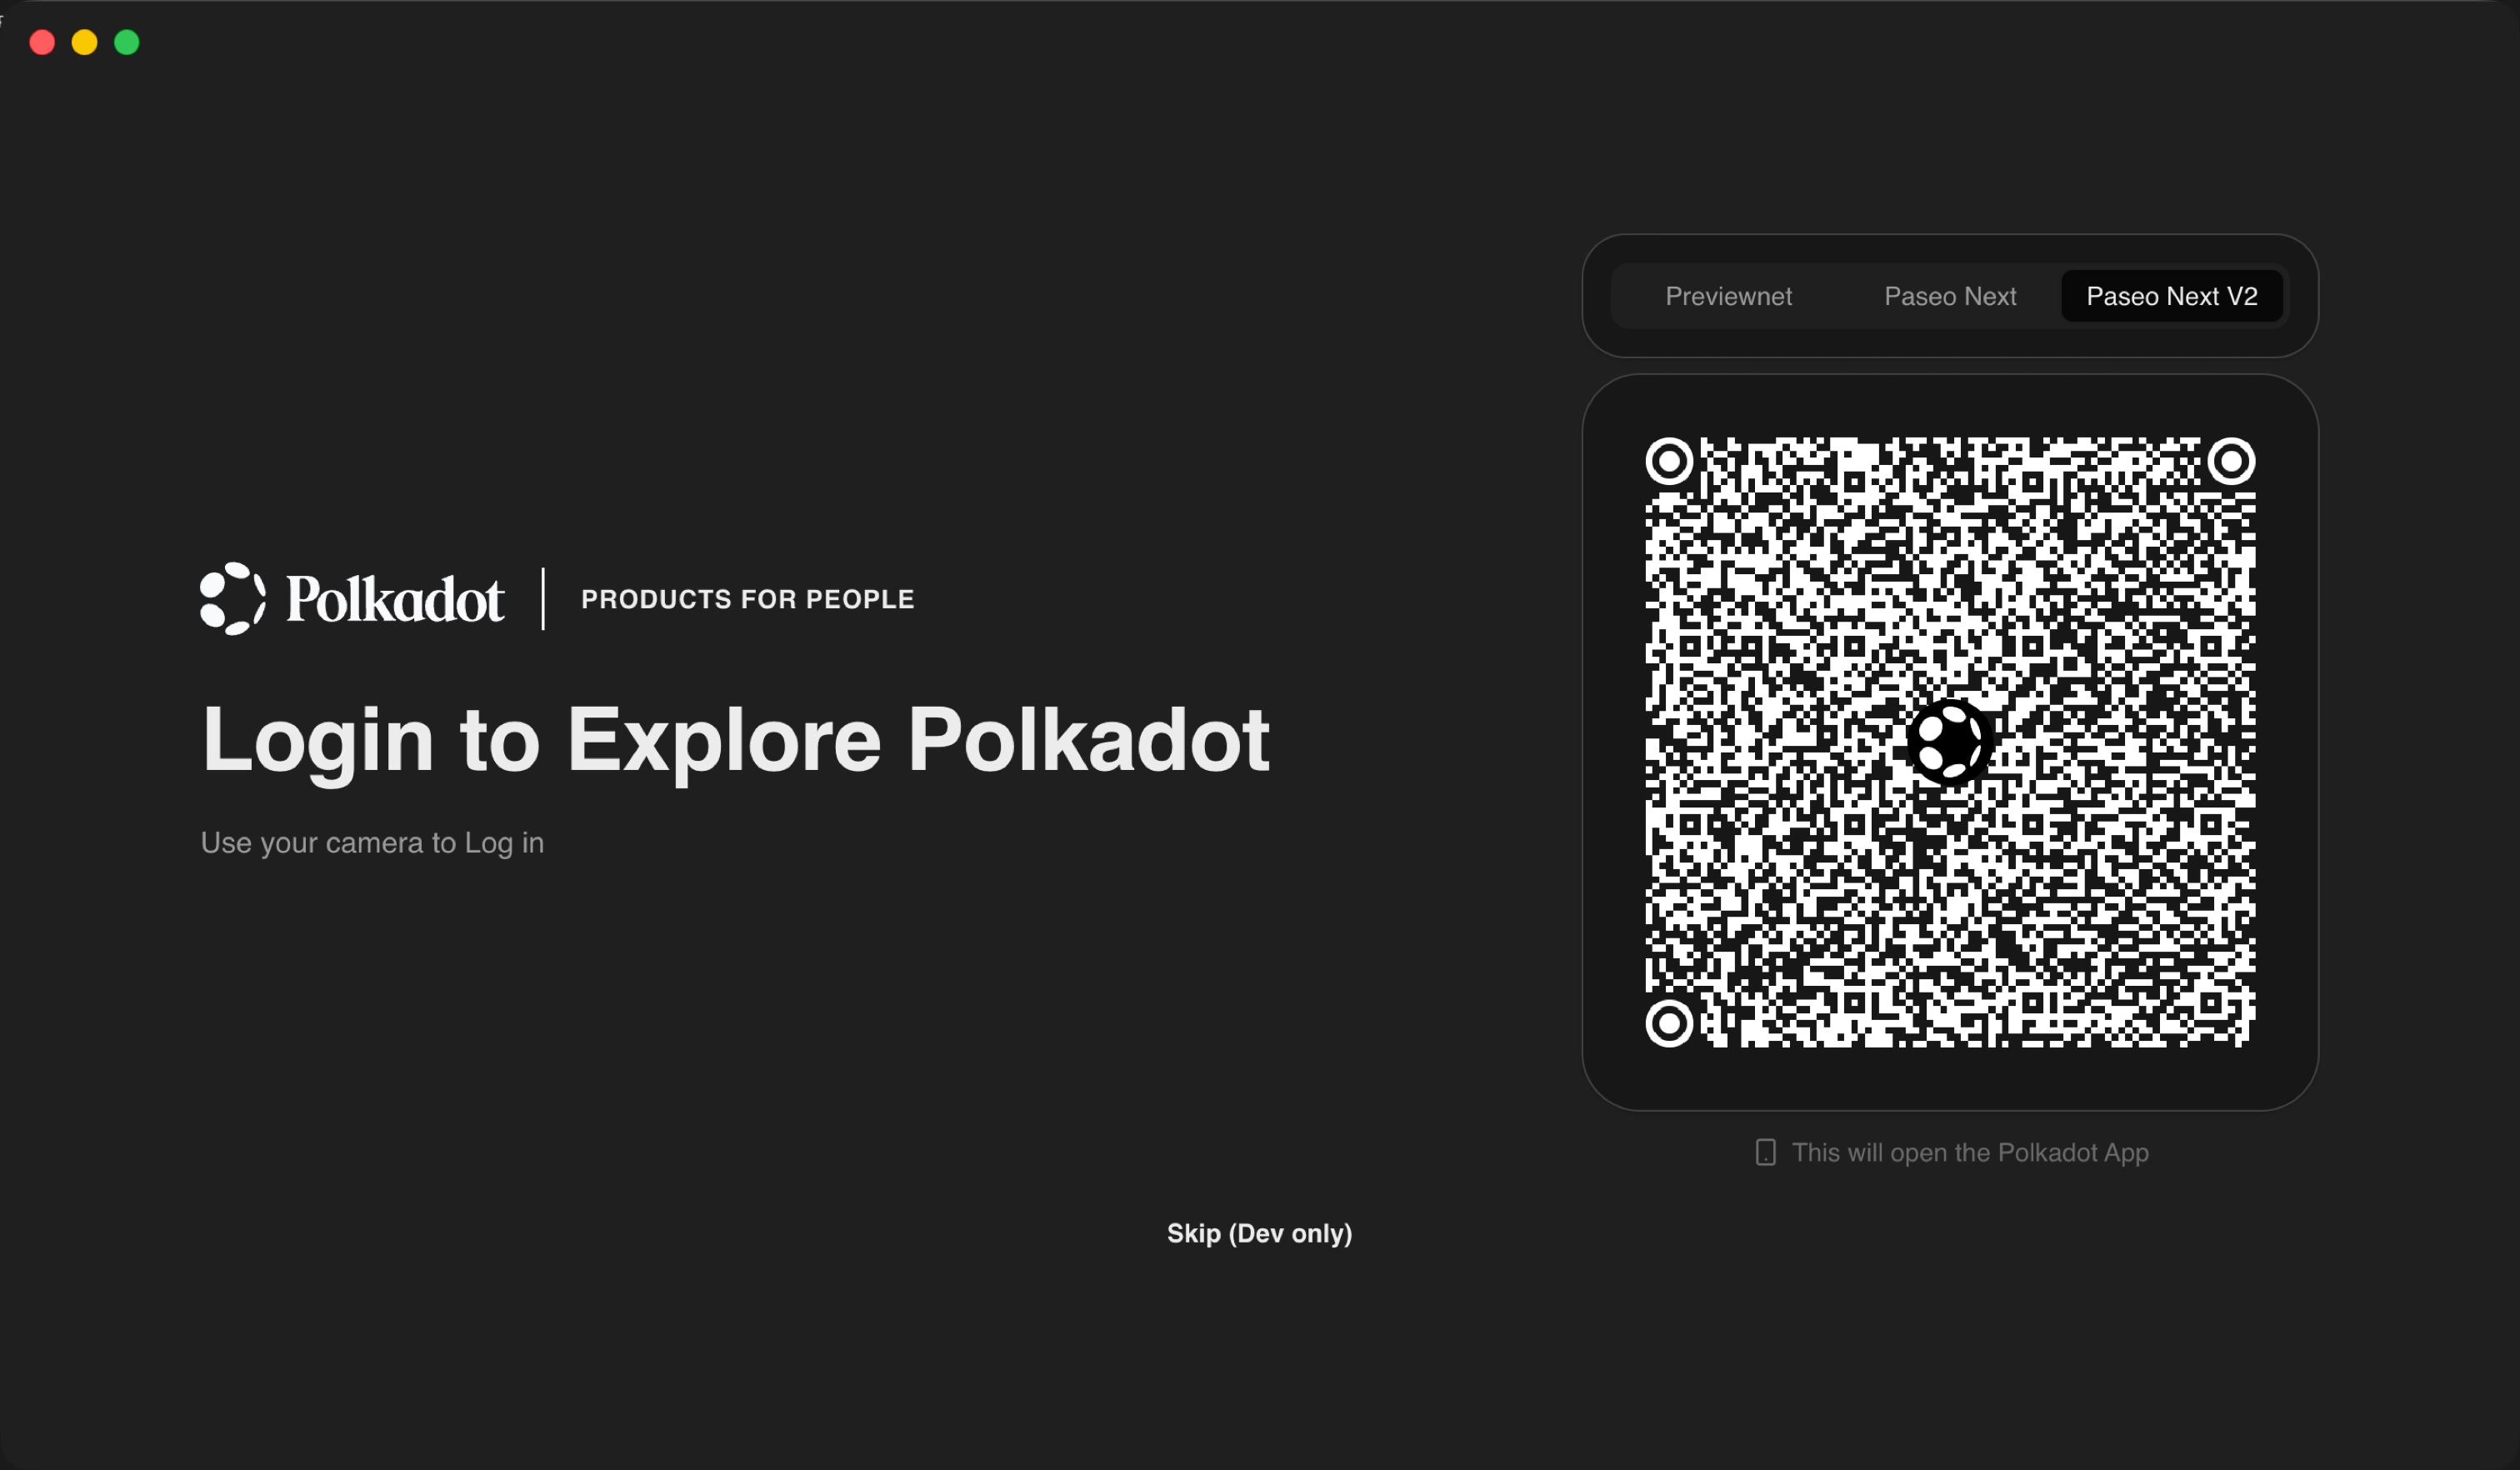
Launch Polkadot Desktop. On first launch, Desktop opens into the pairing flow with a QR code.
Skip for development
The login screen also exposes a Skip (Dev only) button. Skipping the pairing drops you straight into Desktop without a paired signer, useful for inspecting Desktop or testing a local Product that does not require signing, but most development flows assume a paired Polkadot App.
Pair Polkadot Desktop with the Polkadot App
Pairing is a one-time cryptographic handshake. Desktop displays the QR code, the App scans it, and the App returns a session public key that Desktop stores. From that point forward, Desktop knows who you are and can construct per-Product sub-accounts, but every signing prompt still routes back to the App for approval.
-
Leave the QR code visible on the Polkadot Desktop login screen.
-
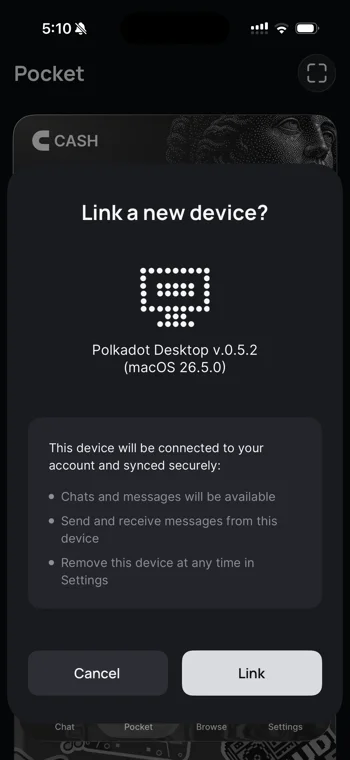
In the Polkadot App, open the camera-scanning view and scan the QR code shown on Desktop. A Link a new device? prompt appears with the Desktop version details.
-
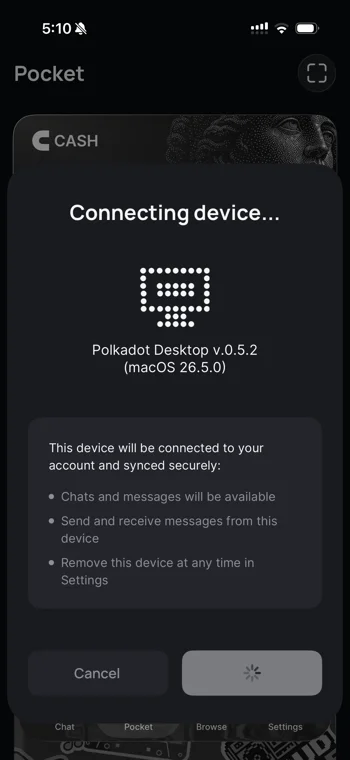
Tap Link to confirm. The App briefly shows a Connecting device... state while the handshake completes.
-
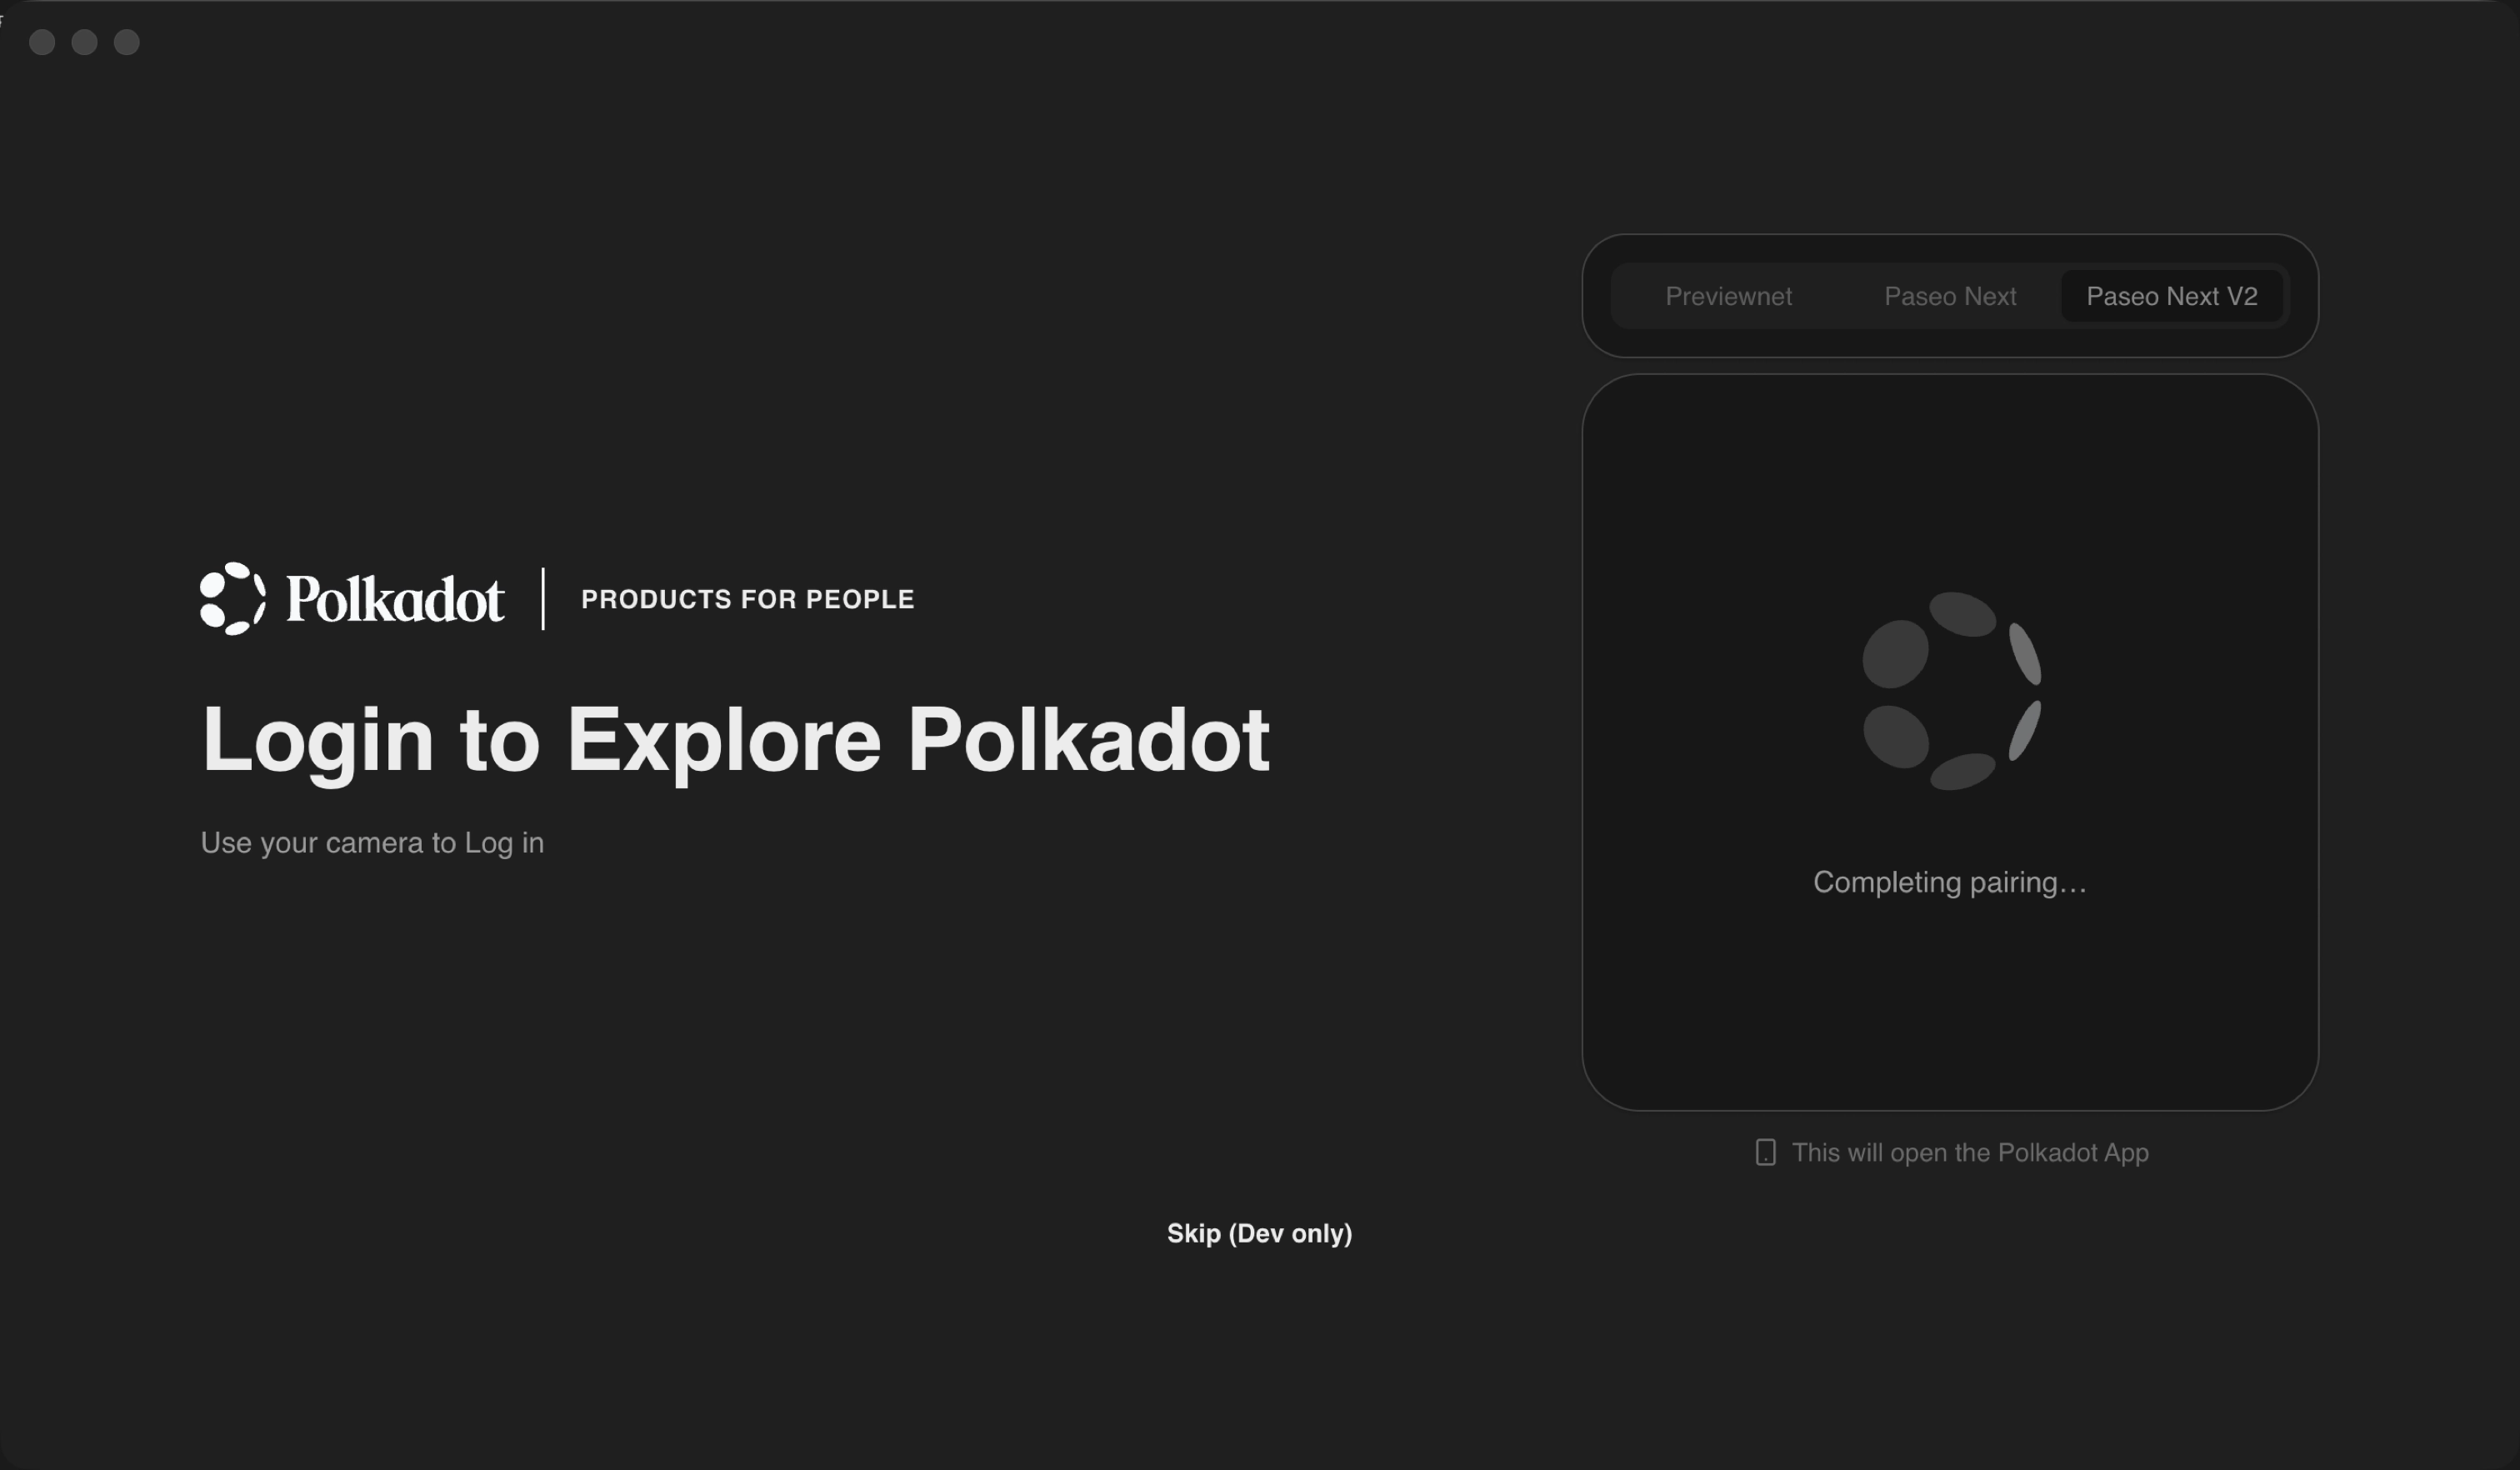
Desktop transitions from the QR code to a Completing pairing... state.
-
Once the handshake completes, Desktop opens the main dashboard.
After pairing, your identity on the People Chain is bound to the Polkadot App for this Desktop session. Every subsequent signing request will route to the App, and you approve or reject each one on the signing device.
Where to Go Next
-
Guide Get TestNet Tokens
Claim TestNet tokens from the Polkadot Faucet and unlock per-service allowances.
| Created: June 16, 2026